标签:Fix content files 修改 注入 date 示例 spring 图片
在application.yml中添加属性值,示例如下:
#从配置文件中读取属性值
age: 26
gName: lisa
content: "age: ${age},aName: ${gName}"
在ContentController中使用@Value取出
    //使用@value注解取值.来实现配置内容的注入
    @Value("${age}")
    private Integer age;

    @Value("${gName}")
    private String name;

    @Value("${content}")
    private String content;
再来修改一下application.yml,示例如下:
server:
  port: 8081

person:
  age: 26
  gName: lisa
通过@Component,@ConfigurationProperties注入配置,示例如下:
package com.rongrong.springboot.demo;

import lombok.Data;
import org.springframework.boot.context.properties.ConfigurationProperties;
import org.springframework.stereotype.Component;

/**
 * @author rongrong
 * @version 1.0
 * @description:
 * @date 2019/12/28 13:56
 */
@Data
//注入配置
@Component
@ConfigurationProperties(prefix = "person")
public class Person {
    private Integer age;
    private String gName;
}
在Controller中,同过bean取出
package com.rongrong.springboot.demo;

import org.springframework.beans.factory.annotation.Autowired;
import org.springframework.web.bind.annotation.RequestMapping;
import org.springframework.web.bind.annotation.RequestMethod;
import org.springframework.web.bind.annotation.RestController;

/**
 * @author rongrong
 * @version 1.0
 * @description:
 * @date 2019/12/26 20:34
 */
@RestController
public class HellowController {


    @Autowired
    Person person;

    @RequestMapping(value = "/hellow",method = RequestMethod.GET)
    public String say(){
        return person.getGName();
    }

}
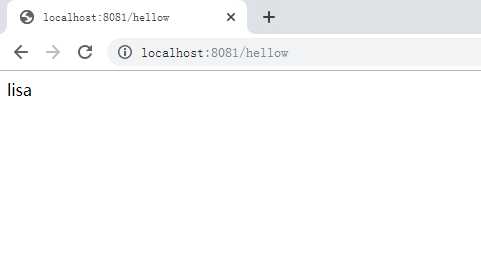
启动项目,通过访问http://localhost:8081/hellow,页面效果如下:

创建两个yml文件,
application-dev.yml
server:
  port: 8081

person:
  age: 26
  gName: lisa
application-prod.yml
server:
  port: 8888

person:
  age: 18
  gName: tony
通过application.yml来控制,修改示例如下:
#多环境配置
spring:
  profiles:
    active: prod
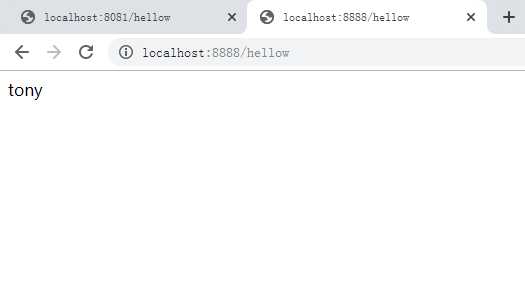
我们使用命令行启动测试,首先执行mvn install打包
定位target下,输入以下命令,切换到dev环境上
java -jar springboot_demo-0.0.1-SNAPSHOT.jar --spring.profiles.active=dev

输入以下命令,切换到prod环境上
java -jar springboot_demo-0.0.1-SNAPSHOT.jar --spring.profiles.active=prod

标签:Fix content files 修改 注入 date 示例 spring 图片
原文地址:https://www.cnblogs.com/longronglang/p/12112874.html