标签:des android style blog http io color ar os
以前在线性代数中学习了矩阵,对矩阵的基本运算有一些了解,现在在Android中有一个Matrix类,它的中文意思就是矩阵。Matrix主要是用于图像的缩放、平移、旋转、扭曲等操作。图像处理,主要用到的是乘法。
下面是一个乘法的公式:

在Android里面,Matrix由9个float值构成,是一个3*3的矩阵。如下图

其含义如下:
sinX和cosX,表示旋转角度的cos值和sin值(旋转角度是按顺时针方向计算的)。translateX和translateY表示x和y的平移量。scale是缩放的比例,1是不变,2是表示缩放1/2。
还有另一种样式的图:
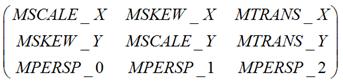
矩阵中的MSCALE用于处理缩放变换,MSKEW用于处理错切变换,MTRANS用于处理平移变换,MPERSP用于处理透视变换。
The Matrix class holds a 3x3 matrix for transforming coordinates.
Matrix的构造函数有两种:
Create an identity matrix
Create a matrix that is a (deep) copy of src
src The matrix to copy into this matrix
了解了这些基本概念,就可以简单的使用matrix了。
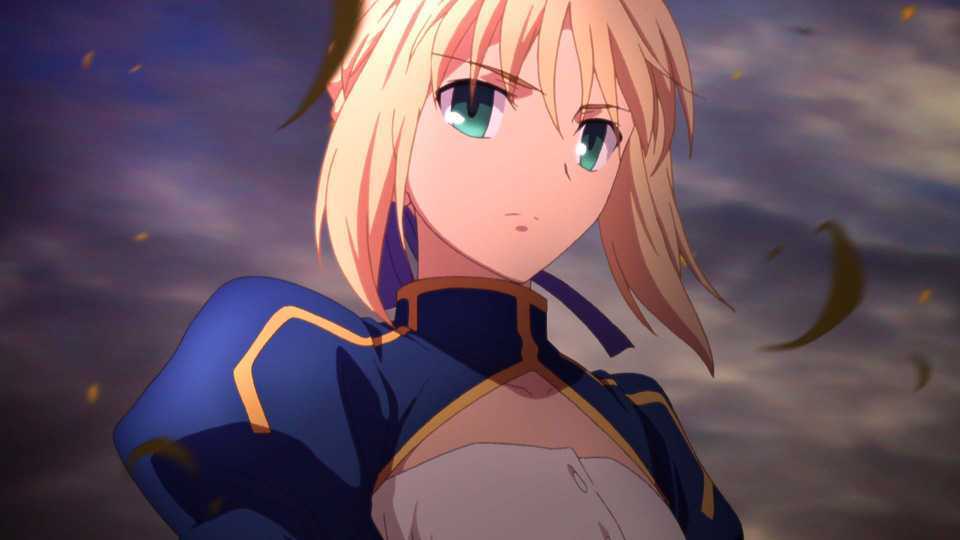
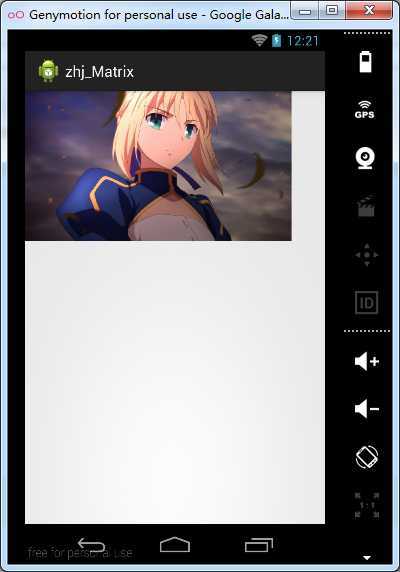
先是一个未做任何操作的图象显示:
图像取名为:img_saber
完整图像为:尺寸是960*540(还是比较大的,重点是还是我的女王啊!哈哈。)
先新建一个MyView类:
public class MyView extends View {

    private Bitmap bitmap;
    private Matrix matrix = new Matrix();

    public MyView(Context context, AttributeSet attrs) {
        super(context, attrs);
        // 取得Bitmap对象
        this.bitmap = BitmapFactory.decodeResource(super.getResources(),
                R.drawable.img_saber);

    }

    @Override
    protected void onDraw(Canvas canvas) {
        // TODO Auto-generated method stub
        super.onDraw(canvas);
        canvas.drawBitmap(this.bitmap, this.matrix, null);
    }

}
在activity_main.xml中实现:
(com.topcsa.zhj_matrix.MyView是包名加类名)
<?xml version="1.0" encoding="utf-8"?>
<LinearLayout xmlns:android="http://schemas.android.com/apk/res/android"
    android:layout_width="match_parent"
    android:layout_height="match_parent"
    android:orientation="vertical" >

    <com.topcsa.zhj_matrix.MyView
        android:id="@+id/myview"
        android:layout_width="wrap_content"
        android:layout_height="wrap_content" />

</LinearLayout>
在MainActivity中实现:
public class MainActivity extends Activity {

    @Override
    protected void onCreate(Bundle savedInstanceState) {
        super.onCreate(savedInstanceState);
        setContentView(R.layout.activity_main);

    }

}
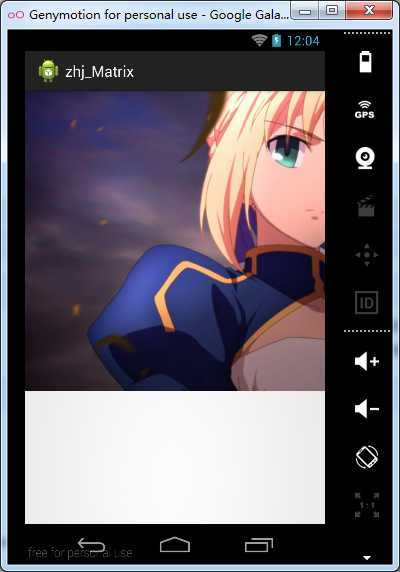
运行程序,结果如图:
(很明显图像没有显示完整)
有了原始图像的对比,就好办了。
之前就说了,Matrix的对图像的处理可分为四类基本变换:
Translate 平移变换
Rotate 旋转变换
Scale 缩放变换
Skew 错切变换
下面一个一个的实现:
由于图像较大,下面实例的操作除缩放外,都会进行一个缩放操作以便观看效果。
1、Scale
对于Scale,Matrix类有6个方法:
Set the matrix to scale by sx and sy, with a pivot point at (px, py). The pivot point is the coordinate that should remain unchanged by the specified transformation.
Set the matrix to scale by sx and sy.
Preconcats the matrix with the specified scale. M‘ = M * S(sx, sy)
Preconcats the matrix with the specified scale. M‘ = M * S(sx, sy, px, py)
Postconcats the matrix with the specified scale. M‘ = S(sx, sy) * M
Postconcats the matrix with the specified scale. M‘ = S(sx, sy, px, py) * M
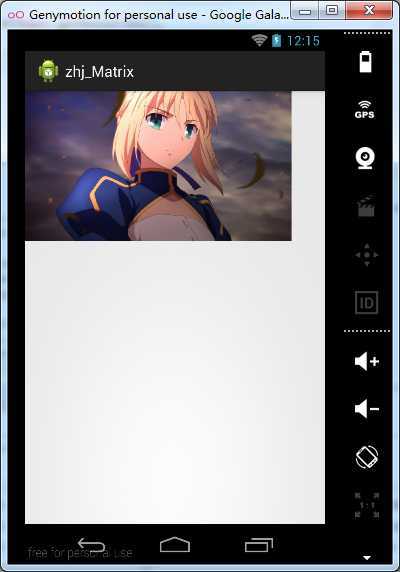
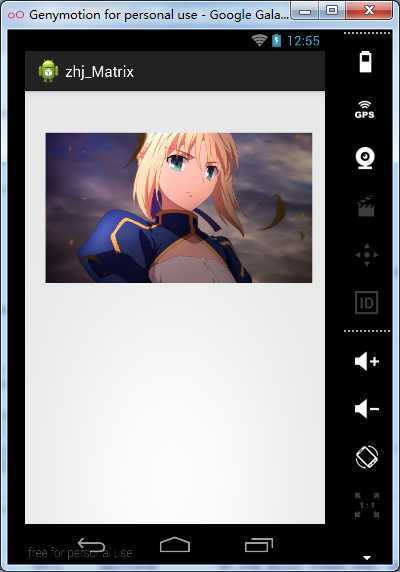
public MyView(Context context, AttributeSet attrs) {
        super(context, attrs);
        // 取得Bitmap对象
        this.bitmap = BitmapFactory.decodeResource(super.getResources(),
                R.drawable.img_saber);
        matrix.setScale(0.5f, 0.5f);//以(0.0)为基准,图像缩小一半
    }
运行结果如下:(与之前的图像相比明显缩小)
matrix.setScale(0.5f, 0.5f, 50, 500);//(50,500)代替(0.0)进行缩放
运行如下:

如果将代码换成:
matrix.preScale(0.5f, 0.5f);
运行结果如下:
这里运行的结果与代码:matrix.setScale(0.5f, 0.5f);运行的结果是一样的。其实我想说的是如果单独运行matrix.postScale(0.5f, 0.5f);结果仍然是一样。那么大家肯定会想这三种方法结果是一样的,那有什么区别呢?先别急,这个问题我们文章最后来解决。
这里已经完成了原点缩放和指定点缩放。
(其余三种操作的方法没有一种操作,包含的方法比缩放的方法多,并且方法含义基本与缩放类似,下面的三种操作就不一一的展示其方法了。)
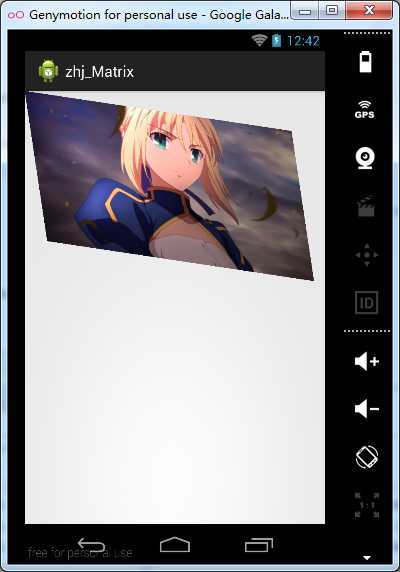
2、Rotate
修改MyView中的构造函数如下:
public MyView(Context context, AttributeSet attrs) {
        super(context, attrs);
        // 取得Bitmap对象
        this.bitmap = BitmapFactory.decodeResource(super.getResources(),
                R.drawable.img_saber);
        matrix.setRotate(30);//使图片以原点(0.0)为基准点旋转到一定角度,负数为向左旋转,正数为向右旋转
        matrix.preScale(0.5f, 0.5f);
    }
运行结果如下:
换成代码:
matrix.setRotate(30,100,0);//指定一个点(100,0),围绕该点旋转
运行效果如下:
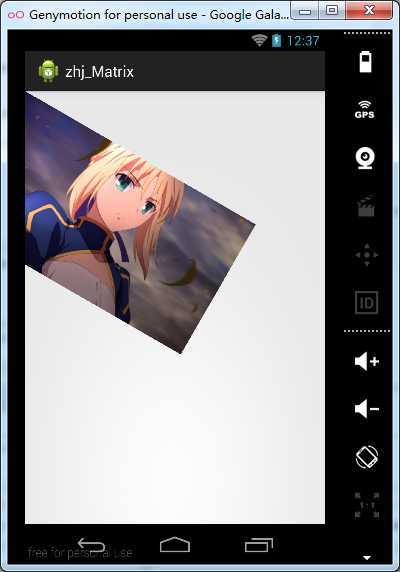
3、Skew
修改代码如下:
public MyView(Context context, AttributeSet attrs) {
        super(context, attrs);
        // 取得Bitmap对象
        this.bitmap = BitmapFactory.decodeResource(super.getResources(),
                R.drawable.img_saber);
        matrix.setSkew(0.15f, 0.15f);//使图像扭曲
        matrix.preScale(0.5f, 0.5f);
    }
运行程序:
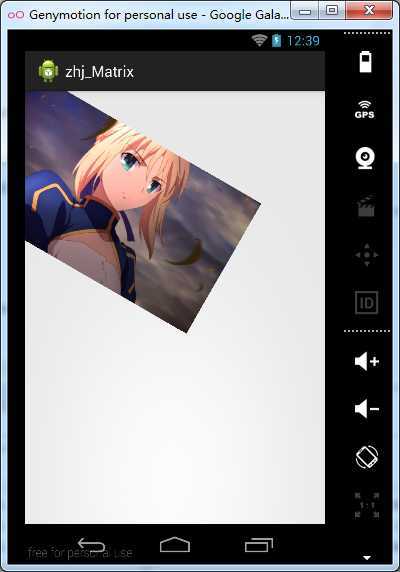
换成代码:
matrix.setSkew(0.05f, -0.15f,700,500);//以指定点为为参考点,使图像扭曲
运行如下: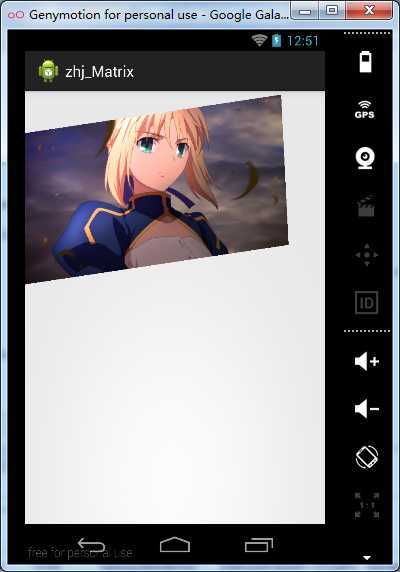
4.Translate
老样子,改代码如下:
public MyView(Context context, AttributeSet attrs) {
        super(context, attrs);
        // 取得Bitmap对象
        this.bitmap = BitmapFactory.decodeResource(super.getResources(),
                R.drawable.img_saber);
        matrix.setTranslate(50, 100);//平移至点(100,100)
        matrix.preScale(0.5f, 0.5f);
    }
运行结果如下:
OK,这下四种图像特效就简单的演示完毕。
下面回到之前提到的问题:(其他几种特效类似)
呃……这个问题嘛,其实我没深入研究过,不过在网上找到了一篇讲解文章,分享给大家:
http://www.eoeandroid.com/blog-659748-5465.html
PS:之前用到或没用到的方法
matrix.setScale(0.5f, 0.5f);//以(0.0)为基准,图像缩小一半
matrix.setScale(0.5f, 0.5f, 50, 500);//(50,500)代替(0.0)进行缩放
matrix.preScale(0.5f, 0.5f);
matrix.setRotate(30);//使图片以原点(0.0)为基准点旋转到一定角度,负数为向左旋转,正数为向右旋转
matrix.setRotate(30,100,0);//指定一个点(100,0),围绕该点旋转
//点(x,y)经过skew(kx,ky,px,py)变换之后,坐标为(kx*(y-py)+px,ky*(x-px)+py),如果,px和py没有,则默认为都为0。
matrix.setSkew(0.15f, 0.15f);
matrix.setSkew(0.15f, 0.15f,-100,-150);//以指定点为为参考点,使图像扭曲
matrix.setSinCos((float) Math.sin(Math.PI / 3),
(float) Math.sin(Math.PI / 3));// 以原始点为坐标旋转的sin和cos值
matrix.setSinCos((float) Math.sin(Math.PI / 3),
(float) Math.sin(Math.PI / 3), 100, 100);// 以(100,100)点为坐标旋转的sin和cos值
matrix.setTranslate(50, 100);//平移至点(100,100)
标签:des android style blog http io color ar os
原文地址:http://www.cnblogs.com/scetopcsa/p/4071967.html