标签:plain add called dex img one evel ros explain
The fastest way to create a robust, cross-platform compatible Node.js CLI (optionally typed with TypeScript) is by running npx oclif single mycli. Here we explain what this means and how and why to integrate this with Yarn Workspaces for an ideal developer experience.
Scaffold a CLI application with Oclif:
npx oclif single mycli
Once you‘re done installing and scaffolding out, you‘ll have a new folder called mycli, which contains your new CLI.
There is a bin folder, you can run CLI using:
./bin/run
But here we choose to use Yarn worksapce to run the cli, for example, running cli will do:
yarn mycli
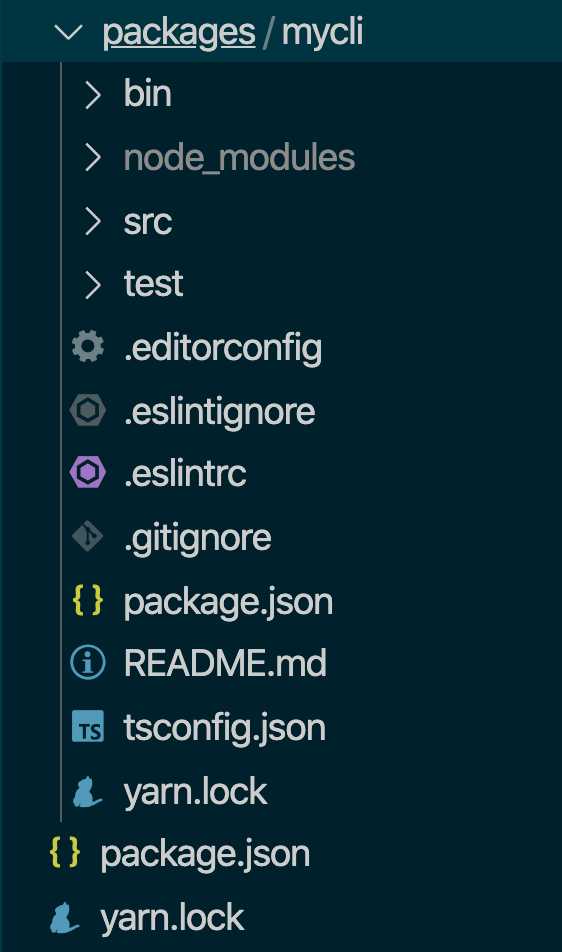
1. First create a packages folder, and put mycli folder into it.
I‘m going to use my finder window to move mycli into the packages. This is to prevent VS Code from renaming everything inside of it.
2. On the same level of packages folder, we create a package.json file:
{
  "private": true,
  "workspaces": [
    "packages/*"
  ]
}

3. On the root level, Run:
yarn
This is correctly link your workspace, without running this command first, it will have error.
4. Running the CLI:
yarn mycli

It just output the default message ‘hello world‘.
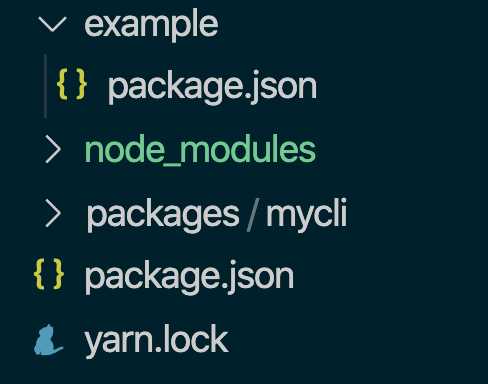
For example we have another project inside or workspace called ‘example‘:

We need to create a example/package.json file:
{
  "name": "example",
  "version": "1.0.0",
  "main": "index.js",
  "license": "MIT"
}
Then update the root level package.json file to include example project:
{
  "private": true,
  "workspaces": [
    "packages/*",
    "example"
  ]
}
Remember to run ‘yarn‘ in the root level
yarn workspace example
This will make sure ‘example‘ project is correctly added into workspace.
Running mycli in example
Now we want use ‘mycli‘ for example project as well.
What we can do is in the root level, we run:
yarn workspace example mycli
It will run mycli inside example context.
[CLI] Create a Single-Command Node.js CLI with Oclif, TypeScript and Yarn Workspaces
标签:plain add called dex img one evel ros explain
原文地址:https://www.cnblogs.com/Answer1215/p/12391381.html