标签:res 视图 就是 tco 添加 class ann mapping message
第一步:下载并导入jackson-all-1.9.0.jar包, 如需要请添加QQ:1792099653,请备注“jackson”
第二步:解决乱码问题, 在dispatcher-servlet.xml中配置 如下代码
<!--json格式解决乱码问题-->
    <mvc:annotation-driven>
        <mvc:message-converters register-defaults="true">
            <bean class="org.springframework.http.converter.StringHttpMessageConverter">
                <property name="supportedMediaTypes">
                    <list>
                        <value>text/html;charset=UTF-8</value>
                        <value>application/json;charset=UTF-8</value>
                    </list>
                </property>
            </bean>
        </mvc:message-converters>
    </mvc:annotation-driven>
第三步:编写工具类 utils工具类:避免代码的复用
import org.codehaus.jackson.map.ObjectMapper;
import org.codehaus.jackson.map.SerializationConfig;

import java.io.IOException;
import java.text.SimpleDateFormat;

public class utiles {
    public static String getJson(Object object){
        return getJson(object, "yyyy-MM-dd HH:mm:ss");
    }

    public static String getJson(Object obj, String dateformat){
        ObjectMapper mapper = new ObjectMapper();

        // 自定义日期格式
        mapper.configure(SerializationConfig.Feature.WRITE_DATES_AS_TIMESTAMPS, false);
        SimpleDateFormat sdf = new SimpleDateFormat(dateformat);
        mapper.setDateFormat(sdf);

        try {
            return mapper.writeValueAsString(obj);
        } catch (IOException e) {
            e.printStackTrace();
        }

        return null;
    }
}
第四步:编写Controller文件,其中有个自行创建的User实体类
User实体类代码
public class User {
    private String name;
    private int age;
    private int id;

    public User(){}

    public User(String name, int age, int id) {
        this.name = name;
        this.age = age;
        this.id = id;
    }

    public String getName() {
        return name;
    }

    public void setName(String name) {
        this.name = name;
    }

    public int getAge() {
        return age;
    }

    public void setAge(int age) {
        this.age = age;
    }

    public int getId() {
        return id;
    }

    public void setId(int id) {
        this.id = id;
    }
}
Controller代码
import com.springmvc.app.dao.User;
import org.springframework.web.bind.annotation.RequestMapping;
import org.springframework.web.bind.annotation.RestController;
import java.io.IOException;
import java.util.ArrayList;
import java.util.Date;
import java.util.List;
import com.springmvc.app.utils.utiles;

//@Controller
@RestController
public class UserController {

    @RequestMapping("/json1")
//    @ResponseBody //他就不会走视图解析器,会直接返回一个字符串
    public String json1() throws IOException {

        //创建一个对象
        User user = new User("刘洋铭", 15, 1);

        return utiles.getJson(user);
    }

    @RequestMapping("json2")
    public String json2() throws IOException {
        //创建一个集合
        List<User> userList = new ArrayList<User>();

        //创建四个对象
        User user1 = new User("刘洋铭1", 15, 1);
        User user2 = new User("刘洋铭2", 15, 1);
        User user3 = new User("刘洋铭3", 15, 1);
        User user4 = new User("刘洋铭4", 15, 1);

        userList.add(user1);
        userList.add(user2);
        userList.add(user3);
        userList.add(user4);

        return utiles.getJson(userList);
    }

    @RequestMapping("json3")
    public String json3() throws IOException {

        Date date = new Date();
        return utiles.getJson(date);
    }

}
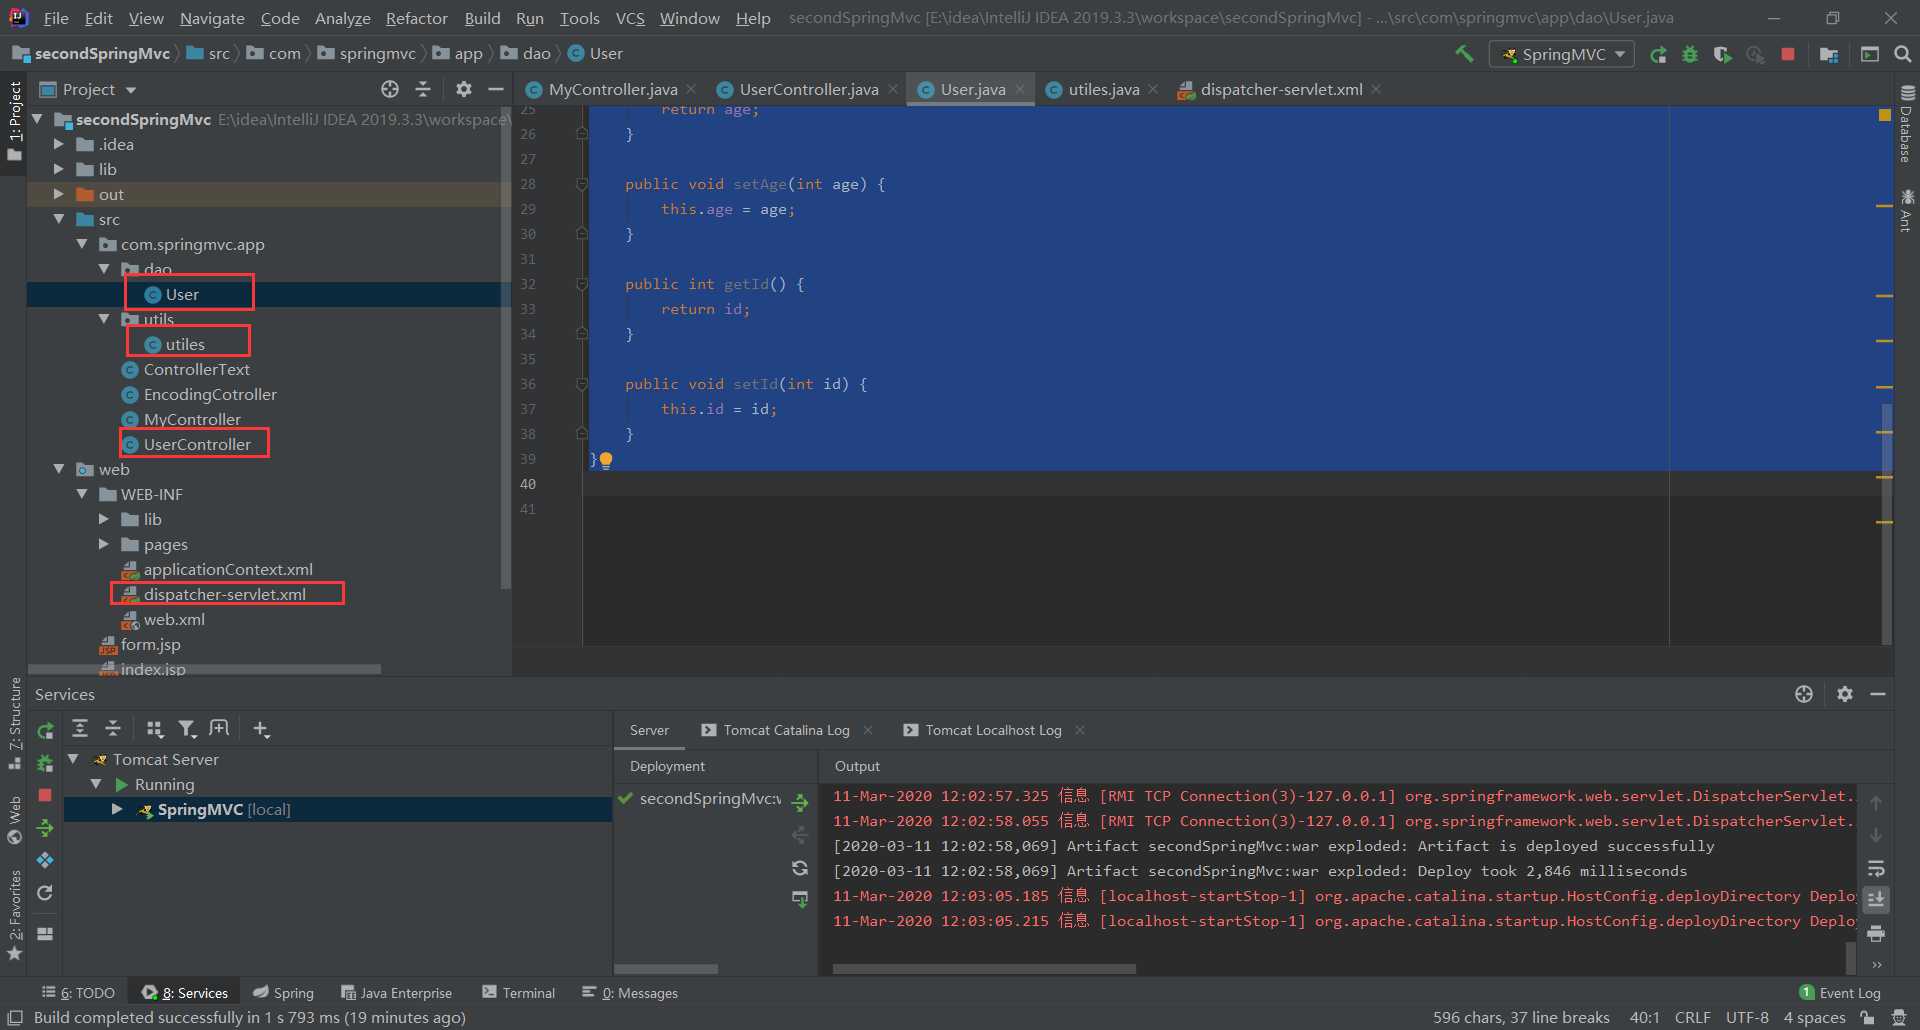
下面是我个人的项目代码 结构 视图,让大家少走弯路

以上就是全部步骤,希望能帮到各位
标签:res 视图 就是 tco 添加 class ann mapping message
原文地址:https://www.cnblogs.com/liuyangming/p/12461535.html