标签:打开 false 第三方 ace 工程 blog location 代码 一个
? 今天下班回家的路上,在群里发现群友说Visual Studio 2019更新了,貌似支持了WinFrom的designer文件。回家之后,打开心爱的小本本,将Visual Studio 2019完之后,去巨硬的官方看了一下更新公告。
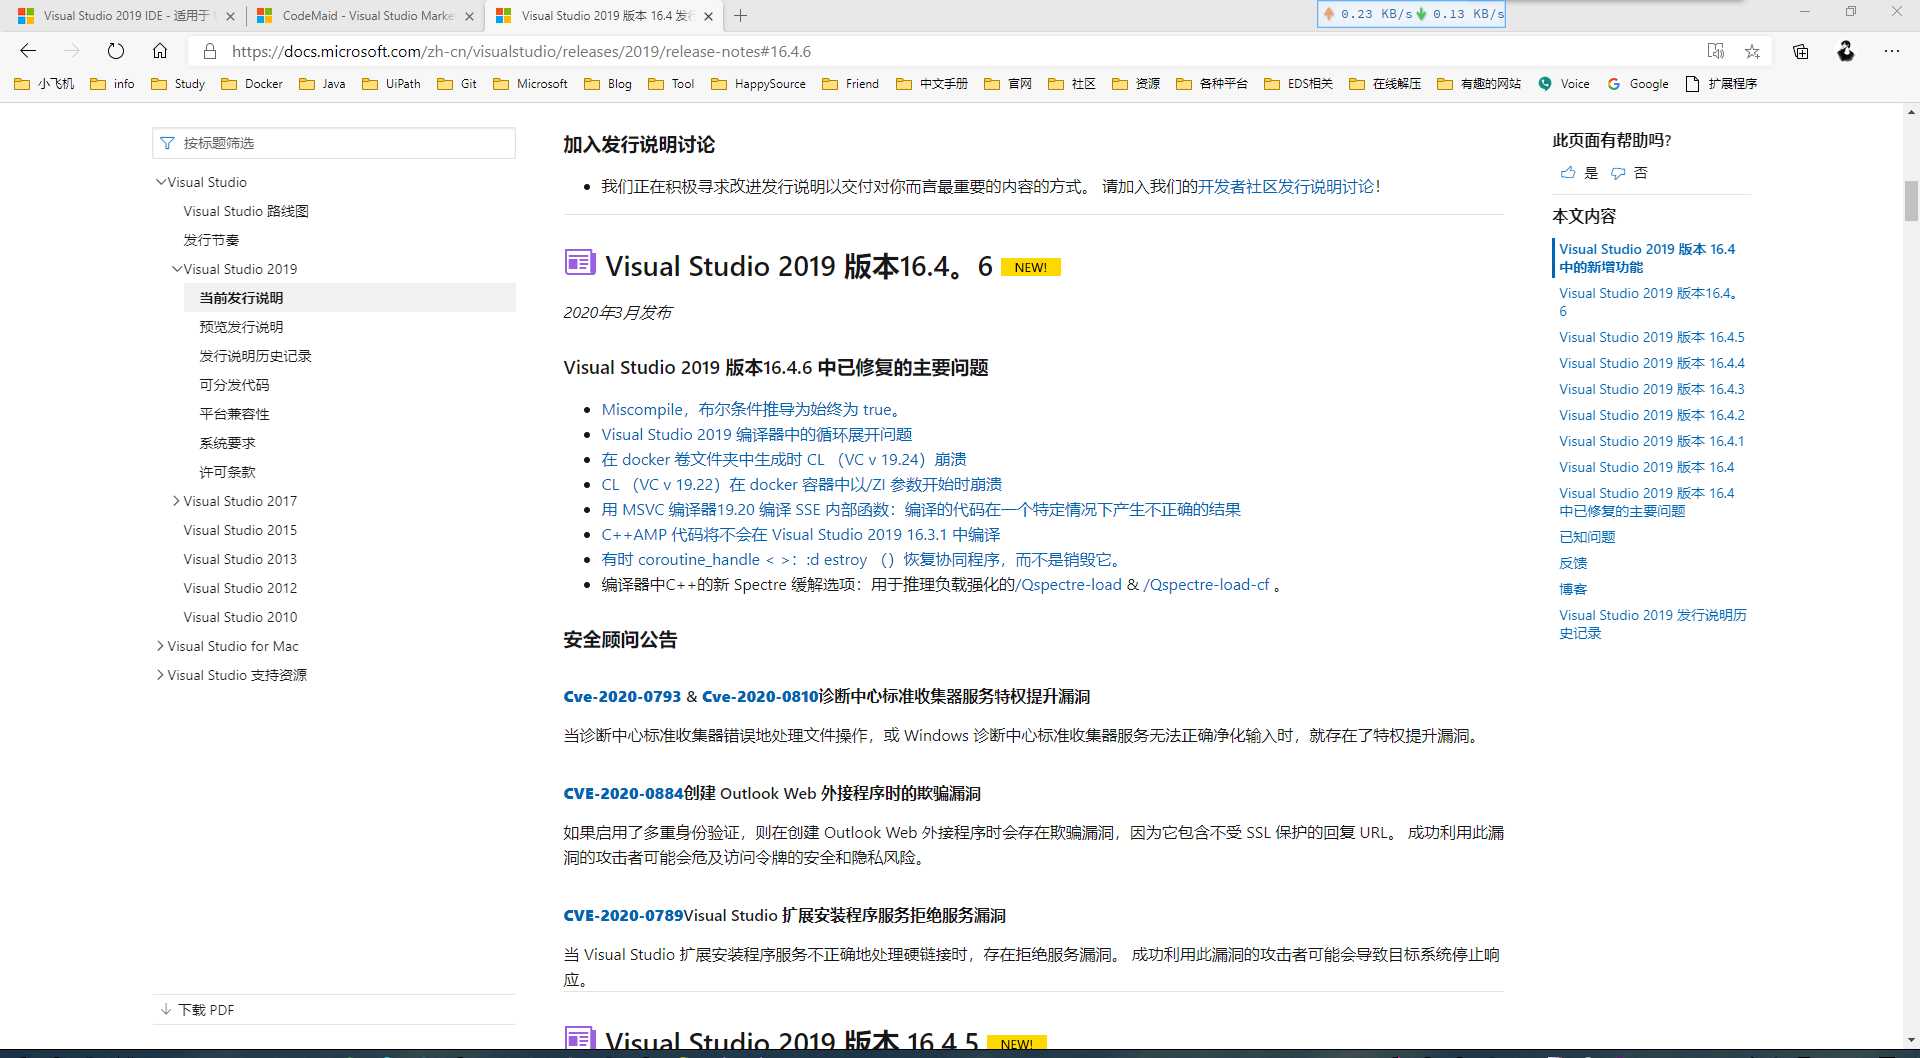
发现并没有列出此项作为更新项。又失望的以为群友在晃点我。然后,建立了一个测试工程。发现沙雕群友竟然没有晃点我~ 让我们来看看这次更新带来的意外之喜吧~
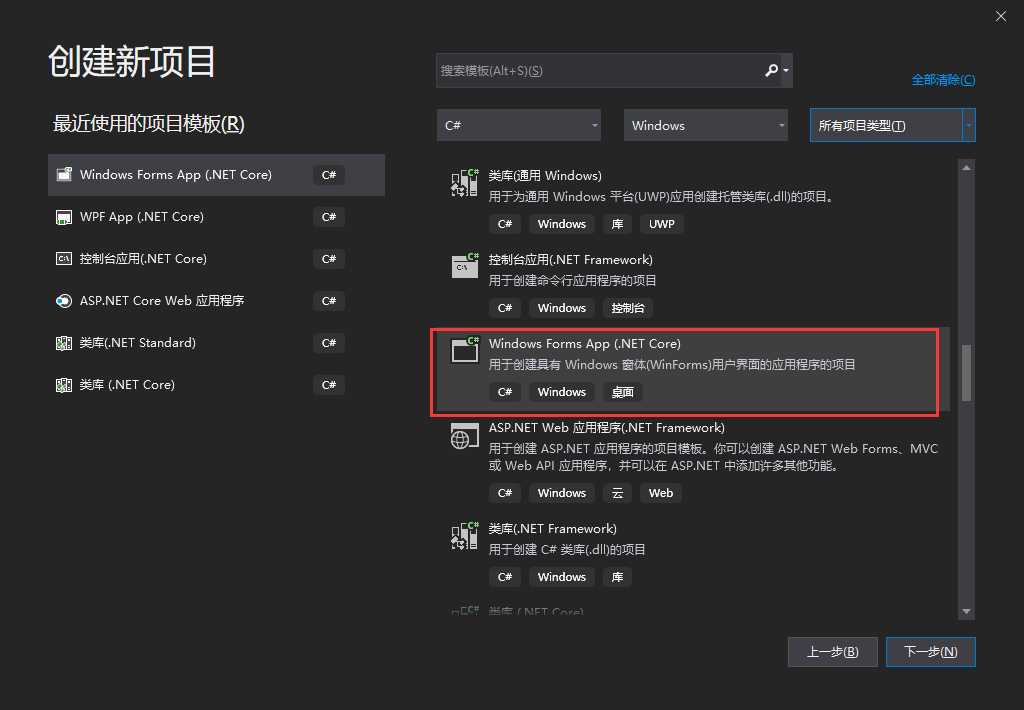
打开VS2019,点击创建新项目,选择模板的时候。选择Windows Forms App(.NET Core)。如下图所示。
下一步,填写项目名称,选择项目路径。
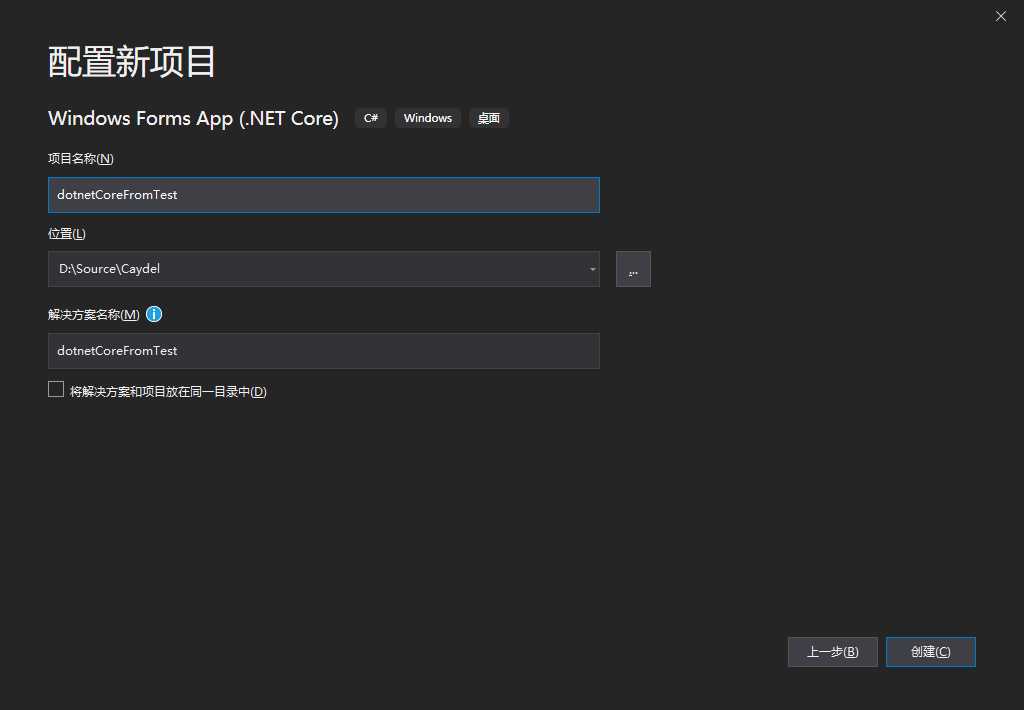
下一步,我们的测试项目就创建完成了~
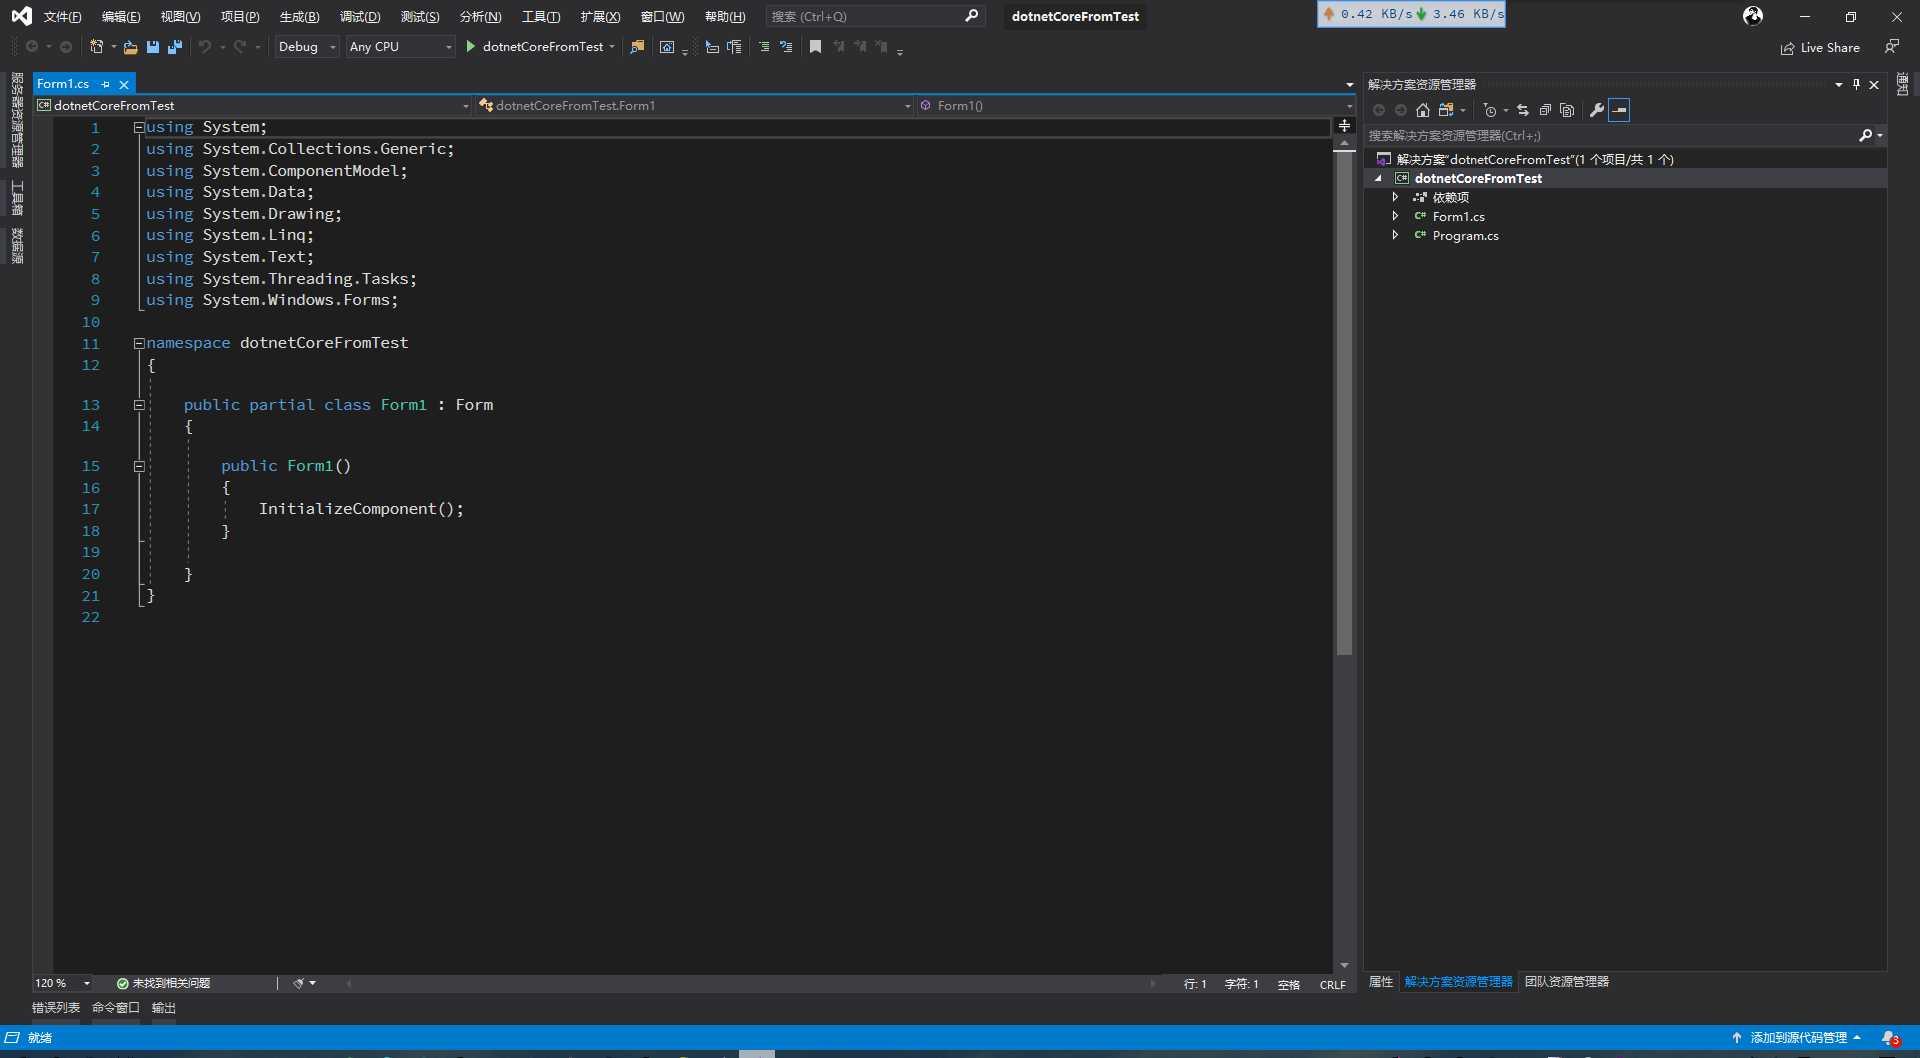
点开Project文件,查看项目架构~
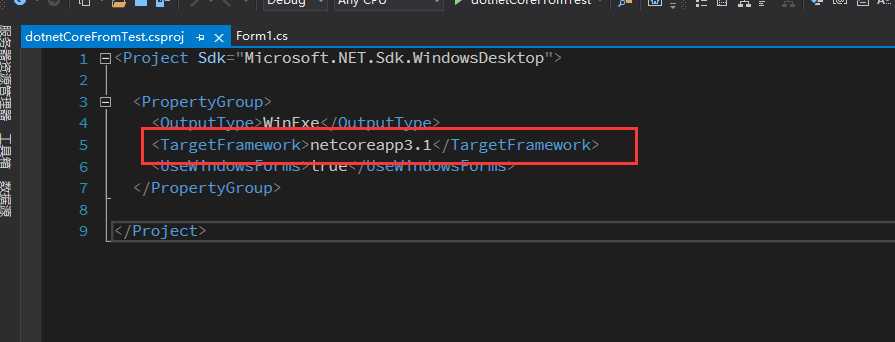
再点看Form1看一下~
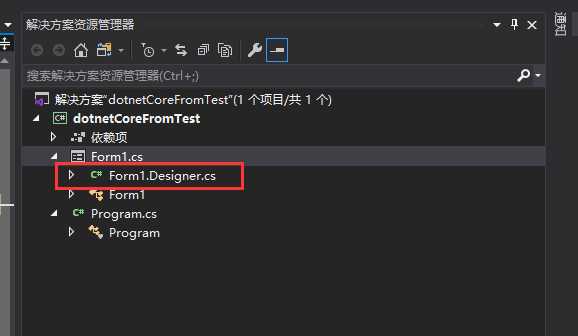
看到熟悉的文件了~~
? 我尝试了一下,发现现在还是无法使用设计模式预览Designer文件。当然也有可能是我还没有仔细研究过~不过这也无伤大雅,我们来手动添加控件测试一下。
注意:Visual Studio Enterprise 2019 Preview 16.5.0 Preview 4.0开始就支持设计模式。附上微软官方开发人员的Blog地址:一个美女的Blog~
添加一个Text控件,整个Designer文件代码如下。
using System.Windows.Forms;

namespace dotnetCoreFromTest
{
    partial class Form1
    {
        /// <summary>
        ///  Required designer variable.
        /// </summary>
        private System.ComponentModel.IContainer components = null;

        /// <summary>
        ///  Clean up any resources being used.
        /// </summary>
        /// <param name="disposing">true if managed resources should be disposed; otherwise, false.</param>
        protected override void Dispose(bool disposing)
        {
            if (disposing && (components != null))
            {
                components.Dispose();
            }
            base.Dispose(disposing);
        }

        #region this.Controls

        /// <summary>
        /// textBox1
        /// </summary>
        private TextBox textBox1;

        #endregion

        #region Windows Form Designer generated code

        /// <summary>
        ///  Required method for Designer support - do not modify
        ///  the contents of this method with the code editor.
        /// </summary>
        private void InitializeComponent()
        {

            this.textBox1 = new TextBox();
            this.textBox1.Location = new System.Drawing.Point(10, 10);
            this.textBox1.Name = "textBox1";
            this.textBox1.Size = new System.Drawing.Size(100, 21);
            this.textBox1.TabIndex = 0;

            this.components = new System.ComponentModel.Container();
            this.AutoScaleMode = System.Windows.Forms.AutoScaleMode.Font;
            this.ClientSize = new System.Drawing.Size(800, 450);
            this.Text = "Form1";
            this.Controls.Add(this.textBox1);
        }

        #endregion
    }
}
? 当然,可能有一部分基础不是很好的朋友对手撸控件很愁得慌~ 这也完全没关系。告诉大家一个取巧的办法。大家可以建立一个.NET Framework的WinFrom项目。然后通过设计模式拖一个你想要的控件,设置好属性后,去Designer文件中将该控件复制到.NET Core 3.1 你相应的Designer文件下就可以啦~
? 都已经弄好了,还等什么呢~ F5运行起来吧~ 效果图如下。
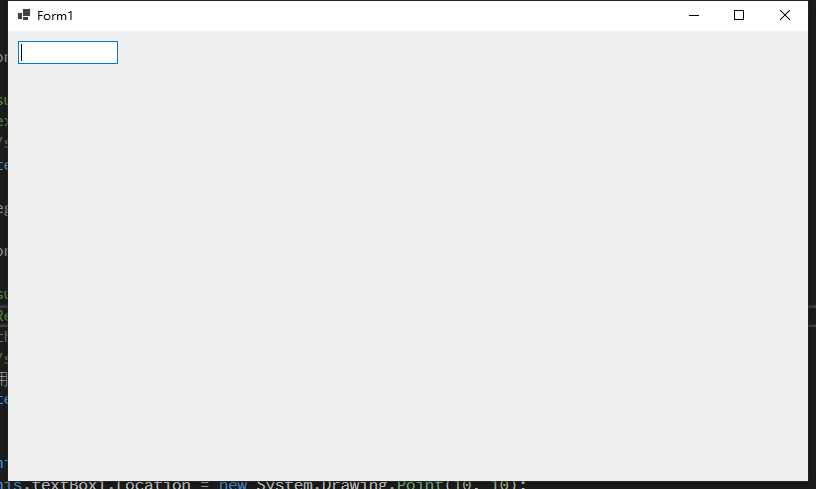
? 莫名的兴奋。其实我也不知道为啥兴奋。因为目前dotnet core 的winfrom还是没有办法投入到生产环境,自身的BUG、第三方控件库的适配等等问题。但是问题并不能阻挡我们继续追求更快更省更优的开发之路。希望能在Visual Studio 2019 正式版本16.5.0上能够使用完整的WinFrom的功能吧~ 求求了~~
【突发】【WinForm】Visual Studio 2019 16.4.6 更新之后的意外之喜
标签:打开 false 第三方 ace 工程 blog location 代码 一个
原文地址:https://www.cnblogs.com/caydel/p/12482858.html