标签:占用 pos rest logs ddr alt image 一句话 使用

Spring Cloud Alibaba Sentinel 是面向于云原生微服务的高可用流控防护组件,主要以流量为切入点,从流量控制、熔断降级、系统自适应保护等多个维度来帮助用户保障微服务的稳定性。 一句话解释,就是之前学习过的 Hystrix 升级版。
| Hystrix | Sentinel |
|---|---|
| 需要程序员手工搭建监控平台 | 单独一个组件、可以独立出来 |
| 没有一套Web界面可以给程序员进行更加细粒度化得配置,比如流控、速率控制、服务熔断、服务降级 | 直接界面化的细粒度统一配置 |
先访问 Sentinel 的 GitHub 地址:https://github.com/alibaba/Sentinel,找到并单击 releases 菜单:

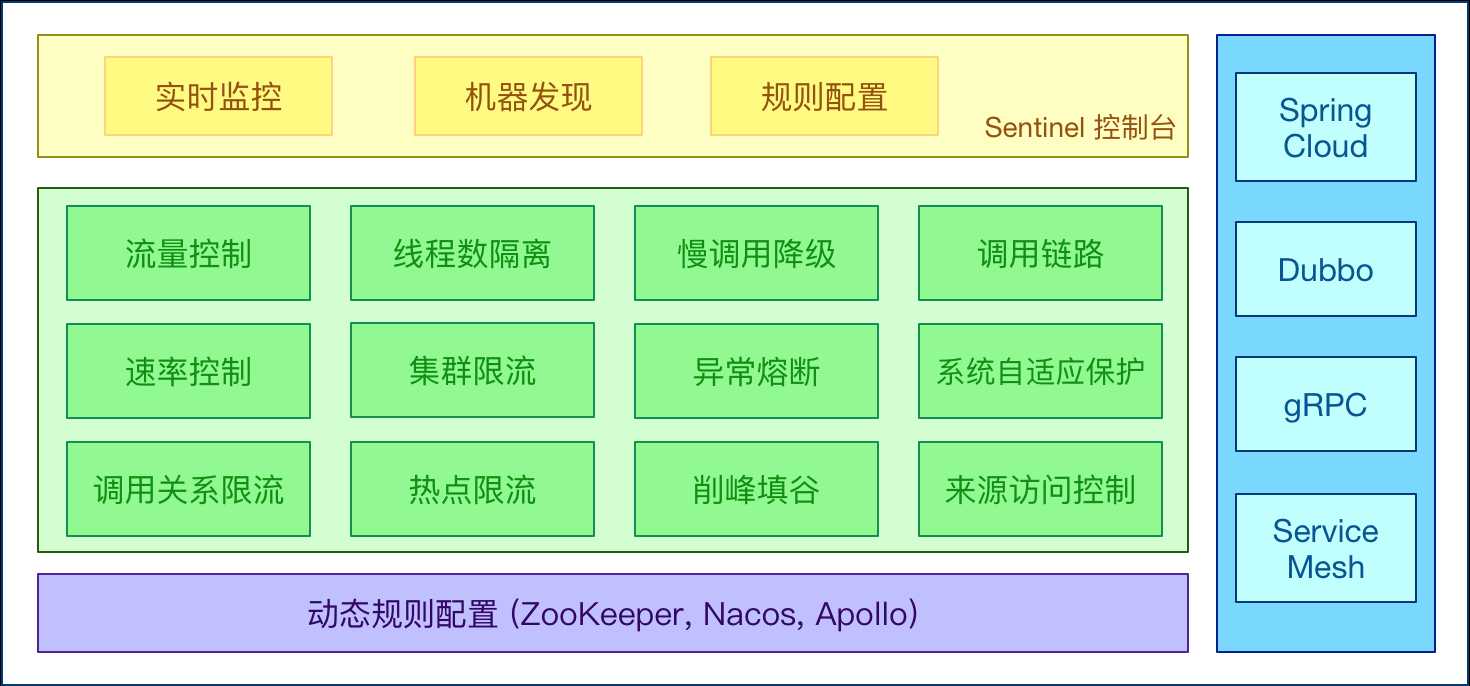
点击 tags 标签,能够查看 Sentinel 发布的所有版本:
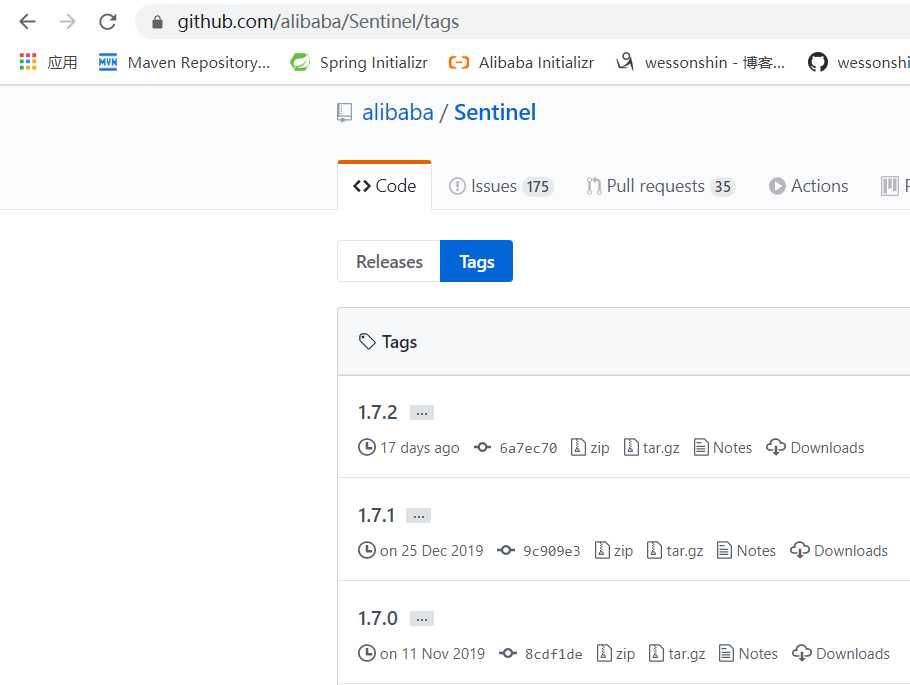
我自己使用的是 sentinel-dashboard-1.7.1.jar 版本,单击下载即可:
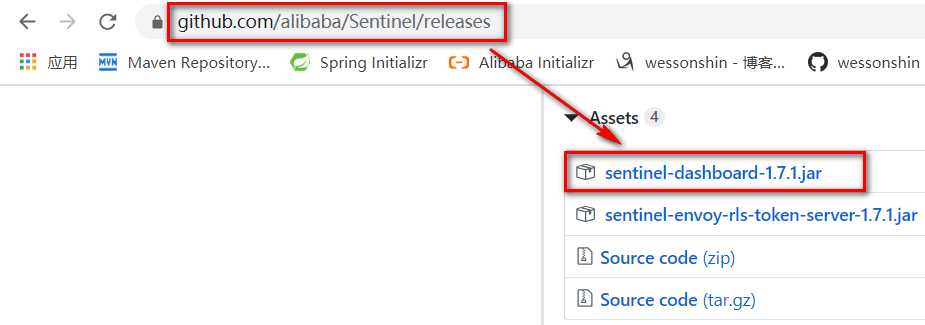
你也可以查看 Sentinel 官网https://sentinelguard.io,有快速开始相关文档教程:
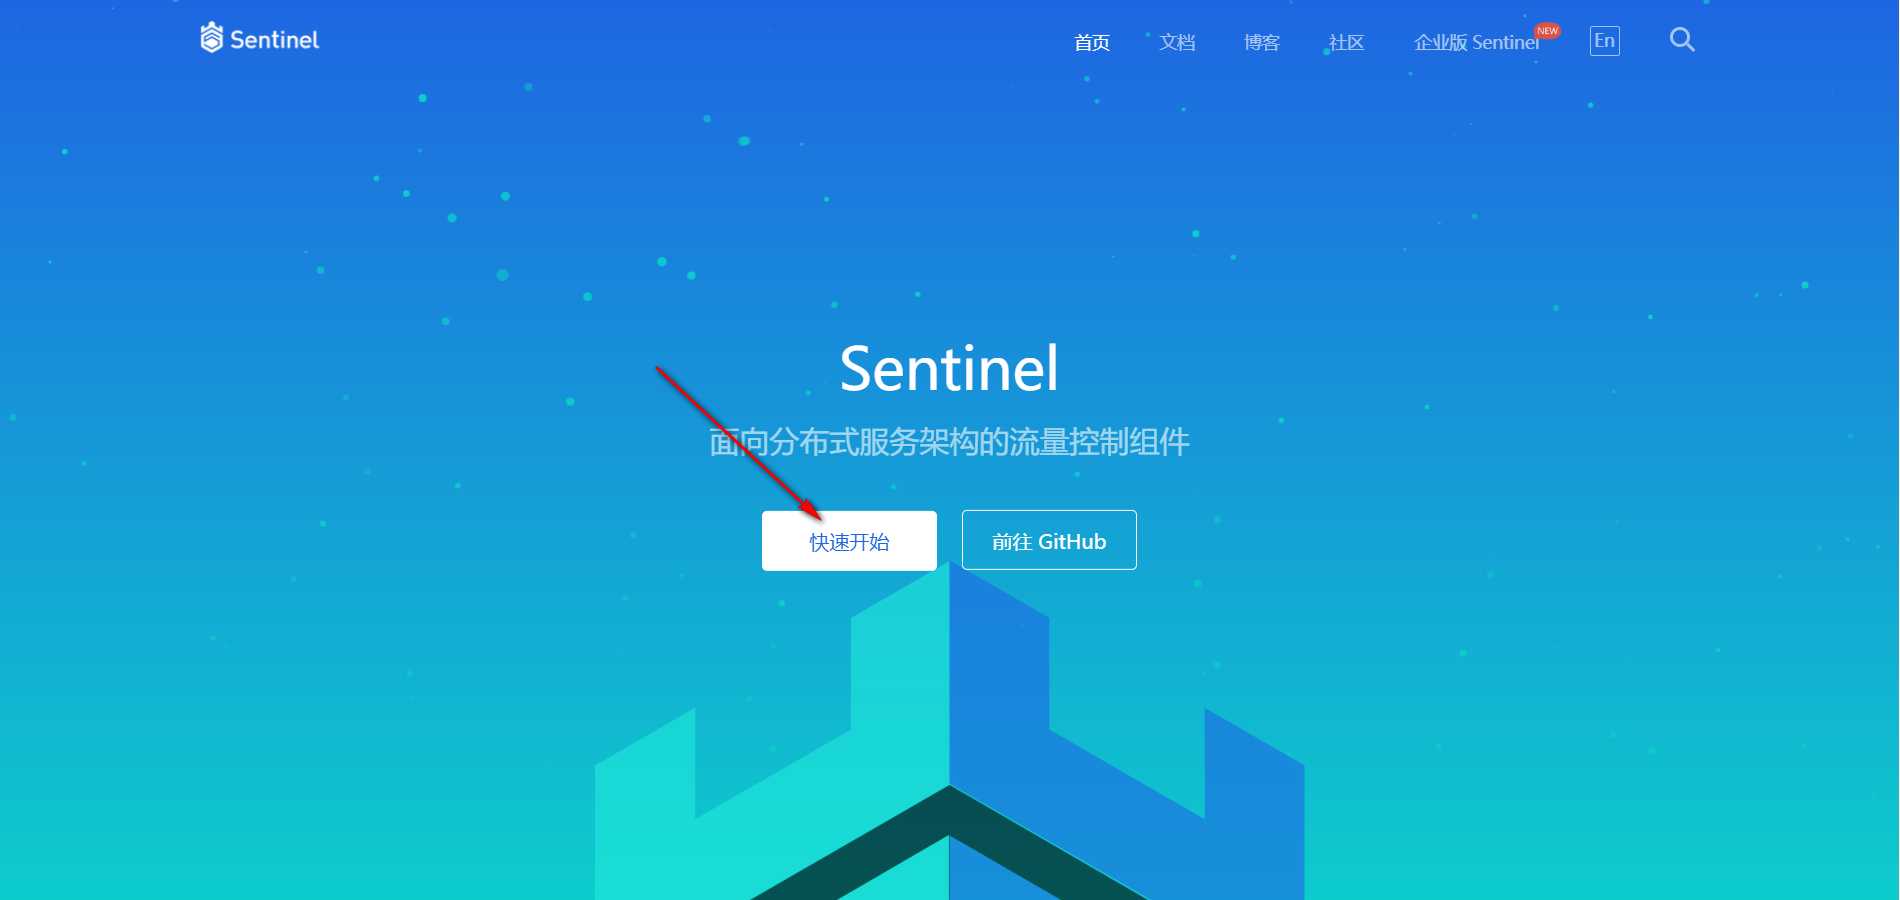
核心库(Java客户端)不依赖任何框架/库,能够运行于所有 Java 运行时环境,同时对 Dubbo / Spring Cloud 等框架也有较好的支持。
控制台(Dashboard)基于 Spring Boot 开发,打包后可以直接运行,不需要额外的 Tomcat 等应用容器。
运行前提:需要最低Java8 JDK环境OK,8080端口不能被占用。在原来8080端口会被说为是 Tomcat 默认端口,不知道为什么,Sentinel 确选择了8080作为自己的端口号。
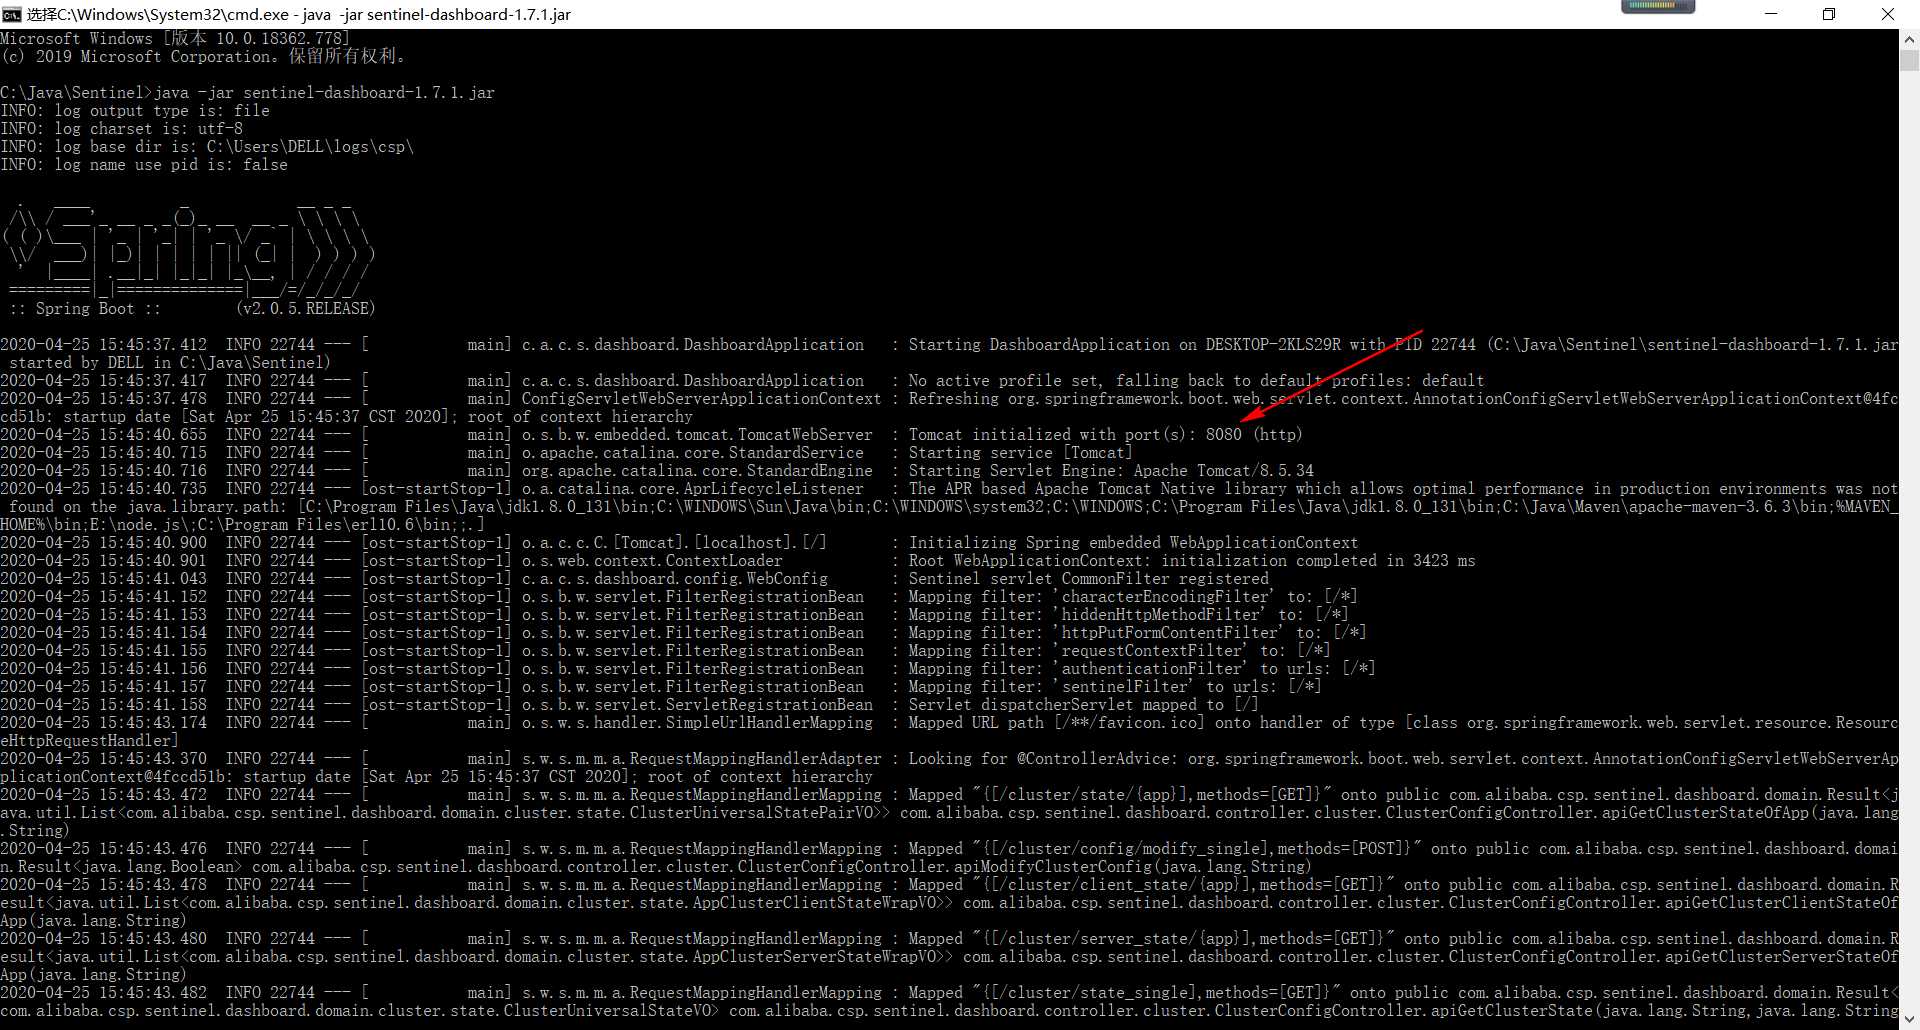
在自己下载的 Sentinel Jar包目录中,长按 Shift 在此处打开 Powershell 窗口,输入 start cmd 命令并打开 Windows 终端窗口,接着输入 java -jar sentinel-dashboard-1.7.1.jar 命令成功启动 Sentinel 控制台如下:
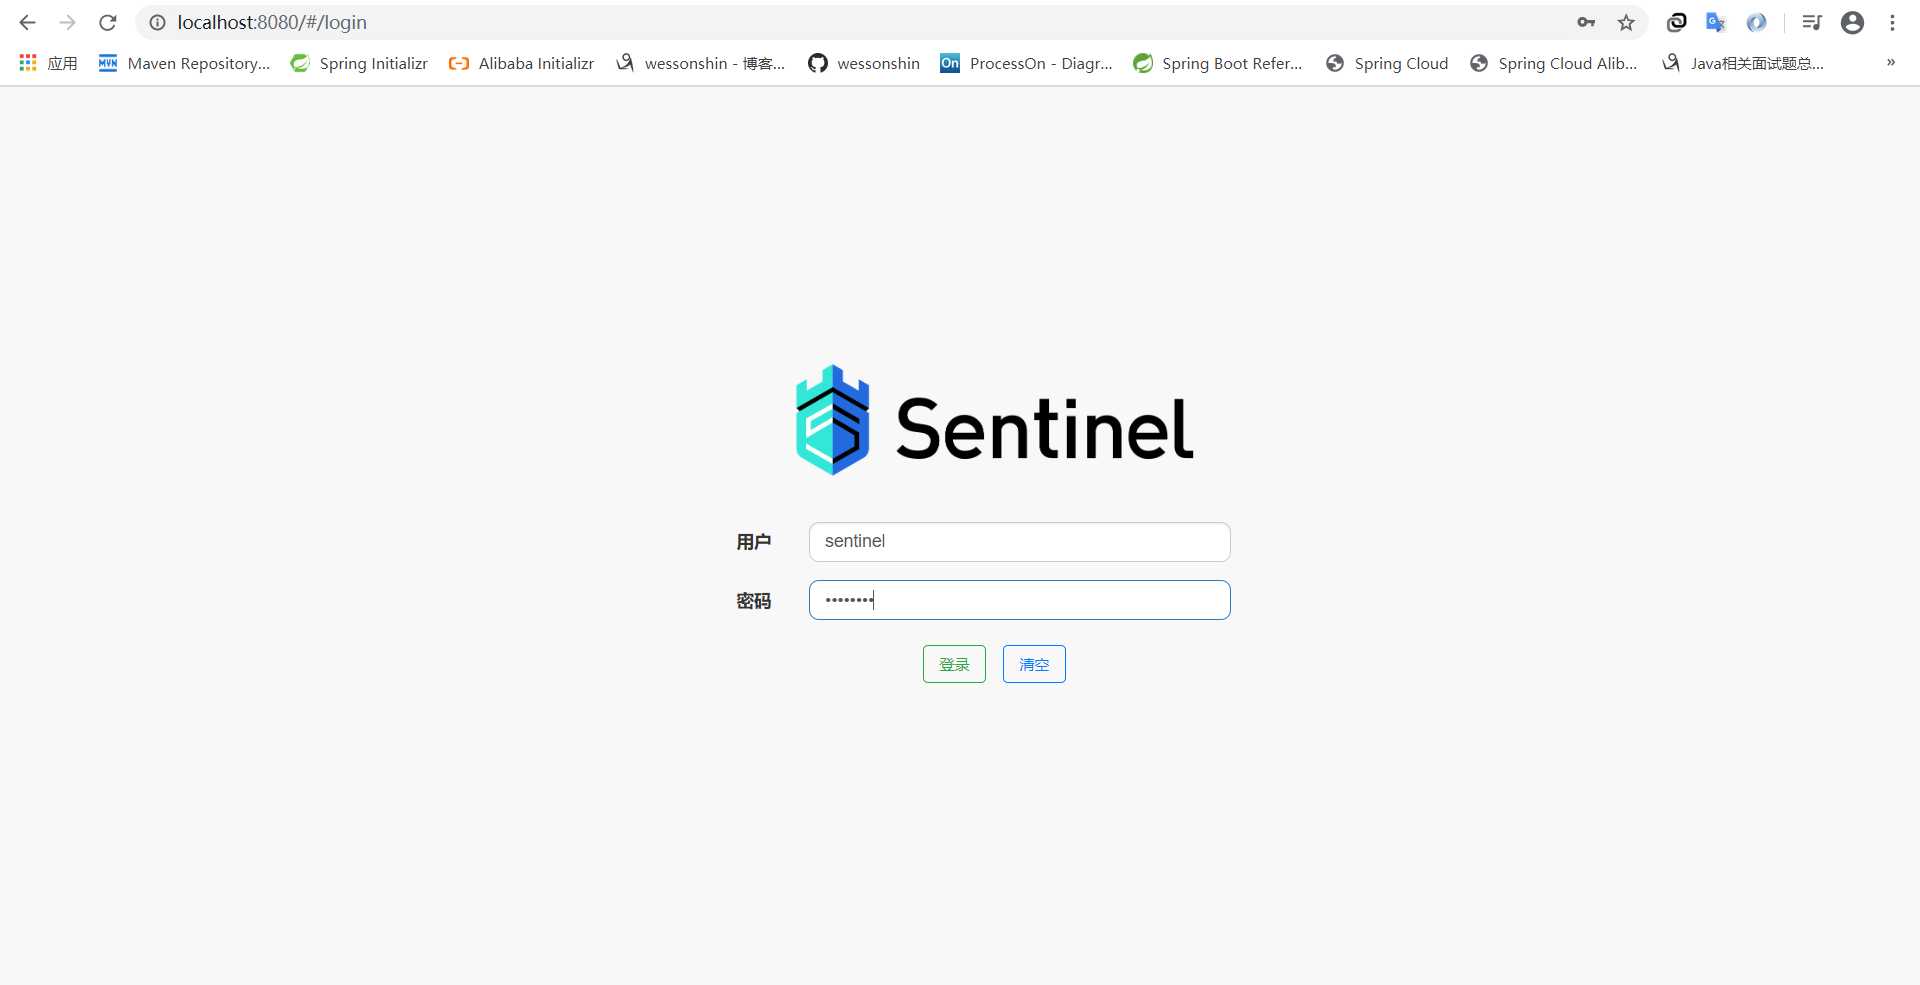
很简单,命令运行成功后直接访问http://localhost:8080/,会转发到 Sentinel 登录页面,输入默认登录账号密码均为 sentinel,都是小写:
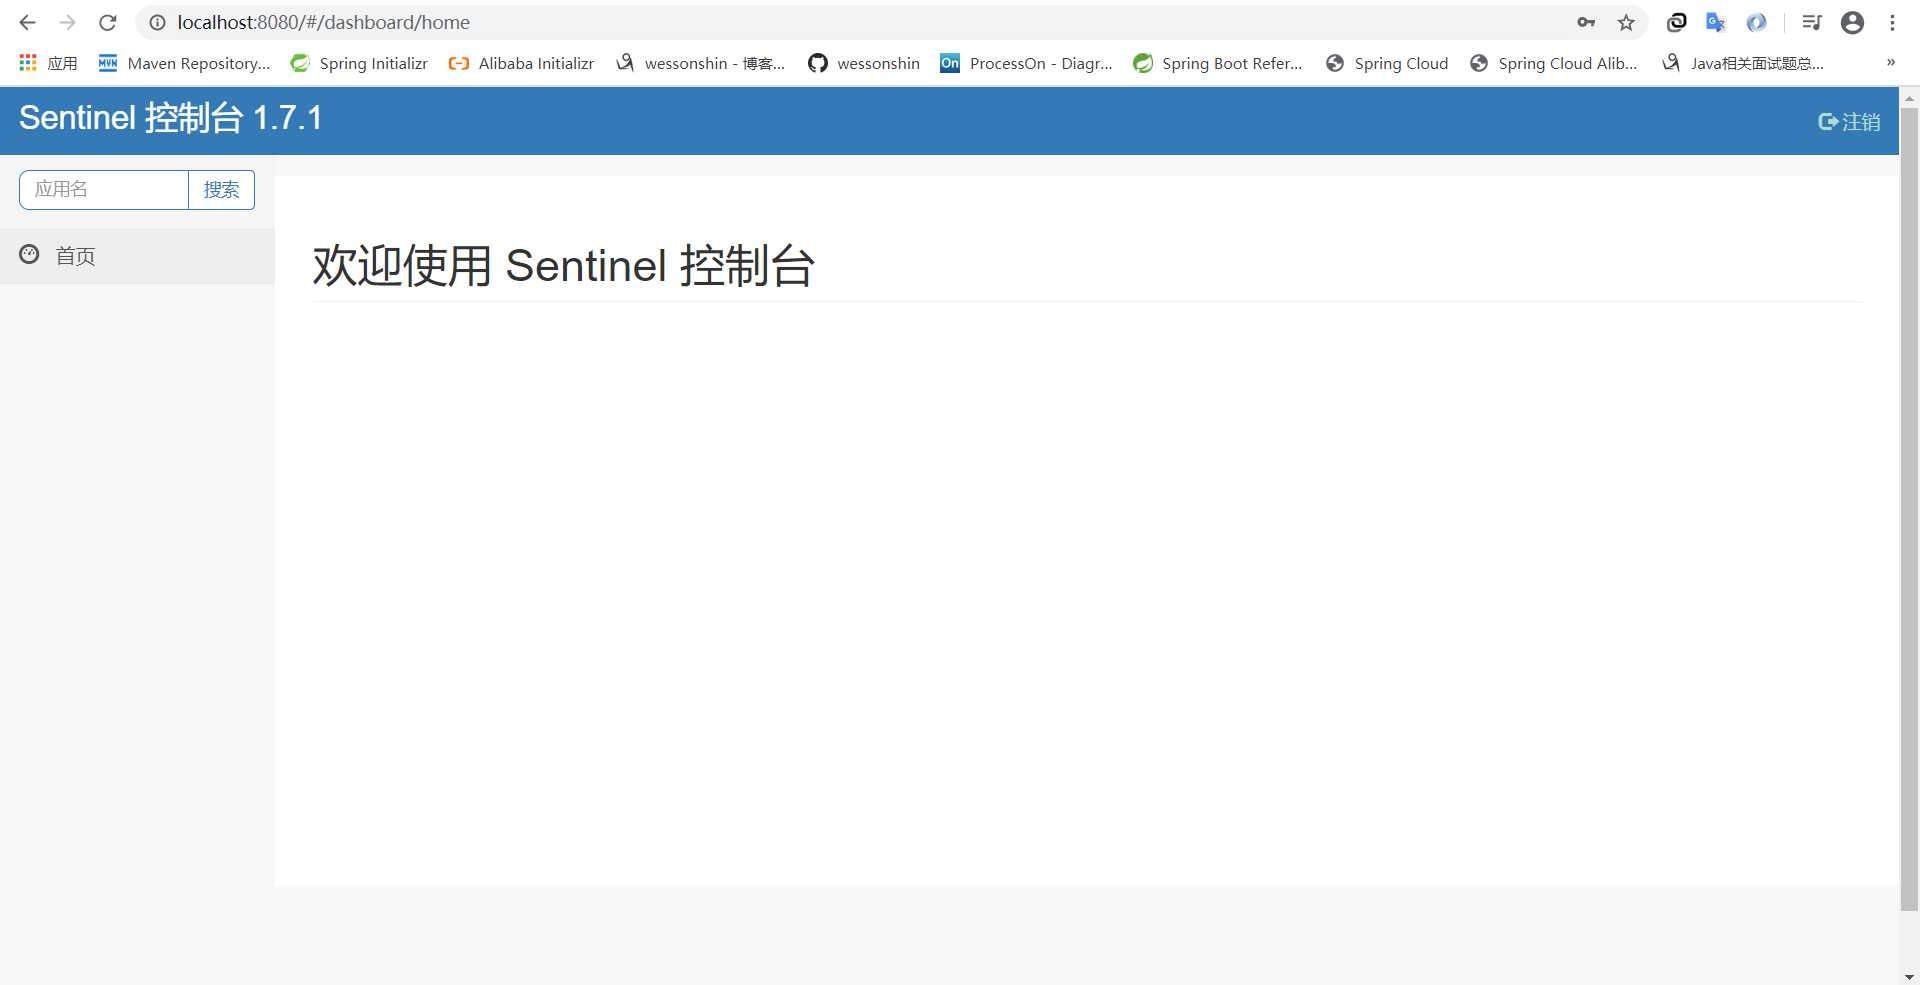
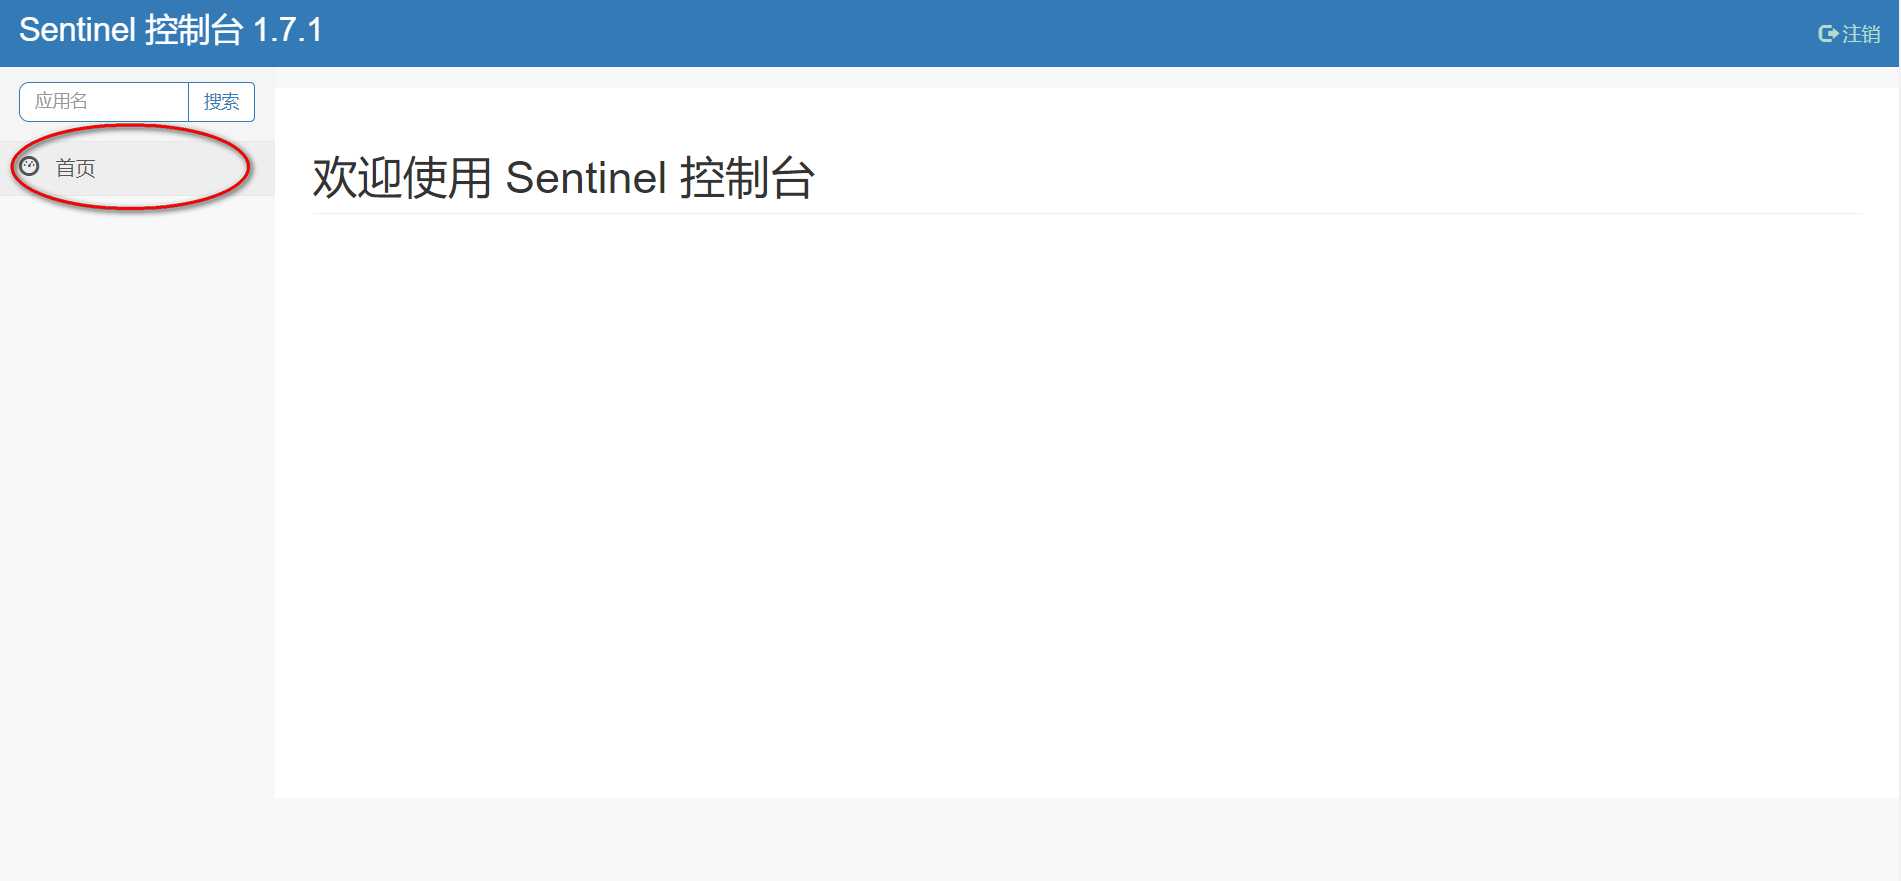
登录后,一进来能够看到 Sentinel 控制台 1.7.1 页面,就表示你的 Sentinel 容错、限流、监控平台安装完成了:
本节需要了解 Nacos注册中心
1)build.gradle项目依赖
创建gradle模块service-sentinel并添加web、actuator监控、alibaba-nacos-discovery与alibaba-sentinel依赖
dependencies {
   compile group: ‘org.springframework.boot‘, name: ‘spring-boot-starter-web‘

   compile group: ‘org.springframework.boot‘, name: ‘spring-boot-starter-actuator‘

   compile group: ‘com.alibaba.cloud‘, name: ‘spring-cloud-starter-alibaba-nacos-discovery‘, version: ‘2.1.0.RELEASE‘

   compile group: ‘com.alibaba.cloud‘, name: ‘spring-cloud-starter-alibaba-sentinel‘, version: ‘2.1.0.RELEASE‘
}

server:
  port: 7070
spring:
  application:
    name: service-sentinel
  cloud:
    nacos:
      discovery:
        server-addr: 127.0.0.1:8848 #指定Nacos服务地址
    sentinel:
      transport:
        dashboard: 127.0.0.1:8080 #指定Sentinel DashBoard服务地址
        port: 8719 #默认8719端口,假如被占用会自动从8719开始依次+1扫描,直至找到未被占用的端口
management:
  endpoints:
    web:
      exposure:
        include: ‘*‘

package org.wesson.cloudalibaba.sentinel;

import org.springframework.boot.SpringApplication;
import org.springframework.boot.autoconfigure.SpringBootApplication;
import org.springframework.cloud.client.discovery.EnableDiscoveryClient;

@EnableDiscoveryClient
@SpringBootApplication
public class ServiceSentinelApplication {

    public static void main(String[] args) {
        SpringApplication.run(ServiceSentinelApplication.class, args);
    }

}

package org.wesson.cloudalibaba.sentinel.controller;

import org.springframework.web.bind.annotation.GetMapping;
import org.springframework.web.bind.annotation.RestController;

@RestController
public class FlowLimitController {

    @GetMapping(value = "/hello")
    public String hello() {
        return "Hello Sentinel";
    }

}
5)测试
Step1:启动 Nacos 服务器
Step2:启动 Sentinel Dashboard 服务器
Step3:运行 service-sentinel 启动类,端口为7070
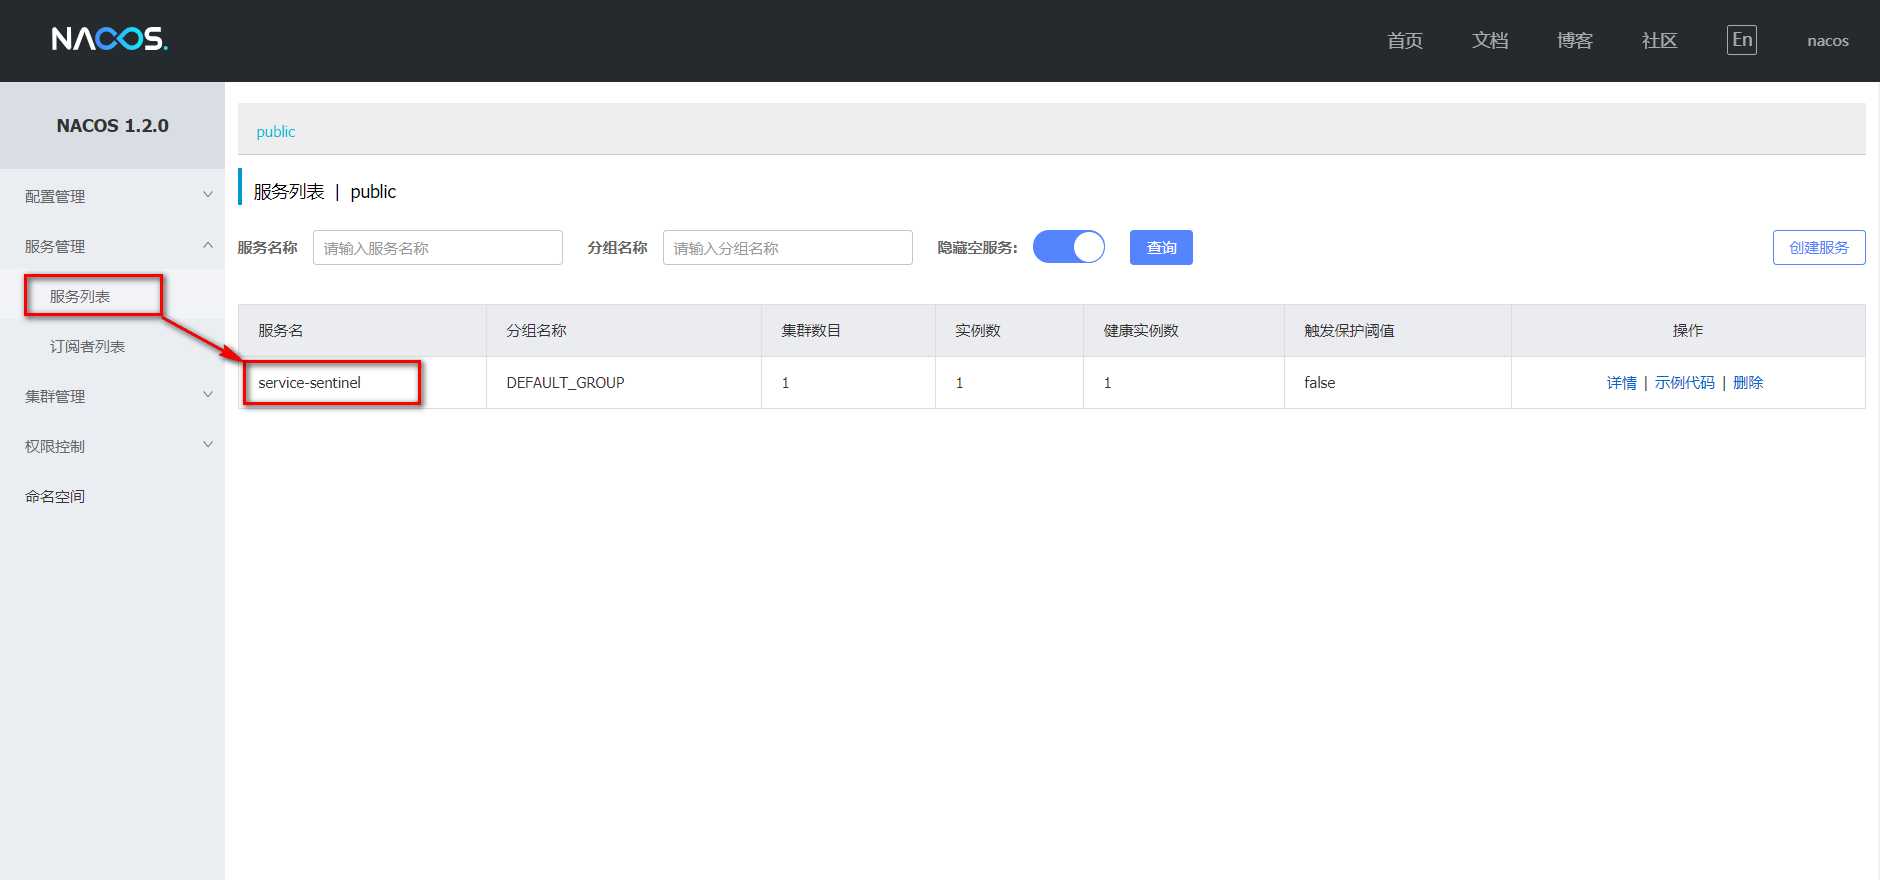
Step4:然后访问http://localhost:8848/nacos,找到服务管理下的服务列表,就能够看到一个服务名为 service-sentinel 的应用程序注册至 Nacos 服务管理页面了:
Step5:接着访问http://localhost:8080请求,切换到 Sentinel 登录页面进入到 Dashboard 首页。此时 Sentinel 控制台并没有监控任何微服务,是弄错了吗?并不是,其实 Sentinel 是采用了懒加载的机制(可以简单理解为每天上班都需要打一次卡,就代表某个微服务注册到 Sentinel 控制台了)。
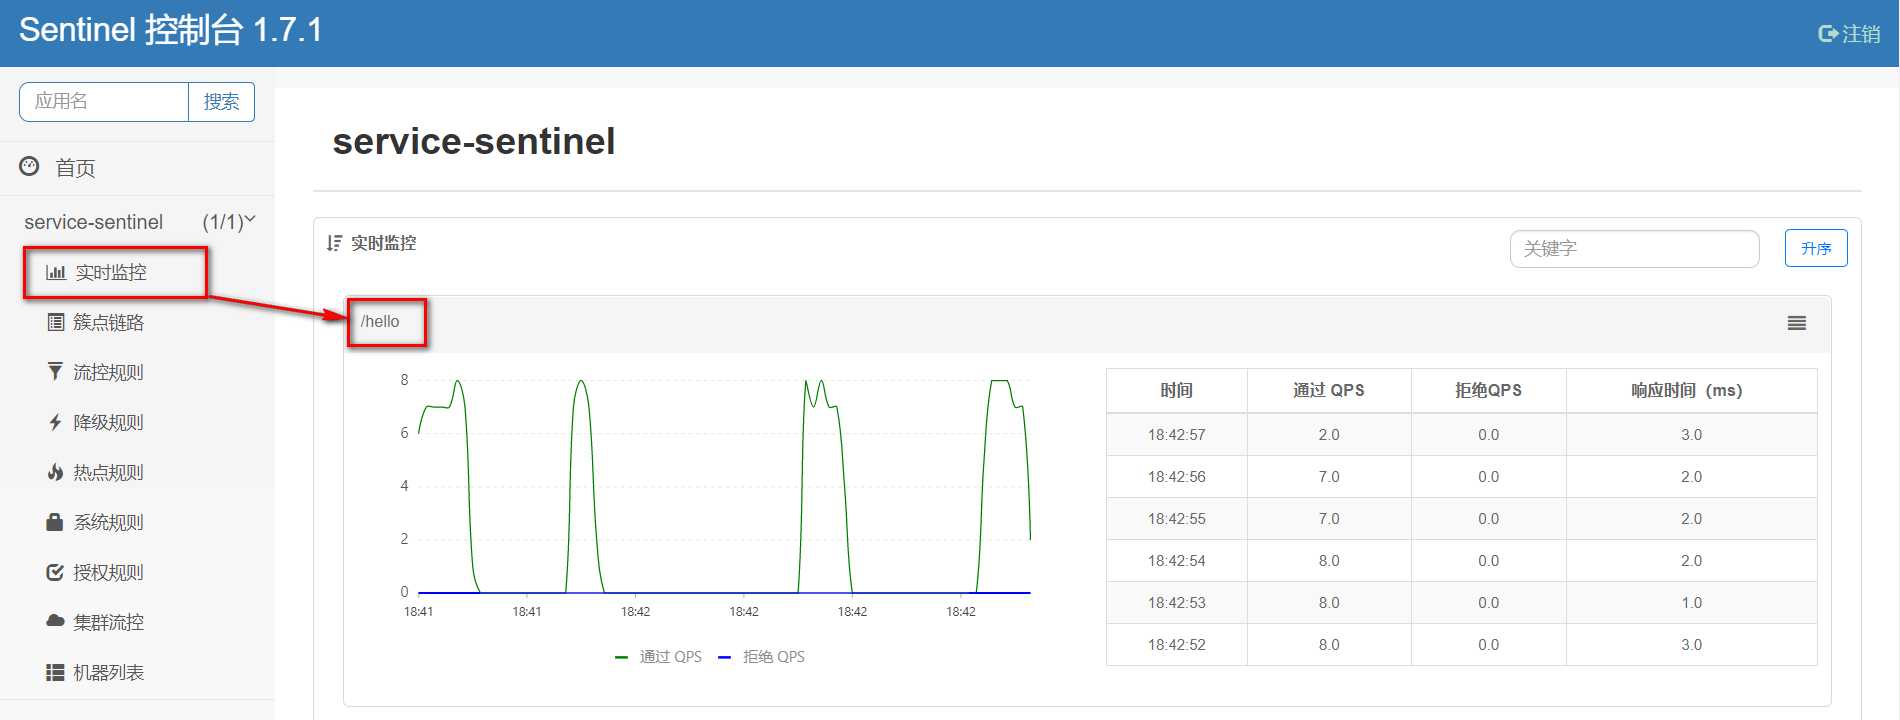
Step6:需要执行一次访问即可,浏览器请求http://localhost:7070/hello,返回结果:

可以多次请求 Controller 接口,就能够看到波峰流量的流动效果了,绿线代表通过,蓝线代表拒绝:
SpringCloud(Alibaba版)Sentinel初识篇
标签:占用 pos rest logs ddr alt image 一句话 使用
原文地址:https://www.cnblogs.com/wessonshin/p/12775125.html