标签:import auto beans ann str project hle current void
喜欢关注个人公众号: java乐园上篇和大家学习了spring cloud 如何整合reids,在测试时借用了web形式的restful接口进行的。那还有没有别的方式可以对spring boot和spring cloud编写的代码进行单元测试呢?答案:肯定是有的。这篇讲解一下如何使用?spring-boot-starter-test进行单元测试
1、新建项目sc-test,对应的pom.xml文件如下
<project xmlns="http://maven.apache.org/POM/4.0.0" xmlns:xsi="http://www.w3.org/2001/XMLSchema-instance"
    xsi:schemaLocation="http://maven.apache.org/POM/4.0.0 http://maven.apache.org/xsd/maven-4.0.0.xsd">
    <modelVersion>4.0.0</modelVersion>

    <groupId>spring-cloud</groupId>
    <artifactId>sc-test</artifactId>
    <version>0.0.1-SNAPSHOT</version>
    <packaging>jar</packaging>

    <name>sc-test</name>
    <url>http://maven.apache.org</url>

    <parent>
        <groupId>org.springframework.boot</groupId>
        <artifactId>spring-boot-starter-parent</artifactId>
        <version>2.0.4.RELEASE</version>
    </parent>

    <dependencyManagement>
        <dependencies>
            <dependency>
                <groupId>org.springframework.cloud</groupId>
                <artifactId>spring-cloud-dependencies</artifactId>
                <version>Finchley.RELEASE</version>
                <type>pom</type>
                <scope>import</scope>
            </dependency>

        </dependencies>
    </dependencyManagement>

    <properties>
        <project.build.sourceEncoding>UTF-8</project.build.sourceEncoding>
        <maven.compiler.source>1.8</maven.compiler.source>
        <maven.compiler.target>1.8</maven.compiler.target>
    </properties>

    <dependencies>
        <dependency>
            <groupId>org.springframework.boot</groupId>
            <artifactId>spring-boot-starter-data-redis</artifactId>
        </dependency>
        <dependency>
            <groupId>org.apache.commons</groupId>
            <artifactId>commons-pool2</artifactId>
        </dependency>

        <dependency>
            <groupId>org.springframework.boot</groupId>
            <artifactId>spring-boot-starter-web</artifactId>
        </dependency>

        <dependency>
            <groupId>org.springframework.boot</groupId>
            <artifactId>spring-boot-starter-test</artifactId>
            <scope>test</scope>
        </dependency>

        <!-- <dependency>
            <groupId>org.springframework.boot</groupId>
            <artifactId>spring-boot-test</artifactId>
            <scope>test</scope>
        </dependency> -->

    </dependencies>
</project>
说明:只要使用spring-boot-starter-test即可,该jar已经包含spring-boot-test
2、新建spring boot启动类
package sc.test;

import org.springframework.boot.SpringApplication;
import org.springframework.boot.autoconfigure.SpringBootApplication;

@SpringBootApplication
public class TestApplication {

    public static void main(String[] args) {
        SpringApplication.run(TestApplication.class, args);
    }

}
备注:如果没有该类,spring-test启动将报错,见下图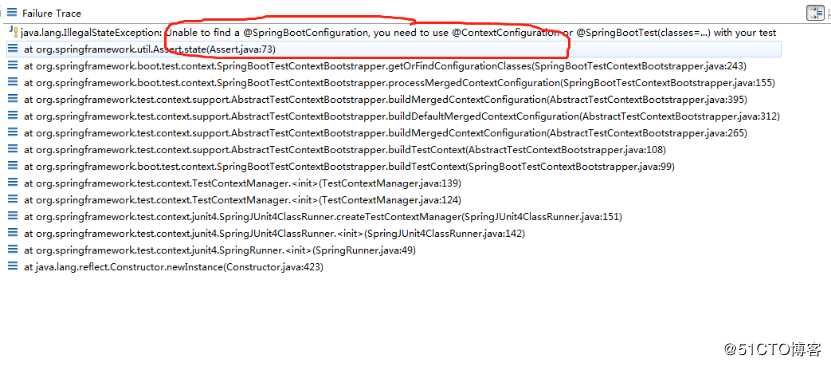
3、新建操作redis的配置类
package sc.test.config;

import java.io.Serializable;

import org.springframework.boot.autoconfigure.AutoConfigureAfter;
import org.springframework.boot.autoconfigure.data.redis.RedisAutoConfiguration;
import org.springframework.context.annotation.Bean;
import org.springframework.context.annotation.Configuration;
import org.springframework.data.redis.connection.lettuce.LettuceConnectionFactory;
import org.springframework.data.redis.core.RedisTemplate;
import org.springframework.data.redis.serializer.GenericJackson2JsonRedisSerializer;
import org.springframework.data.redis.serializer.StringRedisSerializer;

@Configuration
@AutoConfigureAfter(RedisAutoConfiguration.class)
public class RedisCacheAutoConfiguration {

        @Bean
        public RedisTemplate<String, Serializable> redisCacheTemplate(LettuceConnectionFactory redisConnectionFactory) {
                RedisTemplate<String, Serializable> template = new RedisTemplate<>();
                //键的序列化方式
                template.setKeySerializer(new StringRedisSerializer());
                //值的序列化方式
                template.setValueSerializer(new GenericJackson2JsonRedisSerializer());
                template.setConnectionFactory(redisConnectionFactory);
                return template;
        }
}
4、新建配置文件application.yml
server:
    port: 9005

spring:
    application:
        name: sc-redis
    redis:
        host: 127.0.0.1
        password:
        port: 6379
        timeout: 10000 # 连接超时时间(毫秒)
        database: 0 # Redis默认情况下有16个分片,这里配置具体使用的分片,默认是0
        lettuce:
            pool:
                max-active: 8 # 连接池最大连接数(使用负值表示没有限制) 默认 8
                max-wait: -1 # 连接池最大阻塞等待时间(使用负值表示没有限制) 默认 -1
                max-idle: 8 # 连接池中的最大空闲连接 默认 8
                min-idle: 0 # 连接池中的最小空闲连接 默认 0
5、新建测试类TestRedis.java
package sc.test.unit;

import java.io.Serializable;
import java.util.concurrent.ExecutorService;
import java.util.concurrent.Executors;
import java.util.stream.IntStream;

import org.junit.Test;
import org.junit.runner.RunWith;
import org.slf4j.Logger;
import org.slf4j.LoggerFactory;
import org.springframework.beans.factory.annotation.Autowired;
import org.springframework.boot.test.context.SpringBootTest;
import org.springframework.data.redis.core.RedisTemplate;
import org.springframework.data.redis.core.StringRedisTemplate;
import org.springframework.test.context.junit4.SpringRunner;

import sc.test.model.User;

@RunWith(SpringRunner.class)
@SpringBootTest
public class TestRedis {

        private static final Logger log = LoggerFactory.getLogger(TestRedis.class);

        @Autowired
        private StringRedisTemplate stringRedisTemplate;

        @Autowired
        private RedisTemplate<String, Serializable> redisCacheTemplate;

        @Test
        public void get() {
                // 测试线程安全
//        ExecutorService executorService = Executors.newFixedThreadPool(1000);
//        IntStream.range(0, 1000).forEach(i ->
//                executorService.execute(() -> stringRedisTemplate.opsForValue().increment("kk", 1))
//        );
                stringRedisTemplate.opsForValue().set("key", "{‘name‘:‘huangjinjin‘, ‘age‘:30}");
                final String value = stringRedisTemplate.opsForValue().get("key");
                log.info("[字符缓存结果] - [{}]", value);
                String key = "manage:user:1";
                User u = new User();
                u.setId(1L);
                u.setAge(30);
                u.setPosition("cto");
                u.setUserName("good boy");
                redisCacheTemplate.opsForValue().set(key, u);
                //从缓存获取User对象
                final User user = (User) redisCacheTemplate.opsForValue().get(key);
                log.info("[对象缓存结果] - userName={}, age={}, position={}", //
                        user.getUserName(), user.getAge(), user.getPosition());
        }
}
6、进行测试
(1)reids server没有启动时,运行TestRedis.java(右键选择Junit Test)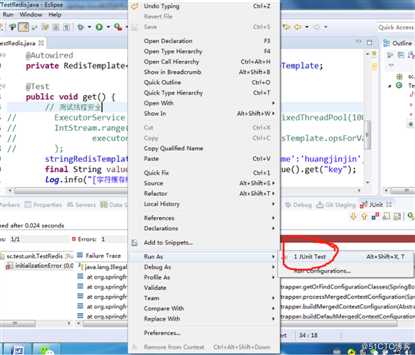
连接不上Reids server异常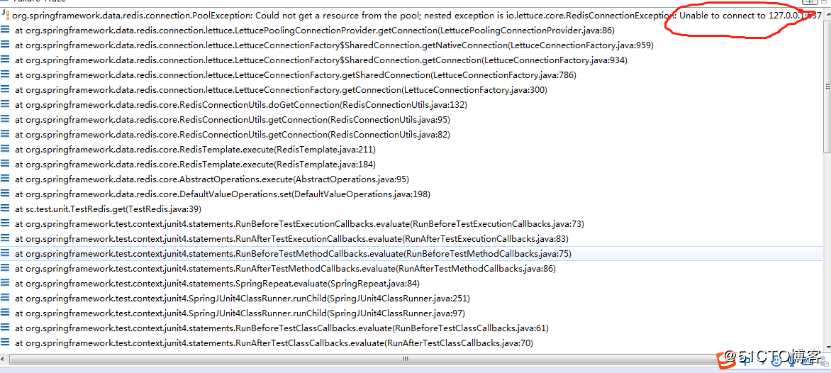
(2)reids server启动后时,运行TestRedis.java,出现绿条说明执行代码成功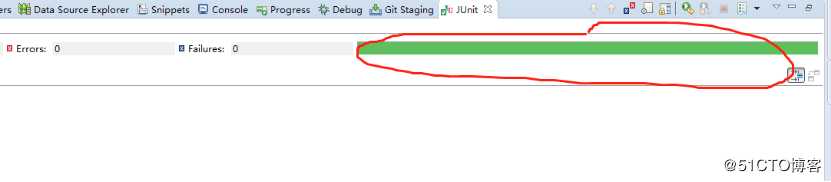
日志中打印相关数据,说明数据也存贮到redis server中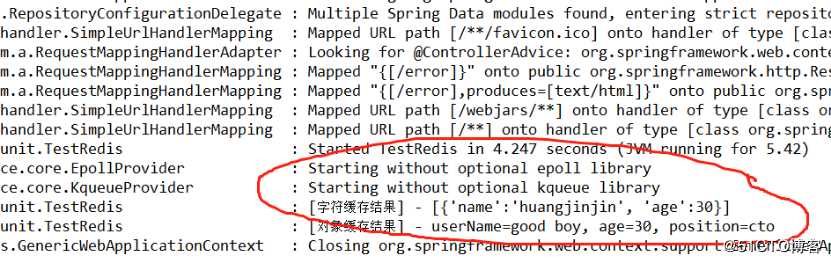
7、使用redis-cli验证数据是否正在存档redis server中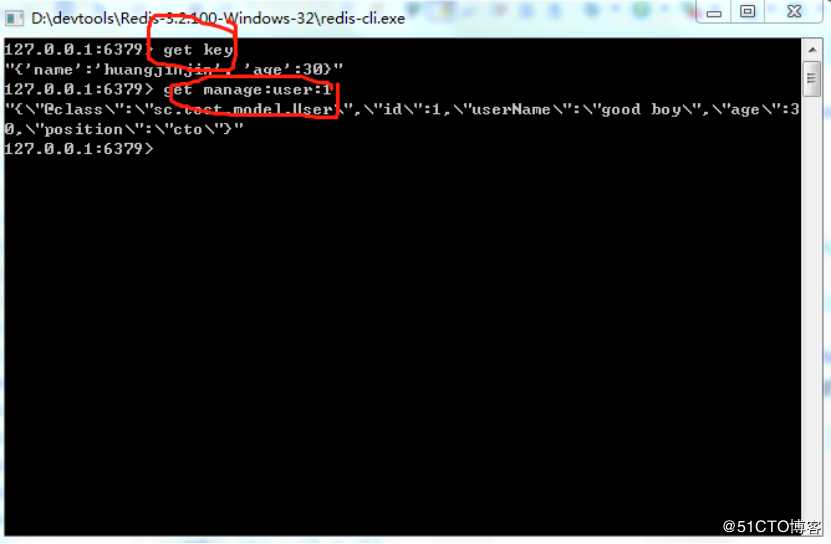
有了spring-boot-starter-test,就可以不使用restful接口对spring boot写的接口进行单元测试了。不但可以测试redis,也可以测试数据库的增删查改。可以使用spring中的各种注解,注入对象。
18、spring cloud如何使用spring-test进行单元测试
标签:import auto beans ann str project hle current void
原文地址:https://blog.51cto.com/13538361/2492002