标签:了解 还需 根据 imp uri 配置使用 username author sha
Spring Security是 一种基于 Spring AOP 和 Servlet 过滤器的安全框架。它提供全面的安全性解决方案,同时在 Web 请求级和方法调用级处理身份确认和授权。
有关认证和授权的理论知识,之前有写过相关博客。了解权限管理
网上找一张图,觉得画的挺好的,比较容易理解。不然换的是源码流程图很难去理解。
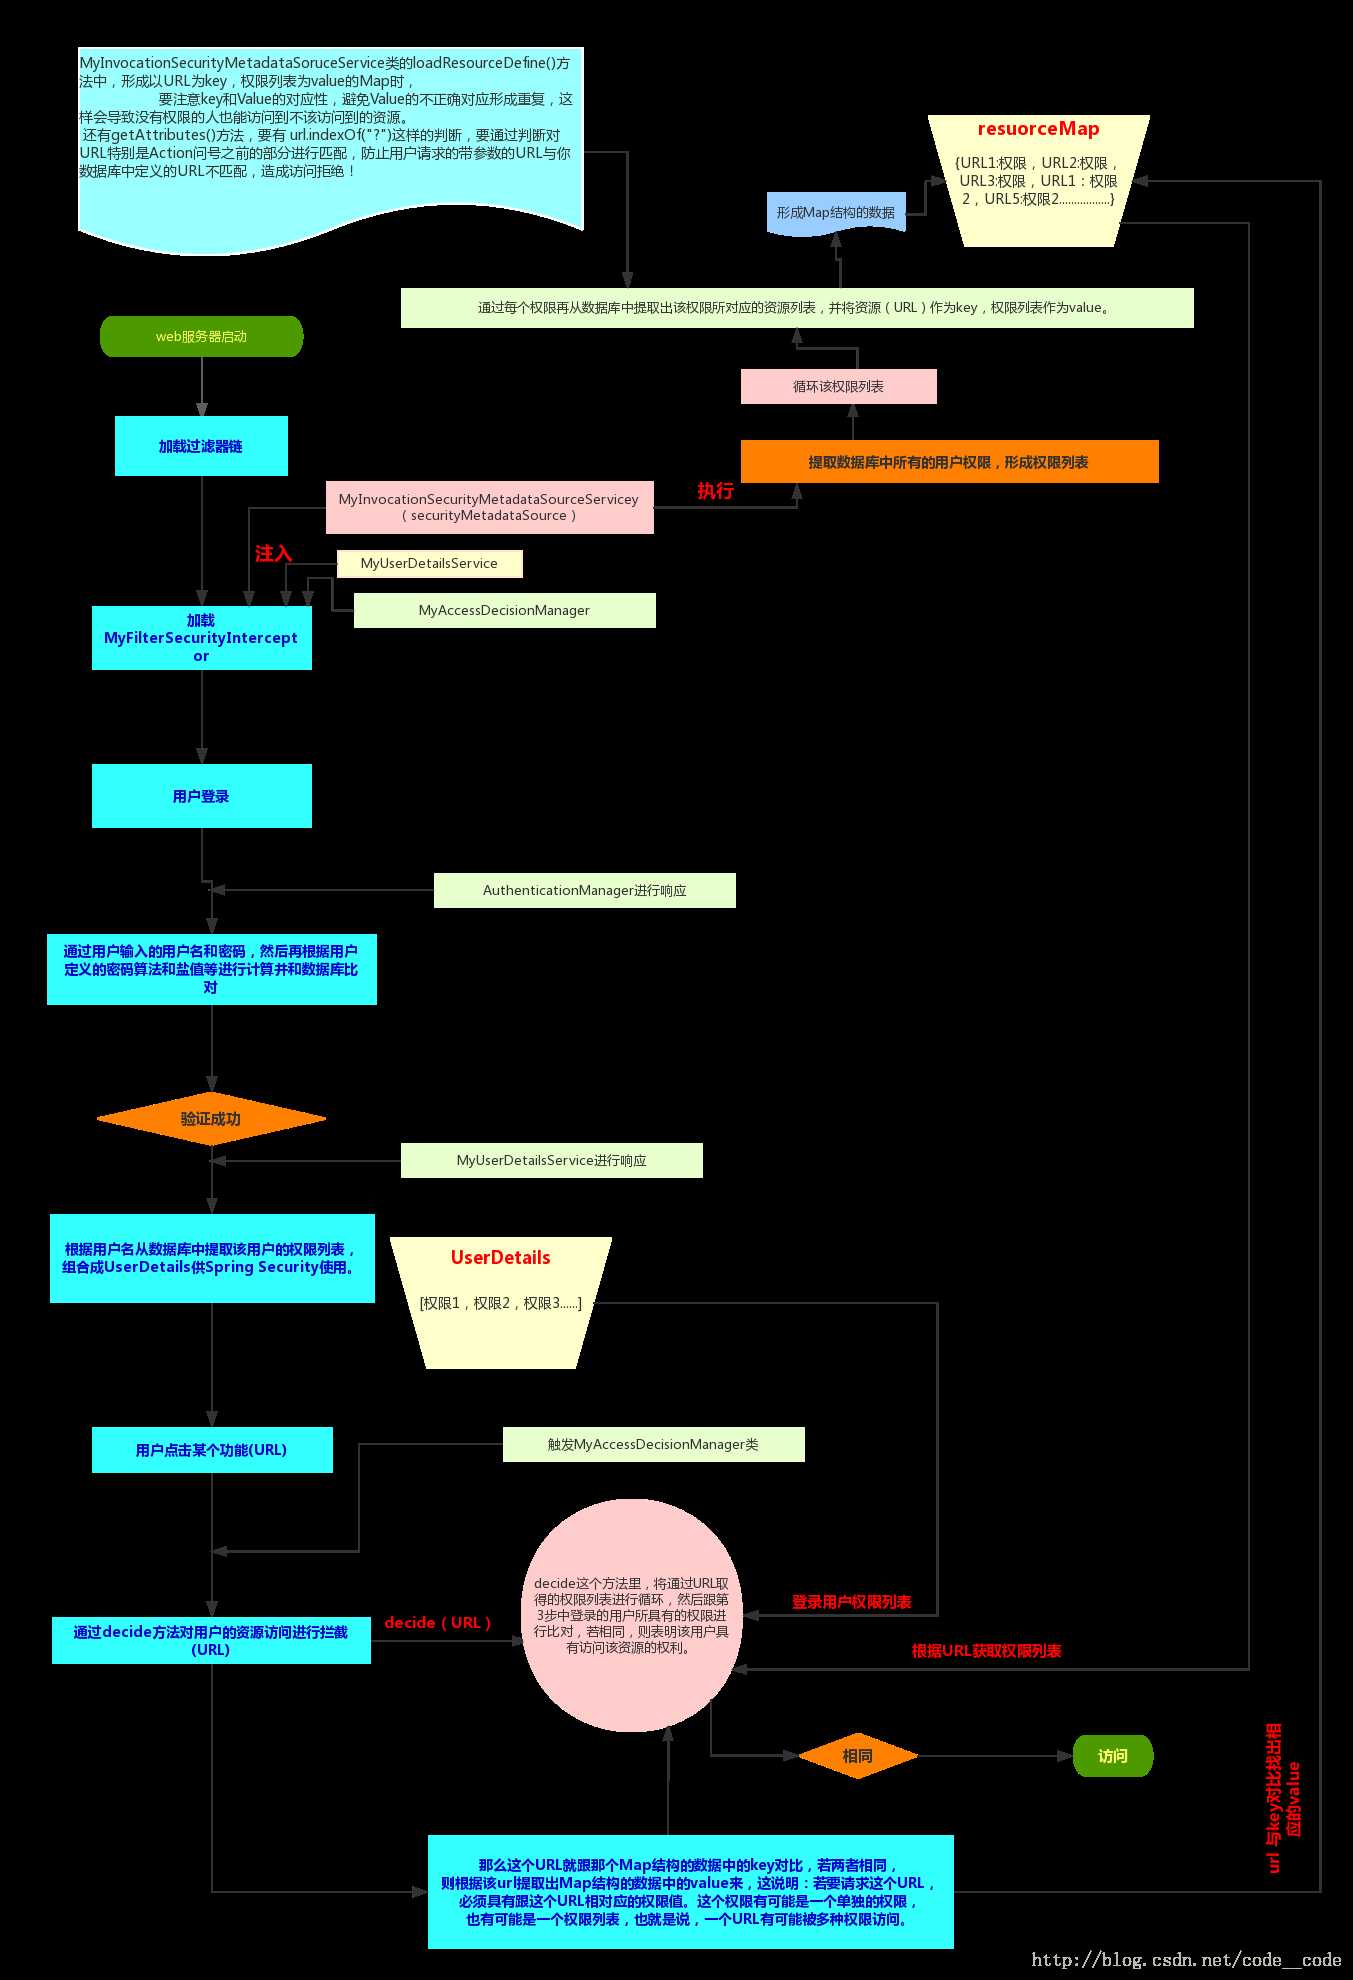
图片地址 : 地址 可以单机放大看更加清楚
要想理解这张图建议看下这篇博客,因为这张图中需要自定义的My...类,在文章中都有说明,所以更好理解点。
这里只展示一些核心代码,具体完整代码放在github上。
Security 中的用户接口,我们自定义用户类要实现该接口, 用于向security中注入当前用户的姓名密码,和拥有的角色。同时也包含一些其它信息,比如当前用户是否过期,
账号是否锁定等等。
自己定义User实现这个接口
public class User implements UserDetails {
    private String username;
    private String password;
    private List<Role> roles;
    /**
     * 获取用户名
     */
    @Override
    public String getUsername() {
        return username;
    }
    /**
     * 获取密码
     */
    @Override
    public String getPassword() {
        return password;
    }
    /**
     * 用户的权限集, 默认需要添加ROLE_ 前缀
     */
    @Override
    @JsonIgnore
    public List<GrantedAuthority> getAuthorities() {
        List<GrantedAuthority> authorities = new ArrayList<>();
        for (Role role : roles) {
            authorities.add(new SimpleGrantedAuthority("ROLE_" + role.getName()));
        }
        return authorities;
    }
    /**
     * 账户是否过期
     */
    @Override
    @JsonIgnore
    public boolean isAccountNonExpired() {
        return true;
    }
    /**
     * 账户是否锁定
     */
    @Override
    @JsonIgnore
    public boolean isAccountNonLocked() {
        return true;
    }
    /**
     * 凭证是否过期
     */
    @Override
    @JsonIgnore
    public boolean isCredentialsNonExpired() {
        return true;
    }
    /**
     * 用户是否可用
     */
    @Override
    public boolean isEnabled() {
        return true;
    }
}
Security 中的用户 Service,自定义用户服务类需要实现该接口。这个接口只有一个方法需要我们去实现,那就是通过用户名去获取用户信息。这里也是和数据库交互获取
用户认证和授权信息的地方。
@Service
@Slf4j
public class UserService implements UserDetailsService {

    @Override
    public UserDetails loadUserByUsername(String userName) throws UsernameNotFoundException {
        //TODO 正常应该查询数据库获取用户和用户的权限
//        User user = userMapper.loadUserByUsername(userName);
//        List<Role> roles = rolesMapper.getRolesByUid(user.getId());
//        user.setRoles(roles);
        log.info("登陆用户名: {}", userName);
        //通过用户名查询到的密码 密码肯定是加密过的 这里明文密码是 123456
        String password = "e10adc3949ba59abbe56e057f20f883e";
        //用户对应权限
        List<Role> roles = Lists.newArrayList(new Role(1L, "教师"), new Role(2L, "学生"));
        User user = new User(userName, password, roles);
        return user;
    }
}
注意 这里的明文密码是 123456,也就是用户输入这个才能完成认证。授权的话当前用户有两个角色 教师 和 学生。在下面测试的时候会用到。
它是Spring Security的Java 配置类。创建类SecurityConfiguration继承 WebSecurityConfigurerAdapter,来对我们应用中所有的安全相关的事项(
所有url,验证用户名密码,表单重定向等)进行控制。
@Configuration
public class WebSecurityConfig extends WebSecurityConfigurerAdapter {

    /**
     * 1、配置的是认证信息, AuthenticationManagerBuilder 这个类,就是AuthenticationManager的建造者, 我们只需要向这个类中, 配置用户信息,
     *    就能生成对应的AuthenticationManager, 这个类也提过,是用户身份的管理者, 是认证的入口, 因此,我们需要通过这个配置,想security提供真实的用户身份。
     */
    @Override
    protected void configure(AuthenticationManagerBuilder auth) throws Exception {
    }
    /**
     * 2、配置Security的认证策略, 每个模块配置使用and结尾。这个也是最复杂的
     */
    @Override
    protected void configure(HttpSecurity http) throws Exception {
    }
    /**
     * 3、这个配置方法用于配置静态资源的处理方式,可使用 Ant 匹配规则。就是可以不用认证就可以直接访问的接口
     */
    @Override
    public void configure(WebSecurity web) throws Exception {
    }
}
完整示例
@Configuration
public class WebSecurityConfig extends WebSecurityConfigurerAdapter {

    @Autowired
    private UserService userService;
    /**
     * 密码验证器
     */
    @Autowired
    private PassWordEncorder passWordEncorder;
    /**
     * 成功处理器
     */
    @Autowired
    private AuthenctiationSuccessHandler authenctiationSuccessHandler;

    /**
     * 失败处理器
     */
   @Autowired
   private AuthenctiationFailHandler authenctiationFailHandler;
   /**
    * 向Security注入用户信息
    */
    @Override
    protected void configure(AuthenticationManagerBuilder auth) throws Exception {
        auth.userDetailsService(userService).passwordEncoder(passWordEncorder);
    }
    /**
     * 配置规则
     */
    @Override
    protected void configure(HttpSecurity http) throws Exception {
        //开启登陆配置
        http.authorizeRequests()
                // 登录之后就能访问
                .antMatchers("/no-authorize").authenticated()
                // 登陆后 需要校长角色权限
                .antMatchers("/need-authorize").hasRole("校长")
                // 其他的路径都是登录后即可访问
                .anyRequest().authenticated()
                .and().formLogin()
                // 定义登录页面,未登录时,访问一个需要登录之后才能访问的接口,会自动跳转到该页面
                .loginPage("/login_page")
                //登录成功的处理器
                .successHandler(authenctiationSuccessHandler)
                //登录失败的处理器
                .failureHandler(authenctiationFailHandler)
                // 登录处理接口
                .loginProcessingUrl("/login")
                // 定义登录时,用户名的 key,默认为 username
                .usernameParameter("username")
                //定义登录时,用户密码的 key,默认为 password
                .passwordParameter("password").permitAll()
                .and().logout()
                ////和表单登录相关的接口统统都直接通过
                .permitAll()
                .and().csrf().disable().exceptionHandling().accessDeniedHandler(getAccessDeniedHandler());
    }

    /**
     * 对于/static/  下的路径都不用认证
     */
    @Override
    public void configure(WebSecurity web) throws Exception {
        web.ignoring().antMatchers("/no-login");
    }

    /**
     * 用户未认证异常拦截
     */
    @Bean
    AccessDeniedHandler getAccessDeniedHandler() {
        return new AuthenticationAccessDeniedHandler();
    }
}
注意 这里一共配置了三个路径用于测试。
1、/no-login 接口不需要认证就可以直接访问
2、/no-authorize 需要认证 但不需要授权就可以访问
3、/need-authorize 首先需要认证 认证通过还需要授权 这里需要校长的角色才可以访问该接口 但是我们测试用户只有教师和学生所以没有权限访问该接口
下面会针对这个个接口分别进行测试。
@RestController
public class TestController {

    /**
     * 1、不需要登陆就可以访问
     */
    @RequestMapping(value = "/no-login")
    public ServiceResponse noLogin() {
        return ServiceResponse.success("欢迎访问不需要登陆接口");
    }
    /**
     * 2、只登陆,不许认证接口
     */
    @RequestMapping(value = "/no-authorize")
    public ServiceResponse needAuthorize(){
        return ServiceResponse.success("登陆了 不用授权");
    }
    /**
     * 3、登陆 + 相关认证接口
     */
    @RequestMapping(value = "/need-authorize")
    public ServiceResponse noAuthorize() {
        return ServiceResponse.success("登陆+授权成功");
    }
    /**
     * @Description: 如果自动跳转到这个页面,说明用户未登录,返回相应的提示即可
     */
    @RequestMapping("/login_page")
    public ServiceResponse loginPage() {
        return  ServiceResponse.failure("001", "尚未登录,请登录!");
    }
}
no-login接口
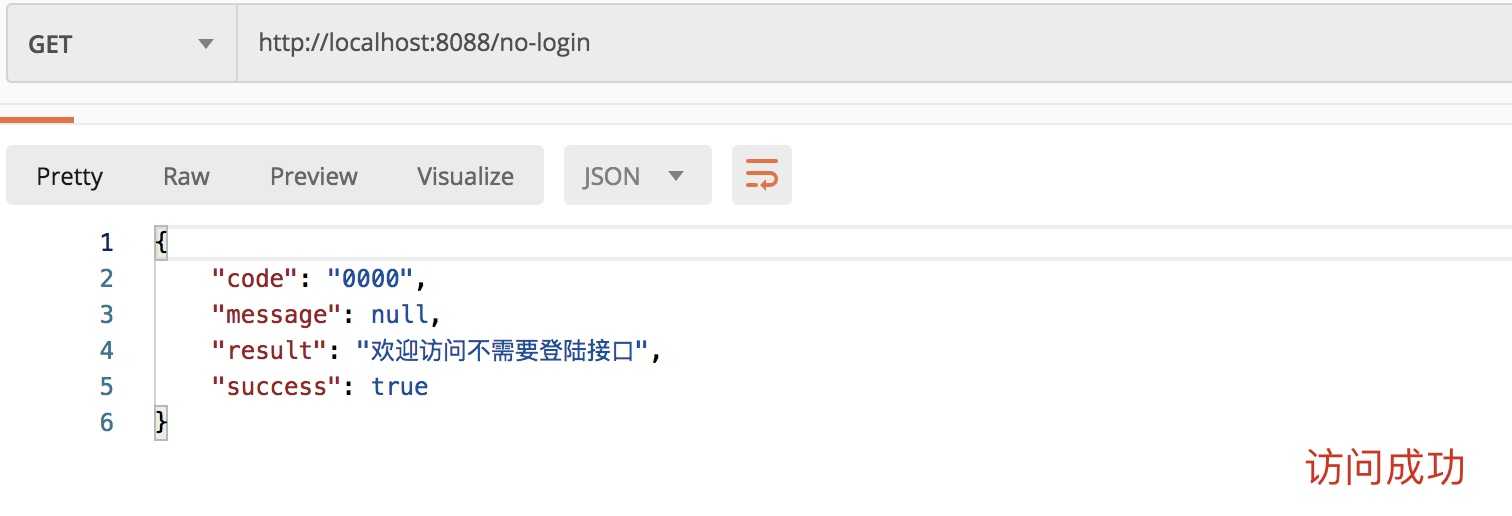
很明显没有登陆 请求该接口成功!
no-authorize接口
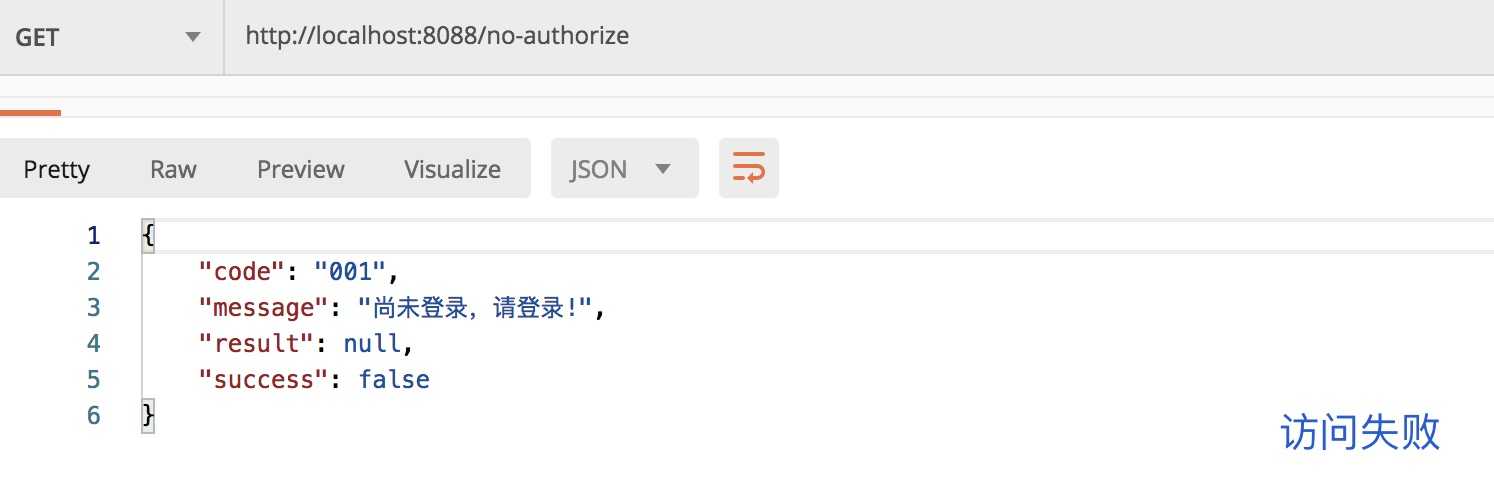
没有登陆访问失败,在上面配置了如果用户没有认证的话跳转到login_page接口,所以这里返回 ‘尚未登录,请登录!‘
先登陆
根据上面配置登陆的路径为 /login 请求参数包括 username 和 password
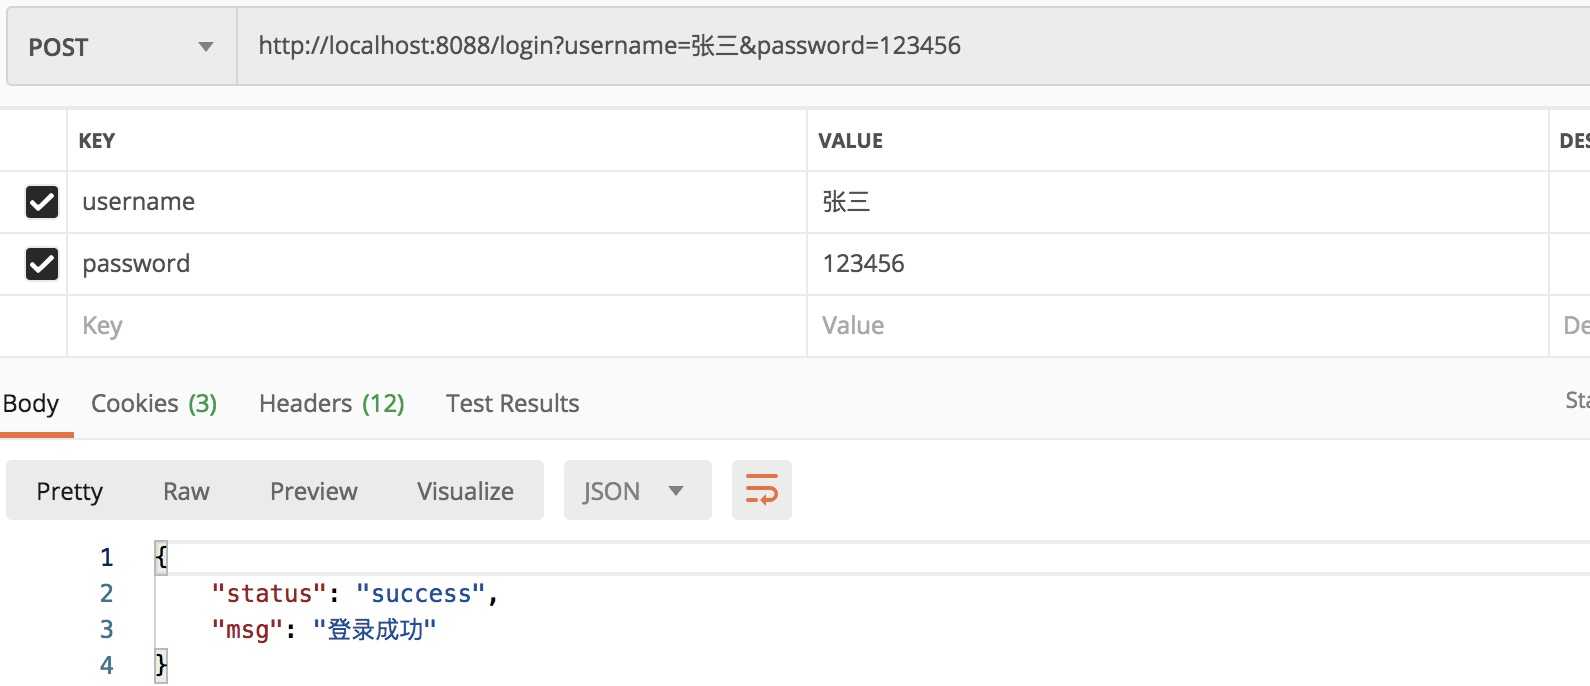
注意 这里需要post请求。
no-authorize 接口
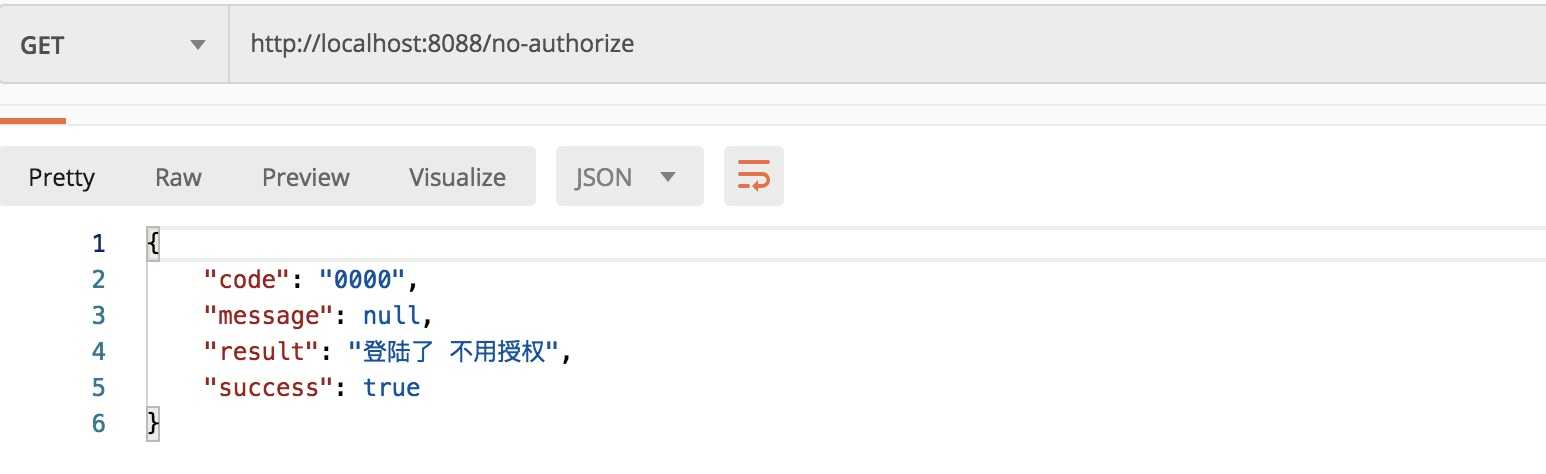
登陆就可以访问了。
need-authorize 接口
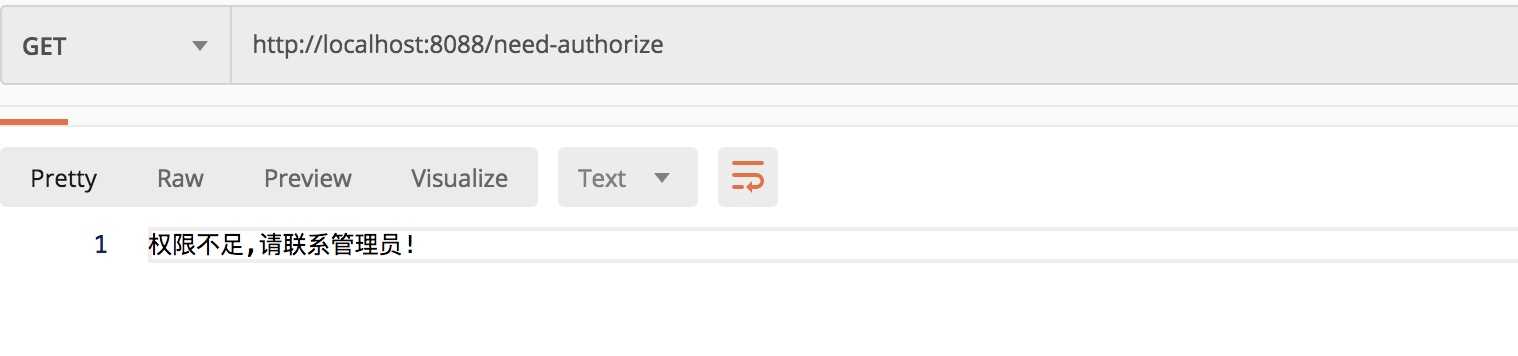
虽然登陆成功了,但是因为该接口需要校长角色,之前给该用户只配置了教师和学生的角色所以访问失败。
别人骂我胖,我会生气,因为我心里承认了我胖。别人说我矮,我就会觉得好笑,因为我心里知道我不可能矮。这就是我们为什么会对别人的攻击生气。
攻我盾者,乃我内心之矛(17)
标签:了解 还需 根据 imp uri 配置使用 username author sha
原文地址:https://www.cnblogs.com/qdhxhz/p/13040560.html