标签:style blog http io color ar os 使用 sp
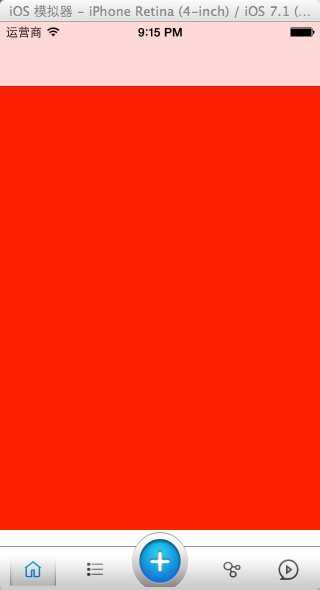
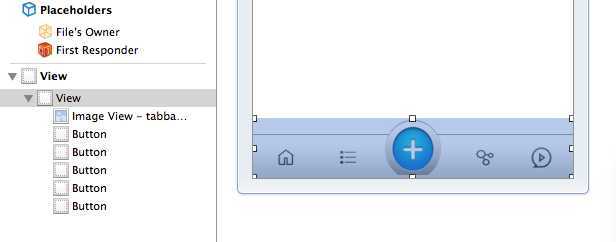
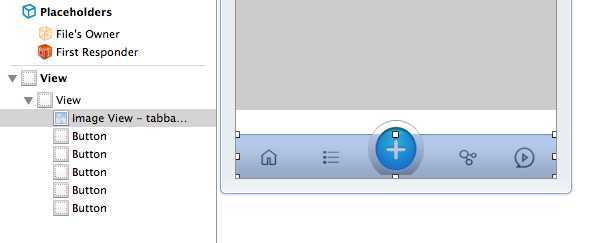
UITabBarController是在IOS应用开发中很常用的一个类,继承于UIViewController,来实现多个视图间的切换,但很多时候系统自带的TabBar不能满足我们的需求,系统自带的一些属性我们往往无法修改,像切换项的图片的大小,这时候就需要我们自定义TabBar。例如,我们想实现下方的TabBar的这个效果,使用系统的就无法完成。
演示所需图片下载地址http://download.csdn.net/detail/zsmile123/8136531
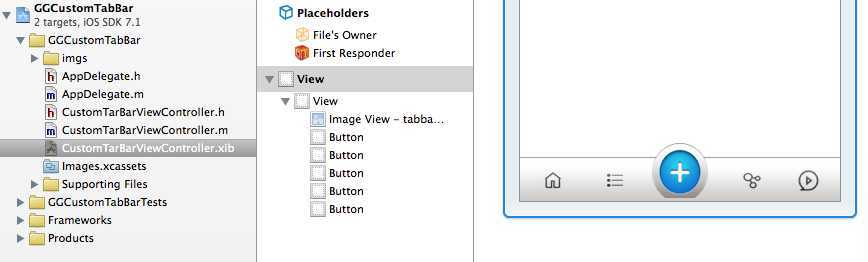
首先,新建一个继承于UIViewController得视图控制器,随便起名为CustomTarBarViewController,勾选上xib。我们首先来布局一下TabBar,也就是模仿系统的TabBar
----------------------------------------------------------------------------------------------------
#import <UIKit/UIKit.h>
@interface CustomTarBarViewController : UIViewController<UINavigationControllerDelegate>
{
//正常状态下的图片数组
NSArray *_nomalImageArray;
//高亮状态下的图片数组
NSArray *_hightlightedImageArray;
}
//添加两个属性,selectedIndex用来记录选中的是那一个视图(或button),viewControllers数组用来存放button点击对应的视图控制器
@property (nonatomic ,assign)NSInteger selectedIndex;
@property (nonatomic ,retain)NSArray *viewControllers;
//将xib中的view,和5个button连线
@property (retain, nonatomic) IBOutlet UIView *tabBarView;
- (IBAction)tabBarButtonClick:(UIButton *)sender;
@end
- (id)initWithNibName:(NSString *)nibNameOrNil bundle:(NSBundle *)nibBundleOrNil
{
self = [super initWithNibName:nibNameOrNil bundle:nibBundleOrNil];
if (self) {
//这里是为了每次首次进入都能加载第一个视图
_selectedIndex = -1;
}
return self;
}
- (void)viewDidLoad
{
[super viewDidLoad];
self.view.backgroundColor = [UIColor redColor];
//正常状态下按钮图片
_nomalImageArray = [[NSArray alloc] initWithObjects:@"tabbar_button_binders_normal.png",@"tabbar_button_updates_normal.png",@"tabbar_button_centeradd.png",@"tabbar_button_sessions_normal.png",@"tabbar_button_notes_normal.png",nil];
//高亮状态下按钮图片
_hightlightedImageArray = [[NSArray alloc]initWithObjects:@"tabbar_button_binders_selected.png",@"tabbar_button_updates_selected.png",@"tabbar_button_centeradd.png",@"tabbar_button_sessions_selected.png",@"tabbar_button_notes_selected.png",nil];
if (_selectedIndex == -1)
{
self.selectedIndex = 0 ;
}
}
#pragma mark ----切换视图选项
- (IBAction)tabBarButtonClick:(UIButton *)sender
{
//当前选中的button self.selectedIndex会调用set方法,button的tag值-1即为其对应的视图
self.selectedIndex = sender.tag - 1;
}
#pragma mark ----重写selectedIndex属性的set方法
- (void)setSelectedIndex:(NSInteger)aselectedIndex
{
//判断新的值与原来的值是否相等,相等则选择的任然是当前视图,不做处理
if (aselectedIndex == _selectedIndex)
{
return;
}
//_selectedIndex >=0说明选中了某一按钮
if (_selectedIndex >= 0)
{
//需要将前一个视图移除
//根据_selectedIndex从视图控制器数组中取出先前选中的视图
UIViewController *previousViewController = [_viewControllers objectAtIndex:_selectedIndex ];
[previousViewController.view removeFromSuperview];
//需要将前一个button的图片改为普通状态的图片
UIButton *previousButton = (UIButton *)[self.view viewWithTag:_selectedIndex+1];
[previousButton setBackgroundImage:[UIImage imageNamed:[_nomalImageArray objectAtIndex:_selectedIndex]] forState:(UIControlStateNormal)];
}
//然后将新的aselectedIndex赋值给_selectedIndex
_selectedIndex = aselectedIndex;
//显示新的视图
UIViewController *currentViewController = [_viewControllers objectAtIndex:_selectedIndex];
//找到当前button,将其背景图片改为高亮
UIButton *currentButton = (UIButton *)[self.view viewWithTag:_selectedIndex + 1];
[currentButton setBackgroundImage:[UIImage imageNamed:[_hightlightedImageArray objectAtIndex:_selectedIndex]] forState:(UIControlStateNormal)];
//由于第一个视图是加在导航中的,所以需要判断
if ([currentViewController isKindOfClass:[UINavigationController class]])
{
//表示这个视图是navgationController
//设置导航的代理
((UINavigationController *)currentViewController).delegate = self;
}
//设置当前视图的大小
currentViewController.view.frame = CGRectMake(0, 0, 320, self.view.bounds.size.height-44);
//添加到tab的view上
[self.view addSubview:currentViewController.view];
[self.view sendSubviewToBack:currentViewController.view];
}
@end
#import "AppDelegate.h"
#import "CustomTarBarViewController.h"
@implementation AppDelegate
- (BOOL)application:(UIApplication *)application didFinishLaunchingWithOptions:(NSDictionary *)launchOptions
{
self.window = [[UIWindow alloc] initWithFrame:[[UIScreen mainScreen] bounds]];
self.window.backgroundColor = [UIColor whiteColor];
[self.window makeKeyAndVisible];
//这里给第一个视图添加了导航,也可不添加(这里演示导航的添加)
UIViewController *homeVC = [[UIViewController alloc] init] ;
homeVC.view.backgroundColor = [UIColor redColor];
UINavigationController *nav = [[[UINavigationController alloc] initWithRootViewController:homeVC] autorelease];
UIViewController *setVC = [[UIViewController alloc] init] ;
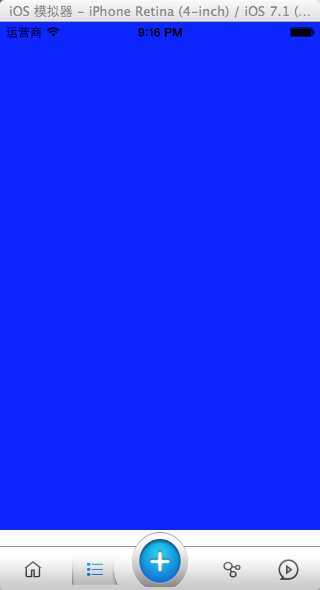
setVC.view.backgroundColor = [UIColor blueColor];
UIViewController *shareVC = [[UIViewController alloc] init] ;
shareVC.view.backgroundColor = [UIColor yellowColor];
UIViewController *plusVC = [[UIViewController alloc] init] ;
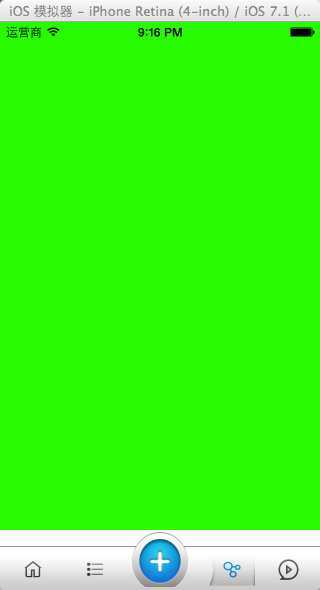
plusVC.view.backgroundColor = [UIColor greenColor];
UIViewController *playVC = [[UIViewController alloc] init];
playVC.view.backgroundColor = [UIColor orangeColor];
CustomTarBarViewController *tabVC = [[CustomTarBarViewController alloc] init] ;
//将视图加到tabVC中
tabVC.viewControllers = [NSArray arrayWithObjects:nav,setVC,shareVC,plusVC,playVC, nil];
self.window.rootViewController = tabVC;
return YES;
}
标签:style blog http io color ar os 使用 sp
原文地址:http://www.cnblogs.com/Zsmile/p/4029057.html