标签:style blog http io color ar os 使用 java
参考文献:http://blog.sina.com.cn/s/blog_7bd0d6a70101dixc.html
简单的java工程实现
1 首先建立一个Java工程,在里面建一个Web services Endpoint,代码如下:
package Com.WebService.Service;

import javax.jws.WebMethod;
import javax.jws.WebService;
import javax.xml.ws.Endpoint;

@WebService
public class Hello {

    @WebMethod
    public String Greeting(String str) {
        return "Hello" + str;
    }

    public static void main(String[] args) {
        // TODO Auto-generated method stub
        try {
            Hello hello = new Hello();
            @SuppressWarnings("unused")
            Endpoint endPoint = Endpoint.publish("http://localhost:7890/hello",
                    hello);
            System.out.print("访问服务已经启动...");
        } catch (Exception ex) {
            System.out.println("访问服务启动出错:" + ex.getMessage().toString());
        }
    }

}
编译运行该java文件,在浏览器中输入http://localhost:7890/hello,可以看到如下图:

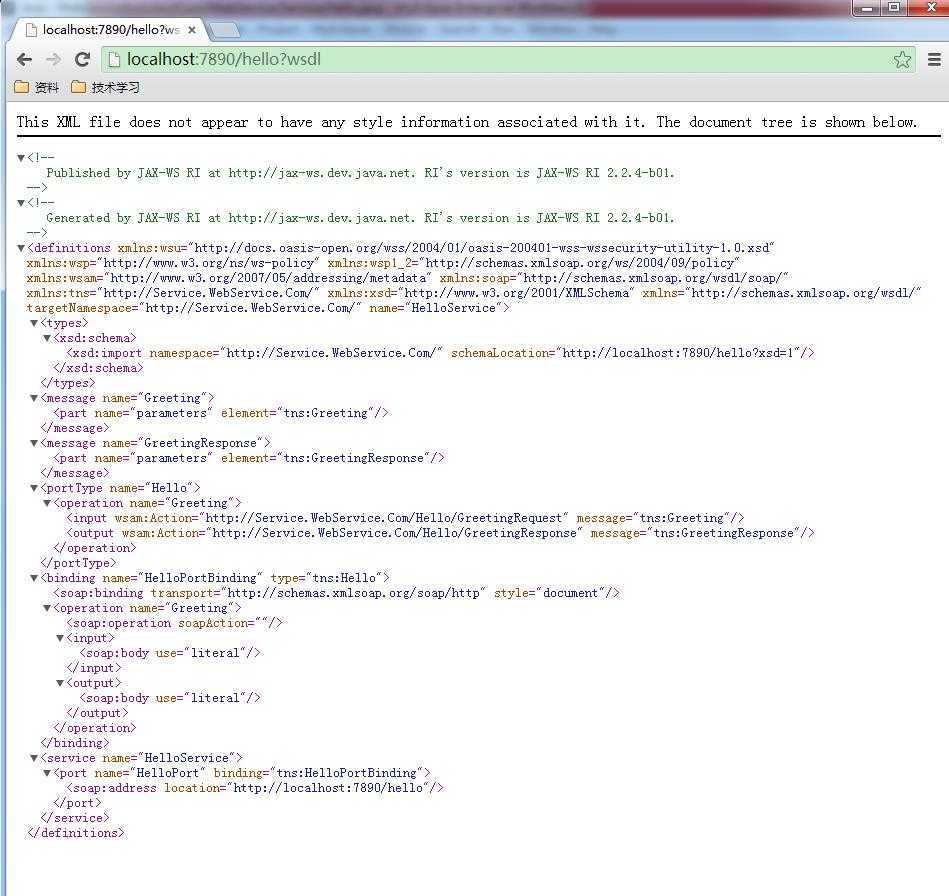
点击超链接:http://localhost:7890/hello?wsdl,结果如下图所示:

2 使用wsimport生成客户端
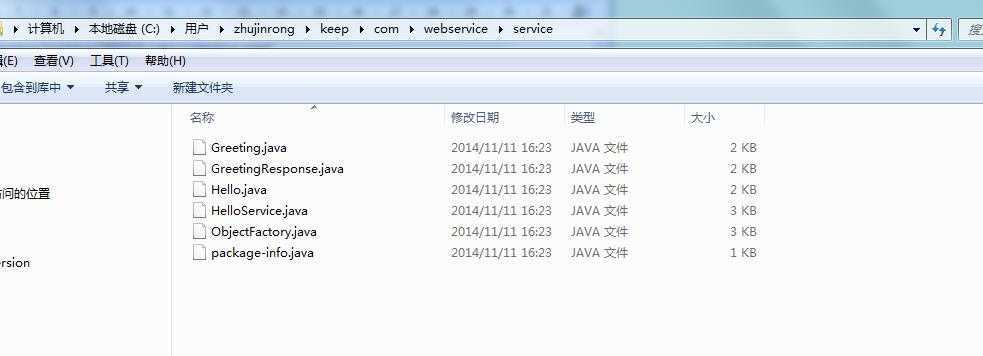
使用如下:wsimport -s -keep http://localhost:7890/hello?wsdl
命令参数说明:
-d:生成客户端执行类的class文件的存放目录
-s:生成客户端执行类的源文件的存放目录
-p:定义生成类的包名
结果如下:

3 编写客户端程序
新建Java工程,将上图中的java文件复制到工程的对应目录下,构建客户端程序,代码如下:
package com.WebClientExt.main;

import com.webservice.service.Hello;
import com.webservice.service.HelloService;

public class WebClientExt {
    public static void main(String args[]){
        HelloService hello = new HelloService();
        Hello helloProxy = hello.getHelloPort();
        String returnStr = helloProxy.greeting("amy");
        System.out.println("返回数据为:" + returnStr);
    }
}
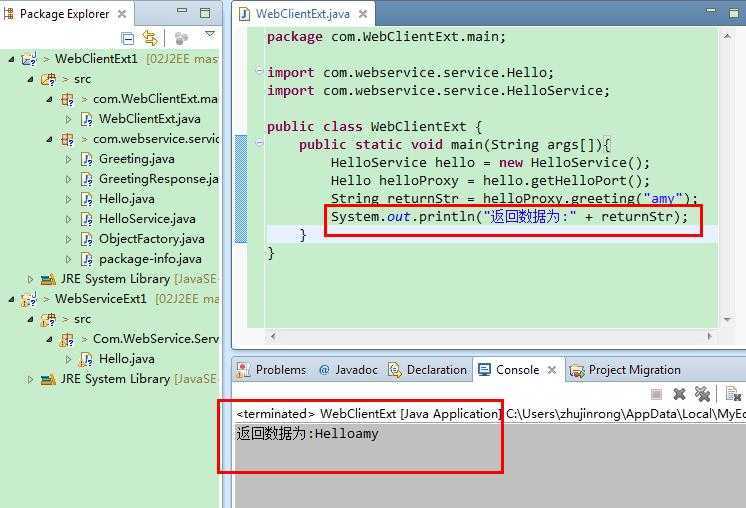
运行程序,结果如下:

标签:style blog http io color ar os 使用 java
原文地址:http://www.cnblogs.com/tianxue/p/4089897.html