标签:style blog http io color ar os sp div
网站找了一个视频教程,看了看Canvas还挺好玩的。越看越觉得这东西实在是牛逼好玩。
下面是今天学的东西,画布的认识,画线,画方块的命令,结尾有个画线的小例子。
 1 <!DOCTYPE html PUBLIC "-//W3C//DTD XHTML 1.0 Transitional//EN" "http://www.w3.org/TR/xhtml1/DTD/xhtml1-transitional.dtd">
 2 <html xmlns="http://www.w3.org/1999/xhtml">
 3 <head>
 4 <meta http-equiv="Content-Type" content="text/html; charset=utf-8" />
 5 <title>无标题文档</title>
 6 </head>
 7 <style>
 8 *{margin:0;padding:0}
 9 body{width:100%;height:100%;background:#000;}
10 #canvas1{background:#fff;margin:10px;}
11 </style>
12 <script>
13 window.onload=function(){
14     //页面获取canvas元素
15     var c1=document.getElementById(‘canvas1‘);
16     //设置2d绘图
17     var oGC=c1.getContext(‘2d‘); //webgl :3D绘图 2d绘图
18     /*
19     oC 代表获取的canvas元素
20
21     //绘制方块图形语句
22     oC.fillRect(100,100,300,300);//填充方块
23     oC.strokeRect(100.5,100.5,300,300);带边框的方块
24
25     fillRect(left,top,width,height);绘制方块 默认填充黑色
26     strokeRect(left,top,width,height);绘制边框方块 默认填充黑色边框
27
28     oC.fillStyle=‘16进制的颜色‘; 填充颜色
29     oC.strokeStyle=‘16进制的颜色‘ 边框颜色
30
31     oC.lineWidth=number 边框宽度
32
33     oC.lineJoin=miter(默认) round(圆角) bevel(斜角) 边界连接点样式
34
35     //绘制直线
36     oC.beginPath();开始绘制线段
37     oC.moveTo(x,y);起始点
38     oC.lineTo(x,y);结束点
39     oC.stroke();画线
40     oC.fill();填充
41     oC.rect(x,y,width,height);绘制方块
42     oC.closePath();线段和起始点闭合
43     oC.clearRect(0,0,c1.width,c1.height);清除画布
44
45     oC.save();保存
46     oC.restore();恢复
47
48     */
49     oGC.lineWidth=20
50     oGC.lineCap=‘square‘
51     oGC.beginPath();
52     oGC.moveTo(100,100);
53     oGC.lineTo(300,300);
54     oGC.stroke();
55
56
57 }
58 </script>
59 <body>
60 <!--canvas元素默认在浏览器里宽300 高150,
61     默认不设置为透明色
62     设置宽和高推荐在canvas 标签里设置,如下边例子里的设置canvas的宽、高
63 -->
64 <canvas id="canvas1" width="800" height="800">
65 请更新您的浏览器到IE9以上!
66 默认宽300  高150
67 </canvas>
68 </body>
69 </html>
canvas小应用:画线
步骤:1首先在canvas元素点下的时候记录点下的那一点moveTo(ev.clientX-c1.offsetLeft,ev.clientY-c1.offsetTop)分别设置了点下那点的x,y坐标.
2在document.onmousemove的时候lineTo(ev.clientX-c1.offsetLeft,ev.clientY-c1.offsetTop),鼠标移动到的那一点,然后画线(stroke).
3鼠标抬起清空事件。
 1 <!DOCTYPE html PUBLIC "-//W3C//DTD XHTML 1.0 Transitional//EN" "http://www.w3.org/TR/xhtml1/DTD/xhtml1-transitional.dtd">
 2 <html xmlns="http://www.w3.org/1999/xhtml">
 3 <head>
 4 <meta http-equiv="Content-Type" content="text/html; charset=utf-8" />
 5 <title>无标题文档</title>
 6 </head>
 7 <style>
 8 *{margin:0;padding:0}
 9 body{width:100%;height:100%;background:#000;}
10 #canvas1{background:#fff;margin:10px;}
11 </style>
12 <script>
13 window.onload=function(){
14     var c1=document.getElementById(‘canvas1‘);
15     var oGC=c1.getContext(‘2d‘); //webgl :3D绘图 2d绘图
16
17     c1.onmousedown=function(ev){
18         var ev=ev||window.event;
19         var Disx=ev.clientX-c1.offsetLeft;
20         var Disy=ev.clientY-c1.offsetTop;
21         console.log(Disx);
22         console.log(Disy)
23         //oGC.beginPath();
24         oGC.lineWidth=2;//线宽
25         oGC.strokeStyle=‘#f00‘//线的颜色
26         oGC.moveTo(Disx,Disy);
27         document.onmousemove=function(ev){
28             var ev=ev||window.event;
29             var Nowx=ev.clientX-c1.offsetLeft;
30             var Nowy=ev.clientY-c1.offsetTop;
31             oGC.lineTo(Nowx,Nowy);
32             oGC.stroke();
33         }
34         document.onmouseup=function(){
35             document.onmousemove=null;
36             document.onmouseup=null;
37         }
38
39     }
40
41
42 }
43 </script>
44 <body>
45 <canvas id="canvas1" width="800" height="800">
46 请更新您的浏览器到IE9以上!
47 默认宽300  高150
48 </canvas>
49 </body>
50 </html>
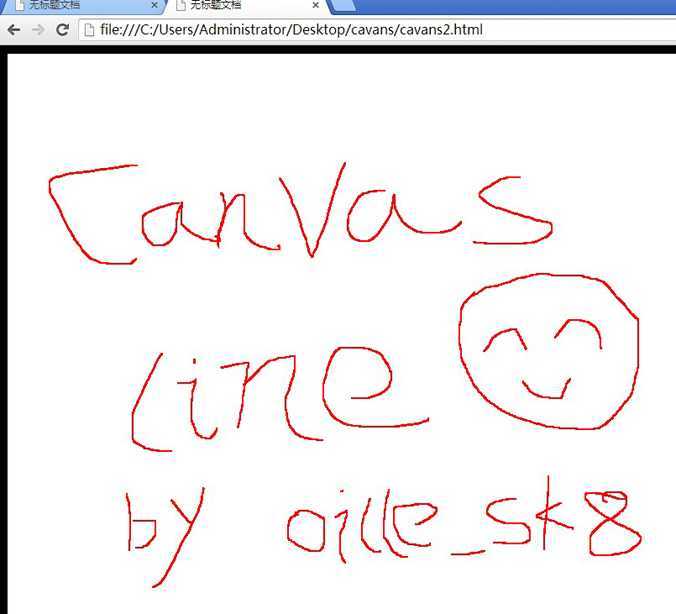
效果:
标签:style blog http io color ar os sp div
原文地址:http://www.cnblogs.com/ollie-sk8/p/4097256.html