码迷,mamicode.com
首页 > Web开发 > 详细

Ext4.x之HtmlEditor扩展图片上传功能

时间:2014-11-19 20:13:27      阅读:151      评论:0      收藏:0      [点我收藏+]

标签:style   blog   http   io   ar   color   os   sp   for   

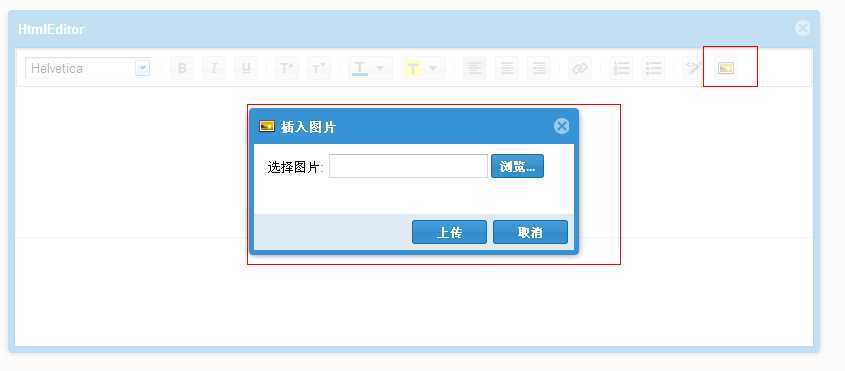
1.实现非常简单,稍后跟上,废话不说先上图。
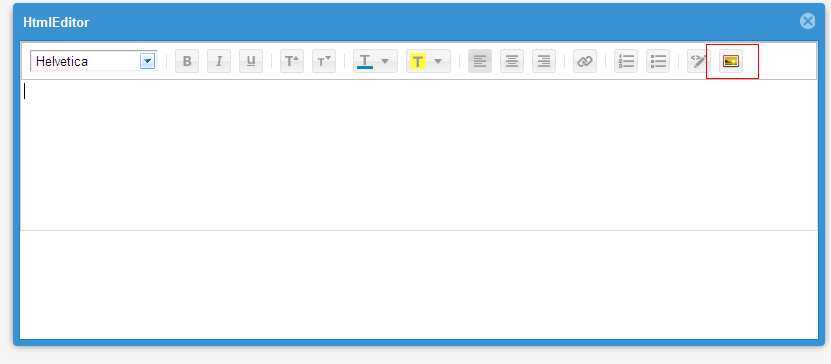
bubuko.com,布布扣bubuko.com,布布扣

2.类的定义:

Ext.define(‘Ext.ux.XHtmlEditor‘,{
        extend:‘Ext.form.field.HtmlEditor‘,
        alias:‘widget.xhtmleditor‘,
        //扩展的属性
        uploadConfig:{
            url:‘‘//后台上传地址
        },
        initComponent : function(){
            this.callParent(arguments);
            var me = this;
            //创建组件
            me.initExtFun = function(){
                Ext.create(‘Ext.window.Window‘,{
                    title:‘插入图片‘,
                    resizable:false,
                    border:false,
                    modal:true,
                    frame:false,
                    iconCls:‘Picture-Sunset‘,
                    items:[
                        {
                            xtype:‘form‘,
                            width:320,
                            height:70,
                            padding:10,
                            border:false,
                            items:[
                                {
                                    width:280,
                                    labelAlign:‘right‘,
                                    labelWidth:60,
                                    xtype:‘filefield‘,
                                    name:‘file‘,
                                    allowBlank:false,
                                    fieldLabel:‘选择图片‘,
                                    buttonText:‘浏览...‘
                                }
                            ]
                        }
                    ],
                    buttons:[
                        {
                            text:‘上传‘,
                            handler:function(b,e){
                                //实现上传,完成之后插入带编辑器
                                var form = b.up(‘window‘).down(‘form‘);
                                form.submit({
                                    waitMsg:‘正在上传...‘,
                                    clientValidation: true,
                                    url:me.uploadConfig.url,
                                    success:function(form,action){
                                        //返回图片路径
                                        var path = action.result.message;
                                        //将图片插入到光标所在的位置
                                        me.insertAtCursor("<img src=‘"+path+"‘ />");
                                        b.up(‘window‘).close();
                                    },
                                    failure:function(form,action){
                                            switch (action.failureType) {
                                                case Ext.form.action.Action.CLIENT_INVALID:
                                                    Ext.Msg.alert(‘提示‘,‘客户端验证不通过!‘);
                                                    break;
                                                default:
                                                    Ext.Msg.alert(‘保存失败,‘,action.result.message);
                                            }
                                        }    
                                    });
                            }
                        },
                        {
                            text:‘取消‘,
                            handler:function(b,e){
                                b.up(‘window‘).close();
                            }
                        }
                    ]
                }).show();
            }
            var b = Ext.create(‘Ext.button.Button‘,{
                xtype:‘button‘,
                iconCls:‘Picture-Sunset‘,
                tooltip:‘上传图片‘,
                text:‘‘,
                listeners:{
                    click:function(b,e){
                         me.initExtFun();
                    }
                }
            });
            me.getToolbar().add(b);
        }
    });
    

3.用法很简单,首加载在上面的类,然后这样引用。xtype:‘xhtmleditor‘

          {
                        xtype:‘xhtmleditor‘,
                        uploadConfig:{
                            url:‘/app/uploadImage‘
                        }
                 }

4.后台实现上传就省了,方法贼多。但要注意的是后台默认接收图片的name是file,在上面类中有定义,可以随意改。

Ext4.x之HtmlEditor扩展图片上传功能

标签:style   blog   http   io   ar   color   os   sp   for   

原文地址:http://www.cnblogs.com/zhougaojun/p/4108998.html

(0)
(0)
   
举报
评论 一句话评论(0
登录后才能评论!
© 2014 mamicode.com 版权所有  联系我们:gaon5@hotmail.com
迷上了代码!