标签:style class blog c java tar
第一步,在应用程序的配置文件run.xml中加入下面的配置项,启动应用程序:
<target name="run"
depends="checkBuilderFailedLogExist">
<!--ant
antfile="../DBSchema/main.xml" target="run-all" /-->
<java
classname="com.raisecom.nms.console.RCConsole"
fork="true" spawn="true"
jvm ="..\jre\bin\InstanceServer">
<arg
value="${shell.arg1}" />
<jvmarg value="-Xdebug"/>
<jvmarg value="-Xnoagent"/>
<jvmarg value="-Djava.compiler=NONE"/>
<jvmarg
value="-Xrunjdwp:transport=dt_socket,server=y,suspend=n,address=2007"/>
<jvmarg value="-Xmx1024m"/>
<jvmarg value="-Xms256m"/>
<!--jvmarg value="-Xincgc"/-->
<jvmarg
value="-noverify"/>
<classpath
refid="liberary.path"/>
</java>
</target>
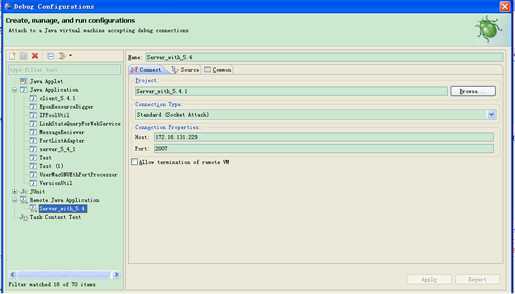
第二步,建立支持远程调试的工程,端口号要和上面配置文件中的端口号一致,依赖的工程就是上面配置文件对应的工程。

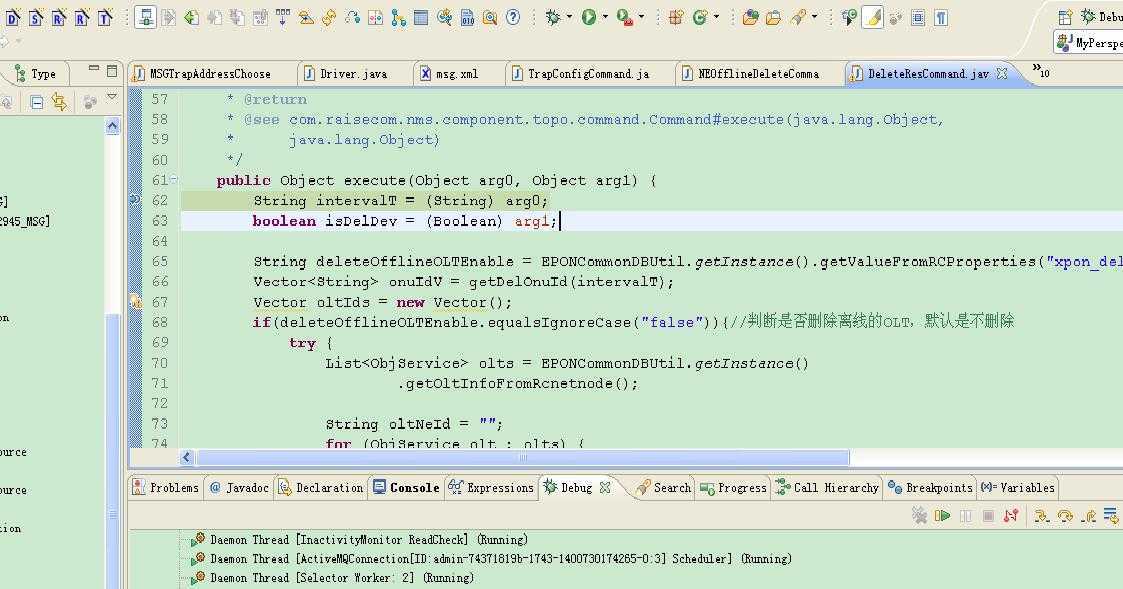
第三步,需要查看的位置打上断点,等待程序运行至此即可远程调试

Eclipse远程调试应用程序,布布扣,bubuko.com
标签:style class blog c java tar
原文地址:http://www.cnblogs.com/lnlvinso/p/3736554.html