标签:linux容器虚拟化lxc的使用
Oops:
万一不能访问,请自带梯子和火星文翻译器
官方网站:
https://linuxcontainers.org/
Github:
https://github.com/lxc/lxc
火星文简介:
What‘s LXC?
LXC is a userspace interface for the Linux kernel containment features.
Through a powerful API and simple tools, it lets Linux users easily create and manage system or application containers.
Features
Current LXC uses the following kernel features to contain processes:
Kernel namespaces (ipc, uts, mount, pid, network and user)
Apparmor and SELinux profiles
Seccomp policies
Chroots (using pivot_root)
Kernel capabilities
Control groups (cgroups) # 需要用到cgroups子系统
As such, LXC is often considered as something in the middle between a chroot on steroids and a full fledged virtual machine. The goal of LXC is to create an environment as close as possible as a standard Linux installation but without the need for a separate
kernel.
Components
LXC is currently made of a few separate components:
The liblxc library
Several language bindings for the API:
python3 (in-tree, long term support in 1.0.x)
lua (in tree, long term support in 1.0.x)
Go
ruby
python2
Haskell
A set of standard tools to control the containers
Container templates
Licensing
LXC is free software, most of the code is released under the terms of the GNU LGPLv2.1+ license, some Android compatibility bits are released under a standard 2-clause BSD license and some binaries and templates are shipped under the GNU GPLv2 license.
Where do I get it?
From upstream
You can fetch the latest upstream tarballs here or grab it directly from git here or with:
git clone git://github.com/lxc/lxc
------------------------------------------------------------------------------------------
实战部分:
准备工作:
系统环境和yum源
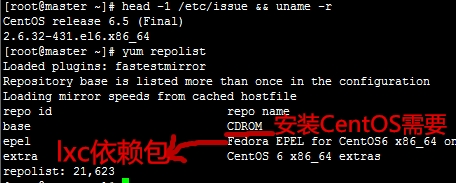
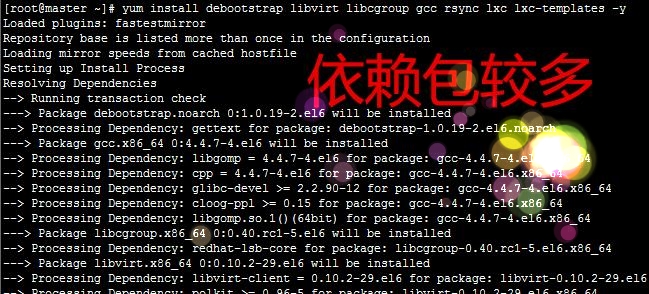
安装所需软件包:
1) debootstrap
debootstrap is used to create a Debian base system from scratch, without
requiring the availability of dpkg or apt.
2) libvirt
省去麻烦的配置,直接用这个 ^_^
3) libcgroup
Control groups infrastructure. The tools and library help manipulate, control administrate and monitor control groups and the associated controllers.
4) lxc lxc-templates
主要包以及模板(等下我们稍微改下模板文件的yum源)
5) 当然还需要 gcc rsync
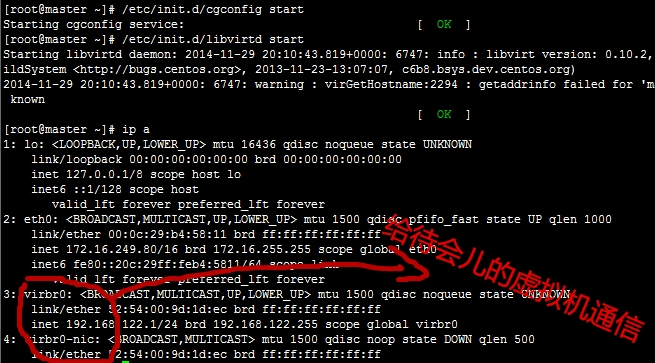
启动相关服务:
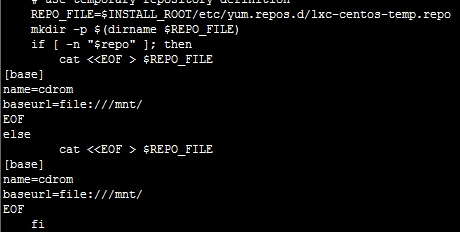
修改模板文件:
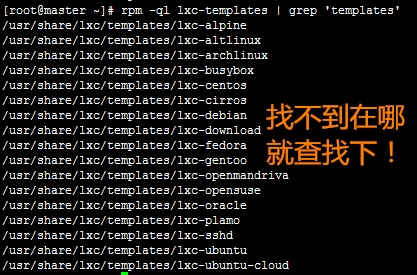
系统给提供了这么多模板,下面来修改下centos模板的默认源(修改之前自觉备份一个)
开始正式安装:
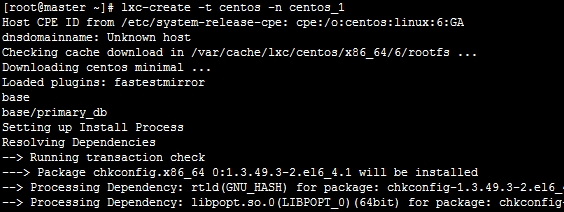
lxc-create creates a container
Options :
-n, --name=NAME NAME for name of the container
-f, --config=file Initial configuration file
-t, --template=t Template to use to setup container
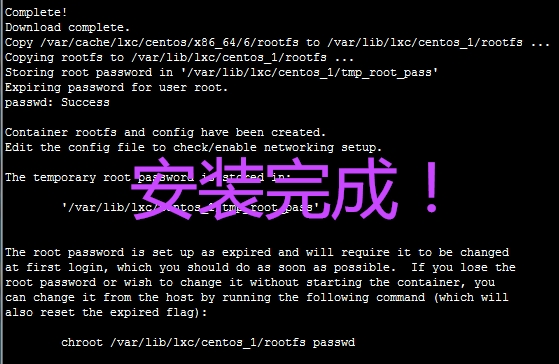
修改密码:
# chroot /var/lib/lxc/centos_1/rootfs passwd
启动虚拟机:
# lxc-start -d -n centos_1
Options :
-n, --name=NAME NAME for name of the container
-d, --daemon daemonize the container
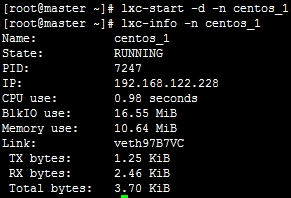
查看虚拟机状态:
# lxc-info -n centos_1
连过去看看:

这样一台就弄好了,如果要做LBC,HAC这类实验,可以克隆多个来实现。
LXC给我们提供了很多管理工具:
lxc-attach
lxc-clone # 克隆相关
lxc-destroy # 销毁
lxc-ls # List containers existing on the system。
lxc-stop # XD
lxc-usernsexec
lxc-autostart
lxc-config
lxc-execute
lxc-monitor
lxc-top # top你懂的
lxc-wait
lxc-cgroup
lxc-console
lxc-freeze
lxc-snapshot # 给一个容器镜像
lxc-unfreeze
lxc-checkconfig
lxc-create # 创建
lxc-info # 显示容器状态信息
lxc-start # 启动
lxc-unshare
Python API:
Python 3K
    import lxc
    container = lxc.Container("p1")
    container.create("ubuntu")
    container.start()
    container.get_ips()
    container.stop()
Python 2.X:
https://github.com/cloud9ers/pylxc

Linux容器虚拟化LXC的使用
标签:linux容器虚拟化lxc的使用
原文地址:http://blog.csdn.net/androidmylove/article/details/41624919