标签:style blog http ar io color os 使用 sp
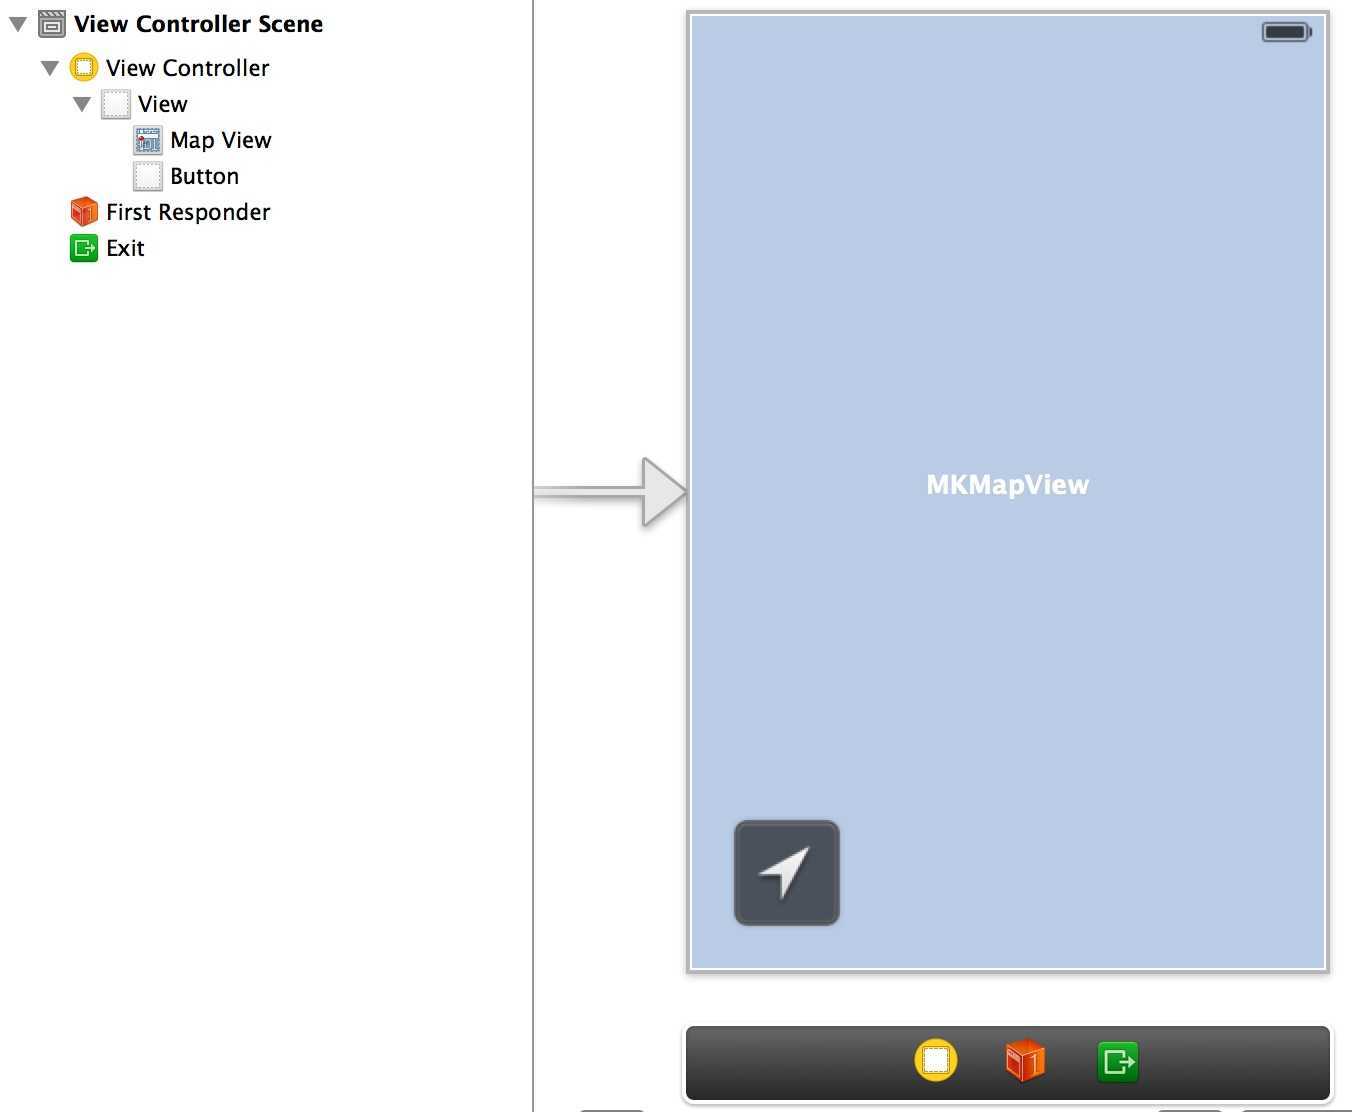
1.构建UI ,导入MapKit框架

#import <MapKit/MapKit.h>
2.添加成员变量,并连线
- (IBAction)backUserLocation;
@property (weak, nonatomic) IBOutlet MKMapView *mapView;
3.基础设置
 1 - (void)viewDidLoad
 2 {
 3     [super viewDidLoad];
 4     // 设置地图代理
 5     self.mapView.delegate = self;
 6     // 设置地图的追踪模式
 7     self.mapView.userTrackingMode = MKUserTrackingModeFollow;
 8     // 设置地图类型为"标准类型"
 9     self.mapView.mapType = MKMapTypeStandard;
10
11 }
4.点击定位按钮触发的方法
 1 // 返回用户位置
 2 - (IBAction)backUserLocation {
 3
 4     // 默认区域
 5     MKCoordinateSpan spa = MKCoordinateSpanMake(0.01, 0.02);
 6     MKCoordinateRegion region = MKCoordinateRegionMake(self.mapView.userLocation.location.coordinate, spa);
 7
 8     [self.mapView setCenterCoordinate:self.mapView.userLocation.location.coordinate animated:YES];
 9     [self.mapView setRegion:region animated:YES];
10 }
5.MKMapKit的代理方法
 1 #pragma mark - MKMapViewDelegate
 2 // 只要用户的位置发生改变,就自动调用这个方法,频率特别高
 3 - (void)mapView:(MKMapView *)mapView didUpdateUserLocation:(MKUserLocation *)userLocation
 4 {
 5     // 设置用户位置的标题
 6     userLocation.title = @"我的位置-标题";
 7     userLocation.subtitle = @"我的位置-子标题";
 8
 9     // 获取用户的经纬度
10     CLLocationCoordinate2D center = userLocation.coordinate;
11     NSLog(@"我的经度:%f ,纬度:%f",center.longitude,center.latitude);
12
13     // 设置用户的位置为地图中心
14     [mapView setCenterCoordinate:center animated:YES];
15
16     // 设置跨度(经纬度上的)
17     MKCoordinateSpan spa = MKCoordinateSpanMake(0.01, 0.02);
18     // 设置区域(中心点和跨度)
19     MKCoordinateRegion region = MKCoordinateRegionMake(center, spa);
20     // 设置地图的显示区域
21     [mapView setRegion:region animated:YES];
22
23 }
24
25 /**
26  *  只要地图的显示区域发生改变就会自动调用这方法,可以用这个方法获取地图当前的区域信息(中心点和跨度)
27  */
28 - (void)mapView:(MKMapView *)mapView regionDidChangeAnimated:(BOOL)animated
29 {
30
31     MKCoordinateSpan span = mapView.region.span;
32     NSLog(@"纬度跨度%f , 经度跨度%f", span.latitudeDelta , span.longitudeDelta);
33 }
标签:style blog http ar io color os 使用 sp
原文地址:http://www.cnblogs.com/oumygade/p/4168681.html