标签:
项目demo源码:http://download.csdn.net/detail/mcdullsin/8291231
虽然自己还是一个学的比较多的新人,但是真心希望所有博客都附上源码,像我这类人也能缩短学习路程。
效果: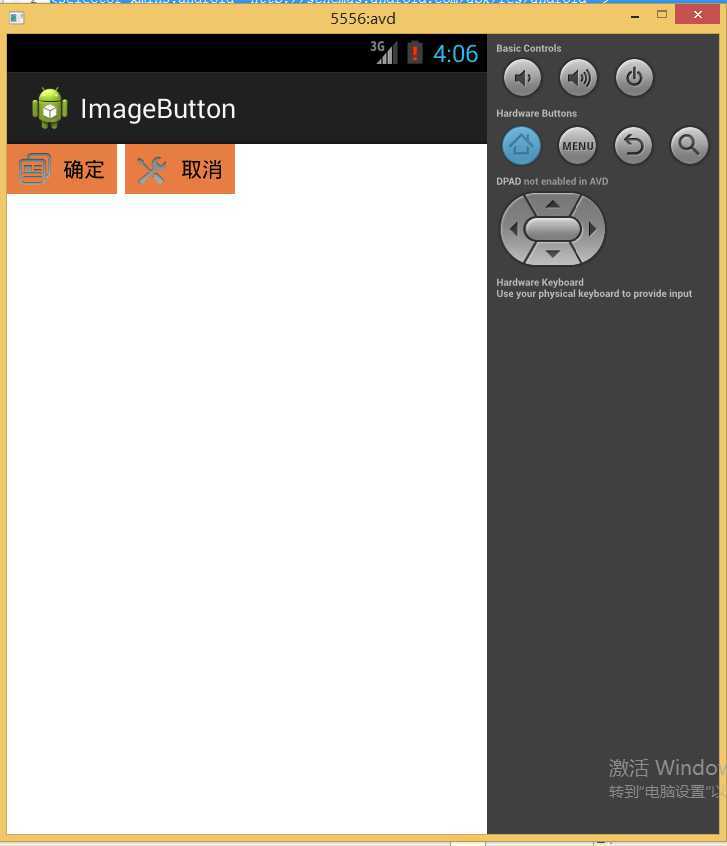
好了,首先来看一下图片选择器selector。
btn.xml
<?xml version="1.0" encoding="utf-8"?>
<selector xmlns:android="http://schemas.android.com/apk/res/android" >

    <item android:state_focused="true" android:state_pressed="false" android:drawable="@drawable/btn_normal"></item>
    <item android:state_pressed="true" android:drawable="@drawable/btn_white"></item>
    <item android:state_checked="true" android:drawable="@drawable/btn_white"></item>
    <item android:state_focused="false" android:state_pressed="false" android:drawable="@drawable/btn_normal"></item>

</selector>
使用selector的组件:
<cn.com.karl.view.ImageBtn
        android:id="@+id/btn_right"
        android:layout_height="wrap_content"
        android:layout_width="wrap_content"
        android:background="@drawable/btn"
        />
将其当成静态图片就可以了。
这个selector定义了四种状态下的按钮图片背景,即:未获得焦点未点击、获得焦点未点击、点击、选中。不同状态下图片背景也不同。使用selector最好有一个初始图片。我这个是针对按钮说的,有可能listview有不同?没进行过下一步试验。
关于selector和shape非常不错的一篇博文:http://blog.csdn.net/tianjf0514/article/details/7492876
二、自定义控件
1、 首先定义一个layout实现按钮内部布局:
<?xml version="1.0" encoding="utf-8"?>
<LinearLayout xmlns:android="http://schemas.android.com/apk/res/android"
    android:layout_width="fill_parent"
    android:layout_height="fill_parent"
    android:orientation="horizontal" >

    <ImageView
        android:id="@+id/imageView1"
        android:layout_width="wrap_content"
        android:layout_height="wrap_content"
        android:layout_gravity="center_vertical"
        android:paddingBottom="5dip"
        android:layout_marginLeft="8dp"
        android:paddingTop="5dip" />

    <TextView
        android:id="@+id/textView1"
        android:layout_width="wrap_content"
        android:layout_height="wrap_content"
        android:layout_gravity="center_vertical"
        android:layout_marginLeft="8dip"
        android:text="确定"
        android:layout_marginRight="8dp"
        android:textColor="#000000" />

</LinearLayout>
2、接下来写一个类继承LinearLayout,导入刚刚的布局,并且设置需要的方法(设置文字,设置图片的方法),从而使的能在代码中控制这个自定义控件内容的显示。
public class ImageBtn extends LinearLayout {

   private ImageView imageView;
   private TextView  textView;

   public ImageBtn(Context context) {
       super(context);
       // TODO Auto-generated constructor stub
   }
   public ImageBtn(Context context, AttributeSet attrs) {
       super(context, attrs);
       // TODO Auto-generated constructor stub
       LayoutInflater inflater=(LayoutInflater) context.getSystemService(Context.LAYOUT_INFLATER_SERVICE);
       inflater.inflate(R.layout.imagebtn, this);
       imageView=(ImageView) findViewById(R.id.imageView1);
       textView=(TextView)findViewById(R.id.textView1);
   }

   /**
    * 设置图片资源
    */
   public void setImageResource(int resId) {
       imageView.setImageResource(resId);
   }

   /**
    * 设置显示的文字
    */
   public void setTextViewText(String text) {
       textView.setText(text);
   }

}
在上面的代码中重要的是:
LayoutInflater inflater=(LayoutInflater) context.getSystemService(Context.LAYOUT_INFLATER_SERVICE);
inflater.inflate(R.layout.imagebtn, this);
imageView=(ImageView) findViewById(R.id.imageView1);
textView=(TextView)findViewById(R.id.textView1);
之后再主布局文件中引用并在activity中找到它们,添加事件。
主布局文件:
<?xml version="1.0" encoding="utf-8"?>
<LinearLayout xmlns:android="http://schemas.android.com/apk/res/android"
    android:layout_width="fill_parent"
    android:layout_height="fill_parent"
    android:orientation="horizontal" >

    <cn.com.karl.view.ImageBtn
        android:id="@+id/btn_right"
        android:layout_height="wrap_content"
        android:layout_width="wrap_content"
        android:background="@drawable/btn"
        />

    <cn.com.karl.view.ImageBtn
        android:id="@+id/btn_error"
        android:layout_marginLeft="5dp"
        android:layout_height="wrap_content"
        android:layout_width="wrap_content"
        android:background="@drawable/btn"
        />

</LinearLayout>
java文件:
public class MainActivity extends Activity {
  private ImageBtn imageBtn1;
  private ImageBtn imageBtn2;
   @Override
   protected void onCreate(Bundle savedInstanceState) {
       // TODO Auto-generated method stub
       super.onCreate(savedInstanceState);
       setContentView(R.layout.activity_main);

       imageBtn1=(ImageBtn) this.findViewById(R.id.btn_right);
       imageBtn2=(ImageBtn) this.findViewById(R.id.btn_error);
       imageBtn1.setTextViewText("确定");
       imageBtn2.setTextViewText("取消");
       imageBtn1.setImageResource(R.drawable.right_icon);
       imageBtn2.setImageResource(R.drawable.error_icon);

       imageBtn1.setOnClickListener(new View.OnClickListener() {

           public void onClick(View v) {
               // TODO Auto-generated method stub
               Toast.makeText(getApplicationContext(), "点击的正确按钮", 1).show();
           }
       });

       imageBtn2.setOnClickListener(new View.OnClickListener() {

           public void onClick(View v) {
               // TODO Auto-generated method stub
               Toast.makeText(getApplicationContext(), "点击的错误按钮", 1).show();
           }
       });
   }
}
【android基础知识】【selector】【自定义控件】
标签:
原文地址:http://www.cnblogs.com/hikigaya-yukino/p/4180540.html