标签:

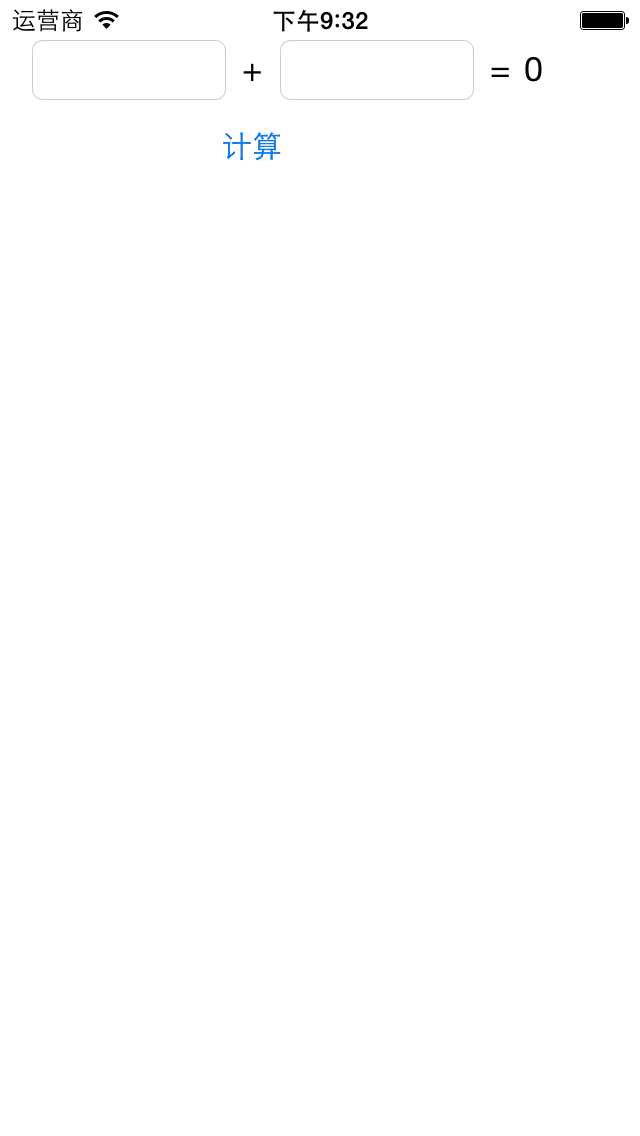
下面是具体代码:
// ViewController.h
#import <UIKit/UIKit.h>
@interface ViewController : UIViewController
/*
1.开发步骤
1.搭建界面
2.连线
3.编写代码
2.IBAction & IBOutlet
IBAction 用来和操作建立关系,IBAction本质就是一个void,不过可以用来连线=>方法
IBOutlet 用来和界面上的元素建立关系,用来获得/修改界面控件的属性 =>@property
3.UIViewController & UIView
UIViewController 是负责程序的控制,大管家
UIView 是负责界面的显示的
4.延迟加载,懒加载
在需要时,才加载到内存中
效率上: 低
内存消耗: 小
*/
@end
// ViewController.m
#import "ViewController.h"
// Xcode5开始苹果公司建议将不对外开放的属性和方法声明,放到.m中
// 私有扩展
@interface ViewController ()
// 计算方法
// 左边的界面原名叫做Interface Builder,在OC中,与之相关的通常以IB开头
// - (IBAction)compute;
// Ctrl+CMD+J = CMD + 单击
@property (nonatomic,weak) IBOutlet UITextField *num1;
@property (nonatomic,weak) IBOutlet UITextField *num2;
@property (nonatomic,weak) IBOutlet UILabel *sumLabel;
@end
@implementation ViewController
- (IBAction)compute
{
// 1.拿到两个文本框中的数值
NSString *str1 = self.num1.text;
NSString *str2 = self.num2.text;
// 2.将数值相加
int result = str1.intValue + str2.intValue;
// 3.将结果显示在右侧的标签
self.sumLabel.text = [NSString stringWithFormat:@"%d",result];
// 4.关闭键盘
// 谁创建,谁销毁!谁打开键盘 谁关闭键盘
// 第一响应者,打开键盘的那个控件
// [self.num1 resignFirstResponder];
// [self.num2 resignFirstResponder];
// 强行关闭键盘
[self.view endEditing:YES];
}
@end
标签:
原文地址:http://www.cnblogs.com/Holy-Mac/p/4268739.html