标签:
最近在使用TabHost的时候遇到了一些奇怪的问题,在这里总结分享备忘一下。
首先说一点TabActivity将会被FragmentActivity所替代,但是本文中却是使用的TabActivity。
下面说说本程序能够实现的功能:
下面分几步来分别实现以上的功能:
第一步,先实现一个基本的TabHost的展现
详细的说明可以在网上其它地方搜的,主要就是注意一点,控件的id的是固定的不能随便更改,并且@和id之间不能加+;
Activity的代码如下:
public class TabhostTestActivity extends TabActivity implements
        TabContentFactory {
    private final String[] tabTitle = { "测试Tab标签1", "测试Tab标签2", "测试Tab标签3",
            "测试Tab标签4", "测试Tab标签5", "测试Tab标签6", "测试Tab标签7", "测试Tab标签8",
            "测试Tab标签9" };

    /** Called when the activity is first created. */
    @Override
    public void onCreate(Bundle savedInstanceState) {
        super.onCreate(savedInstanceState);
        setContentView(R.layout.tabhost);
        TabHost th = getTabHost();
        for (int i = 0; i < tabTitle.length; i++) {
            TextView view = (TextView) getLayoutInflater().inflate(
                    R.layout.tabwighet, null);
            view.setText(tabTitle[i]);
            th.addTab(th.newTabSpec(tabTitle[i]).setIndicator(view)
                    .setContent(this));
        }
    }

    @Override
    public View createTabContent(String tag) {
        View view = new View(this);
        if (tabTitle[0].equals(tag)) {
            view.setBackgroundColor(Color.BLUE);
        } else if (tabTitle[1].equals(tag)) {
            view.setBackgroundColor(Color.CYAN);
        } else if (tabTitle[2].equals(tag)) {
            view.setBackgroundColor(Color.DKGRAY);
        } else if (tabTitle[3].equals(tag)) {
            view.setBackgroundColor(Color.GRAY);
        } else if (tabTitle[4].equals(tag)) {
            view.setBackgroundColor(Color.GREEN);
        } else if (tabTitle[5].equals(tag)) {
            view.setBackgroundColor(Color.LTGRAY);
        } else if (tabTitle[6].equals(tag)) {
            view.setBackgroundColor(Color.MAGENTA);
        } else if (tabTitle[7].equals(tag)) {
            view.setBackgroundColor(Color.RED);
        } else if (tabTitle[8].equals(tag)) {
            view.setBackgroundColor(Color.YELLOW);
        }
        return view;
    }
}
对应的layout的xml如下:
<?xml version="1.0" encoding="utf-8"?>
<LinearLayout xmlns:android="http://schemas.android.com/apk/res/android"
    android:layout_width="match_parent"
    android:layout_height="match_parent"
    android:orientation="vertical" >

    <TabHost
        android:id="@android:id/tabhost"
        android:layout_width="match_parent"
        android:layout_height="match_parent" >

        <LinearLayout
            android:layout_width="match_parent"
            android:layout_height="match_parent"
            android:orientation="vertical" >

            <TabWidget
                android:id="@android:id/tabs"
                android:layout_width="wrap_content"
                android:layout_height="wrap_content" >
            </TabWidget>

            <FrameLayout
                android:id="@android:id/tabcontent"
                android:layout_width="match_parent"
                android:layout_height="match_parent" >
            </FrameLayout>
        </LinearLayout>
    </TabHost>

</LinearLayout>
<?xml version="1.0" encoding="utf-8"?>
<TextView xmlns:android="http://schemas.android.com/apk/res/android"
    android:id="@+id/tv_title"
    android:layout_width="wrap_content"
    android:layout_height="wrap_content"
    android:layout_gravity="center"
    android:gravity="center"
    android:singleLine="true" />
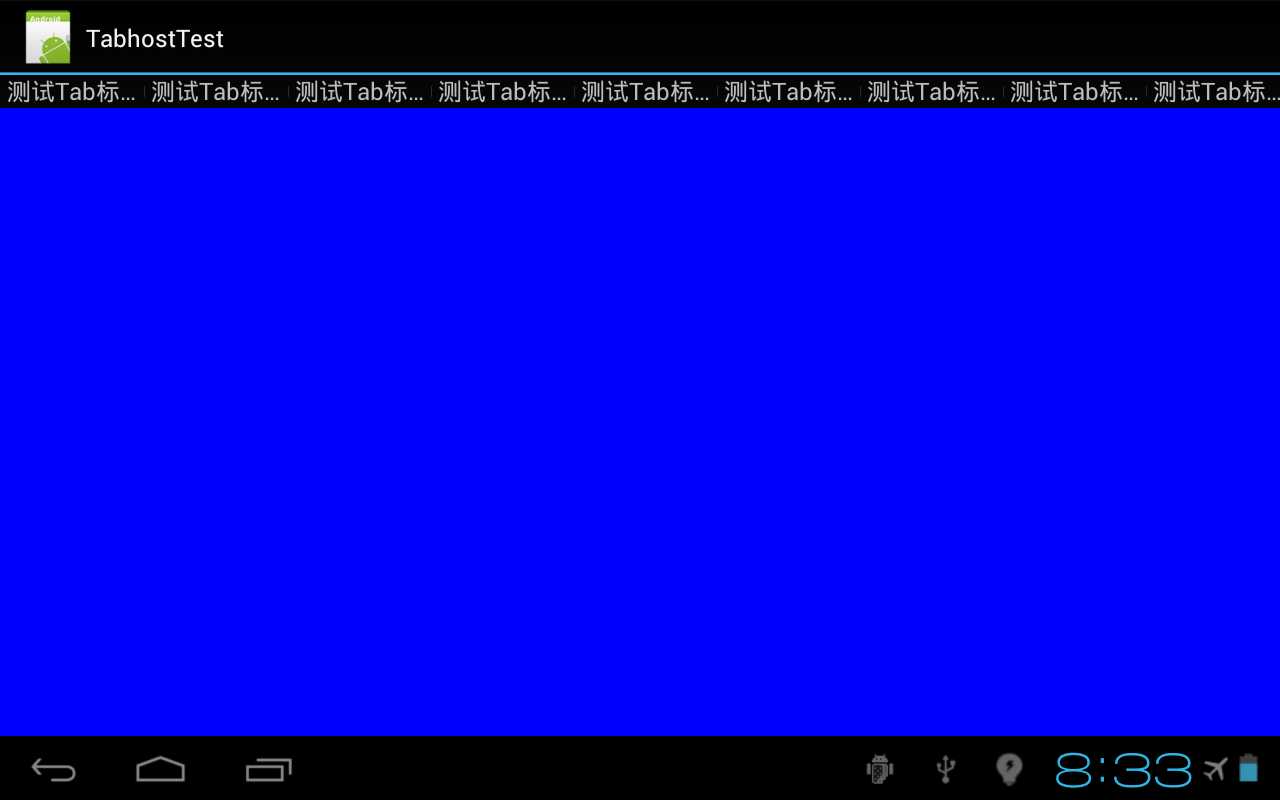
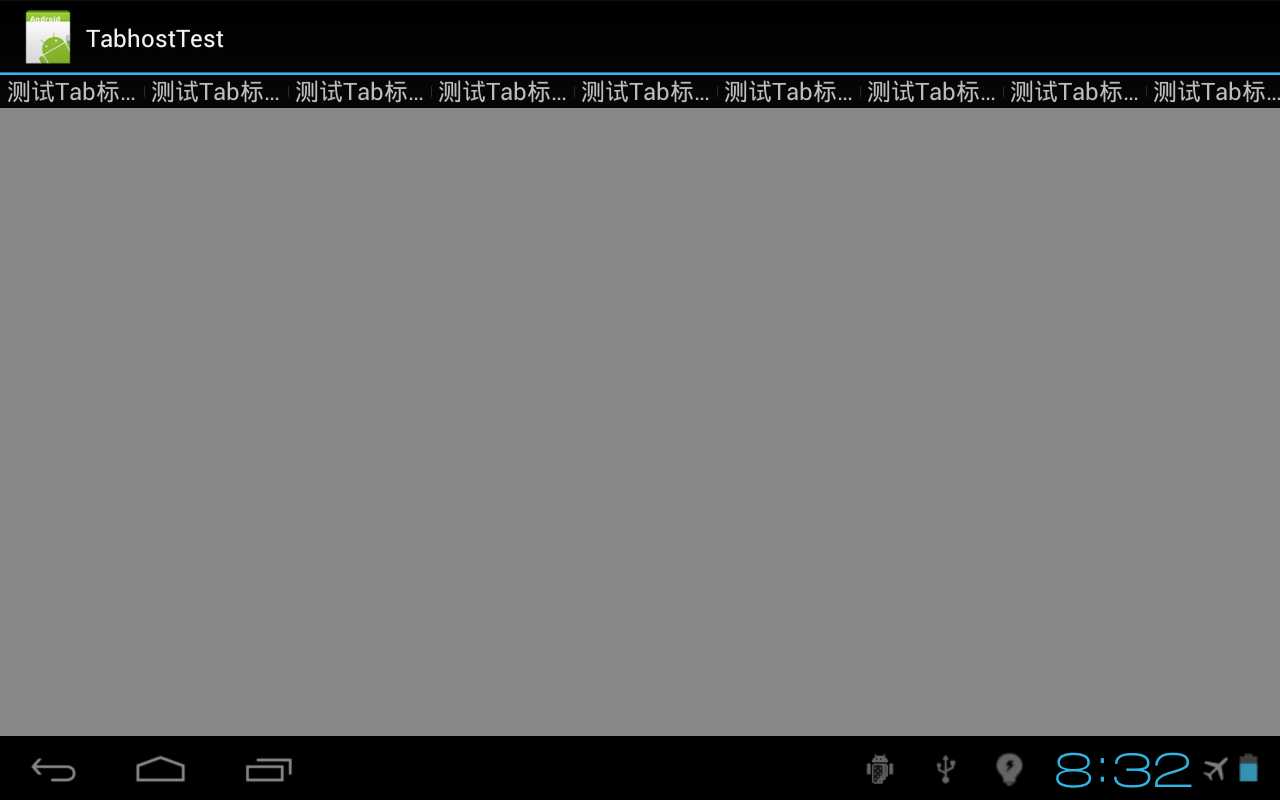
运行后的效果图如下(平板1280*800的设备):
第二步,给标签栏添加横向的滚动操作
这个很简单,只需要修改一下tabhost.xml即可:
<?xml version="1.0" encoding="utf-8"?>
<LinearLayout xmlns:android="http://schemas.android.com/apk/res/android"
    android:layout_width="match_parent"
    android:layout_height="match_parent"
    android:orientation="vertical" >

    <TabHost
        android:id="@android:id/tabhost"
        android:layout_width="match_parent"
        android:layout_height="match_parent" >

        <LinearLayout
            android:layout_width="match_parent"
            android:layout_height="match_parent"
            android:orientation="vertical" >

            <HorizontalScrollView
                android:layout_width="fill_parent"
                android:layout_height="wrap_content"
                android:fillViewport="true"
                android:scrollbars="none" >

                <TabWidget
                    android:id="@android:id/tabs"
                    android:layout_width="wrap_content"
                    android:layout_height="wrap_content" >
                </TabWidget>
            </HorizontalScrollView>

            <FrameLayout
                android:id="@android:id/tabcontent"
                android:layout_width="match_parent"
                android:layout_height="match_parent" >
            </FrameLayout>
        </LinearLayout>
    </TabHost>

</LinearLayout>
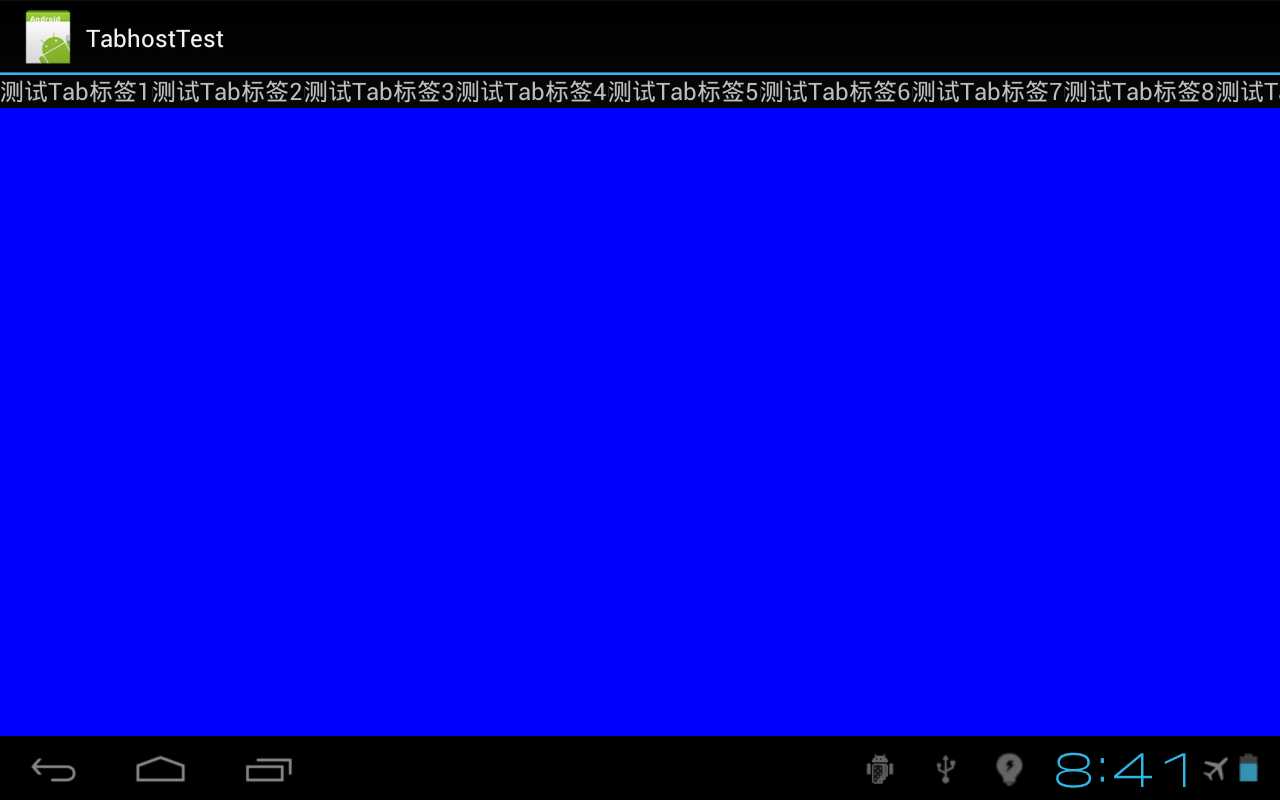
运行效果如下:
第三步,修改标签的宽度和高度
这里要改2个地方,一个是activity中,一个是tabwighet.xml中;
首先说明一下tabwighet.xml修改,代码如下:
<?xml version="1.0" encoding="utf-8"?>
<LinearLayout xmlns:android="http://schemas.android.com/apk/res/android"
    android:layout_width="wrap_content"
    android:layout_height="wrap_content"
    android:layout_gravity="center_horizontal"
    android:gravity="center_horizontal"
    android:orientation="vertical" >

    <TextView
        android:id="@+id/tv_title"
        android:layout_width="200dp"
        android:layout_height="50dp"
        android:layout_gravity="center"
        android:gravity="center"
        android:singleLine="true" />

</LinearLayout>
其中需要注意一点,设置标签的宽度和高度不能设置到LinearLayout上,否则设置的宽度和高度不起作用。
Activity的修改就很简单了,根据tabwighet.xml的修改稍微调整一下代码即可,修改的代码如下:
          LinearLayout view = (LinearLayout) getLayoutInflater().inflate(
                     R.layout.tabwighet, null);
             ((TextView) view.findViewById(R.id.tv_title)).setText(tabTitle[i]);
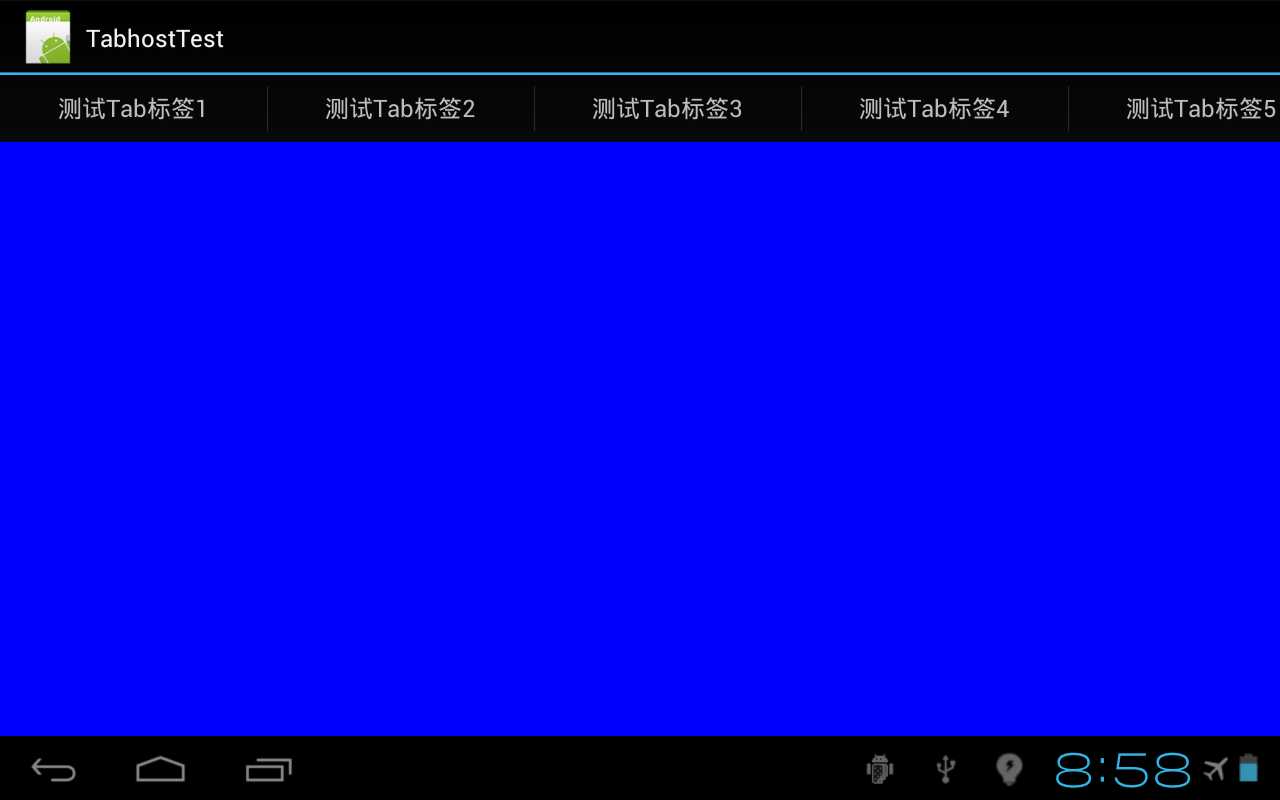
运行的效果如下:
第四步,修改标签的样式,增加背景图片和选中的状态,以及选中后的字体的颜色
首先修改tabhost.xml文件,为HorizontalScrollView和FrameLayout添加设置background的属性,图片自己选个即可。代码如下:
<HorizontalScrollView
                android:layout_width="fill_parent"
                android:layout_height="wrap_content"
                android:background="@drawable/ic_tab_header_background"
                android:fillViewport="true"
                android:scrollbars="none" >

                <TabWidget
                    android:id="@android:id/tabs"
                    android:layout_width="wrap_content"
                    android:layout_height="wrap_content" >
                </TabWidget>
            </HorizontalScrollView>

            <FrameLayout
                android:id="@android:id/tabcontent"
                android:layout_width="match_parent"
                android:layout_height="match_parent"
                android:background="@drawable/ic_tab_body_background" >
            </FrameLayout>
然后在drawable文件夹中添加2个selector,一个是用来设置选中的标签的背景的,一个是用来设置选中的字体颜色变化的,代码如下:
 <?xml version="1.0" encoding="utf-8"?>
 <selector xmlns:android="http://schemas.android.com/apk/res/android">
     <item android:drawable="@drawable/tabbar_bg_selected" android:state_selected="true"></item>
     <item android:drawable="@android:color/transparent" android:state_selected="false"></item>
</selector>
 <?xml version="1.0" encoding="utf-8"?>
 <selector xmlns:android="http://schemas.android.com/apk/res/android">
     <item android:color="#9d9d9d" android:state_selected="false"></item>
     <item android:color="@android:color/black" android:state_selected="true"></item>
 </selector>
最后修改tabwighet.xml将样式添加到标签上:
<?xml version="1.0" encoding="utf-8"?>
<LinearLayout xmlns:android="http://schemas.android.com/apk/res/android"
    android:layout_width="wrap_content"
    android:layout_height="wrap_content"
    android:layout_gravity="center_horizontal"
    android:background="@drawable/selector_tab_header_item_background"
    android:gravity="center_horizontal"
    android:orientation="vertical" >

    <TextView
        android:id="@+id/tv_title"
        android:layout_width="200dp"
        android:layout_height="50dp"
        android:layout_gravity="center"
        android:gravity="center"
        android:singleLine="true"
        android:textColor="@drawable/selector_tab_header_item_txt_color" />
</LinearLayout>
运行效果如下:
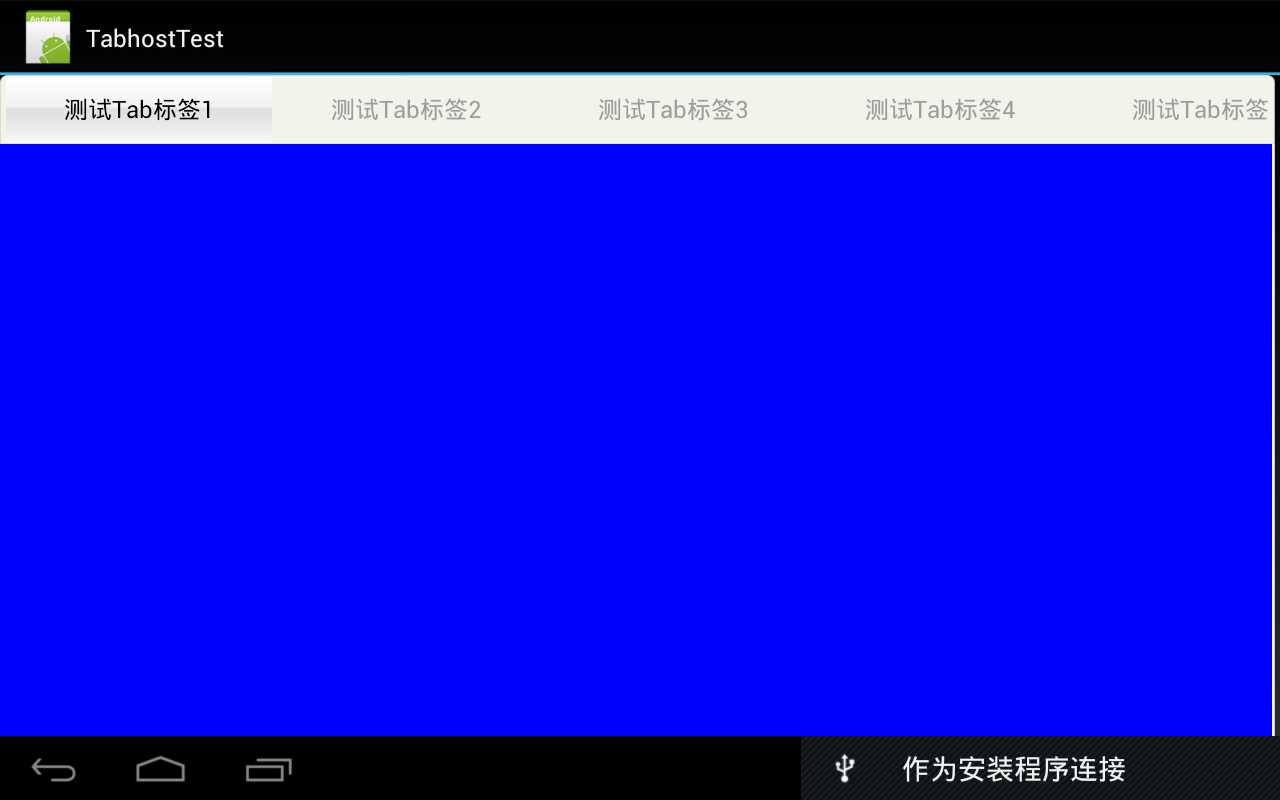
第五步,添加tabhost中标签间的分割线
修改tabhost.xml的代码为:
     <TabWidget
                    android:id="@android:id/tabs"
                    android:layout_width="wrap_content"
                    android:layout_height="wrap_content"
                    android:divider="@drawable/ic_tabbar_divider" >
    </TabWidget>
效果图如下:
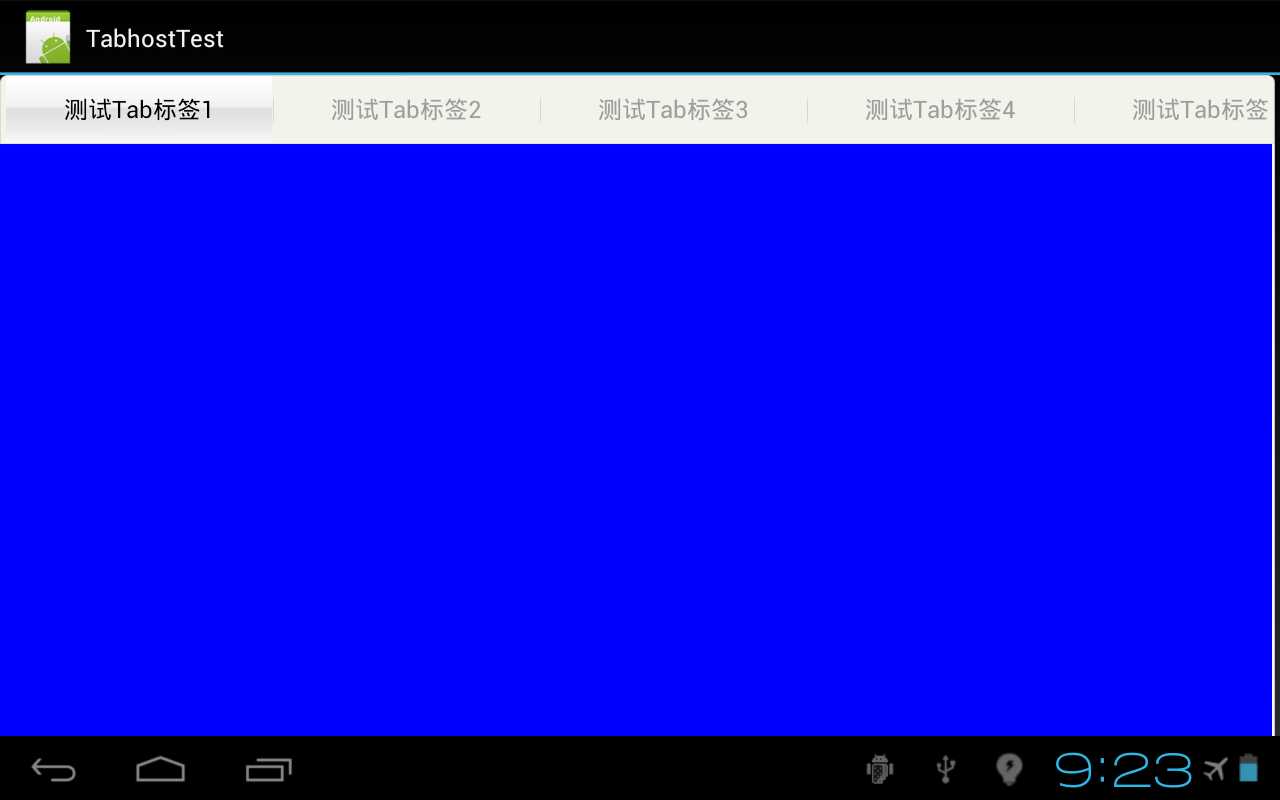
以上几步就完成了我们预定的3个功能。
下面是我在开发中遇到的几个特使的问题,总结一下并列出我的解决方法:
1.标签的宽度总是设置不成功——请参照第三步操作,这里注意设置最外边的view的宽度是不能控制标签的宽度的。
2.标签间设置的自定义分割图片总是不显示——检查AndroidManifest.xml中是不是设置了application的 android:theme属性,如果设置成了@android:style/Theme.NoTitleBar,那么设置的分割是不能正常显示的(初步 测试设置了与NoTitleBar有关的样式的属性都不能显示),如果设置这个属性是为了隐藏actionbar,建议修改成 @android:style/Theme.DeviceDefault.NoActionBar。
Android TabHost中实现标签的滚动以及一些TabHost开发的奇怪问题
标签:
原文地址:http://www.cnblogs.com/zhujiabin/p/4276492.html