标签:
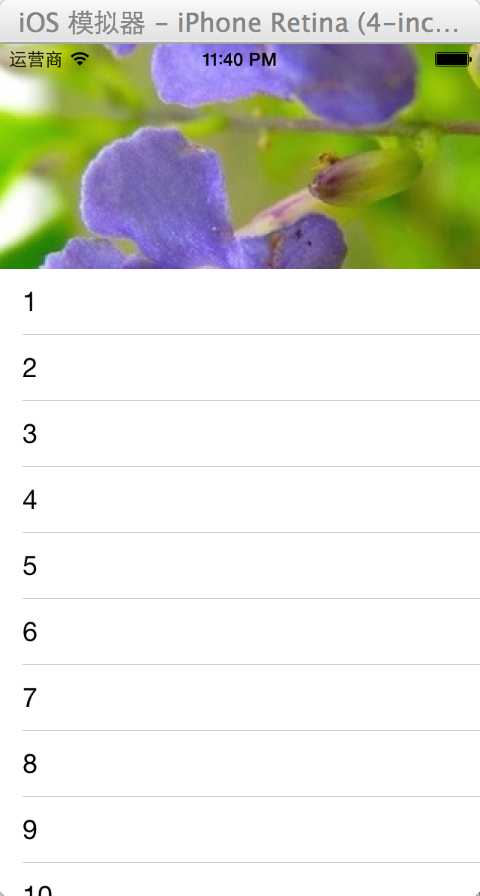

但是tableHeaderView的宽度是固定的,这就意味着不容易做缩放效果;
顶部的上边界始终和tableView的上边界挨着,这就意味着下拉前只显示部分图片的效果,不容易实现.
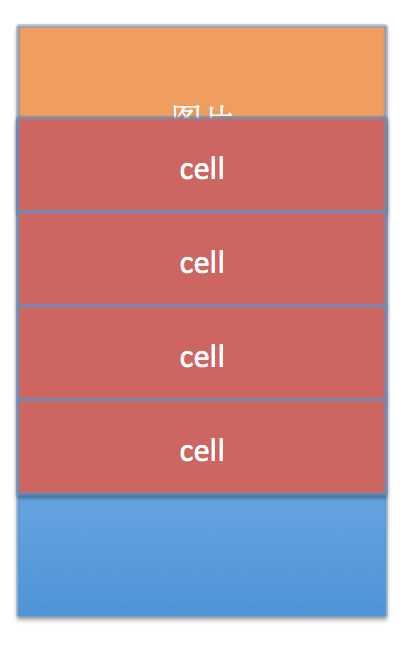
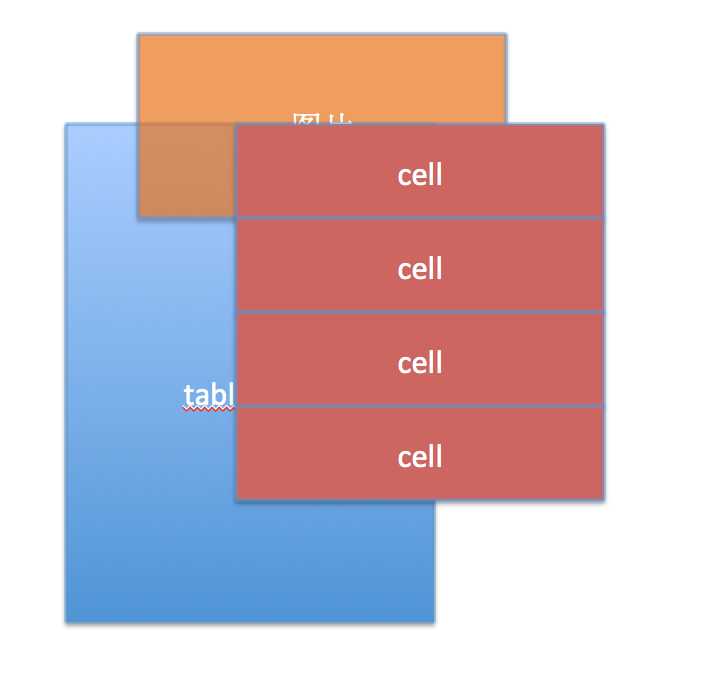
UIImage *a = [UIImage imageNamed:@"Image"]
UIImageView *imageV = [[UIImageView alloc] init];
[imageV setImage:[UIImage imageNamed:@"Image.jpg"]];
imageV.frame = CGRectMake(0, -150, 320, 300); // 300是随便设的,y的数值设为300的一半,方便计算
[self.tableView addSubview:imageV]; // 先尝试addSubView
self.tableView.contentInset = UIEdgeInsetsMake(150, 0, 0, 0);
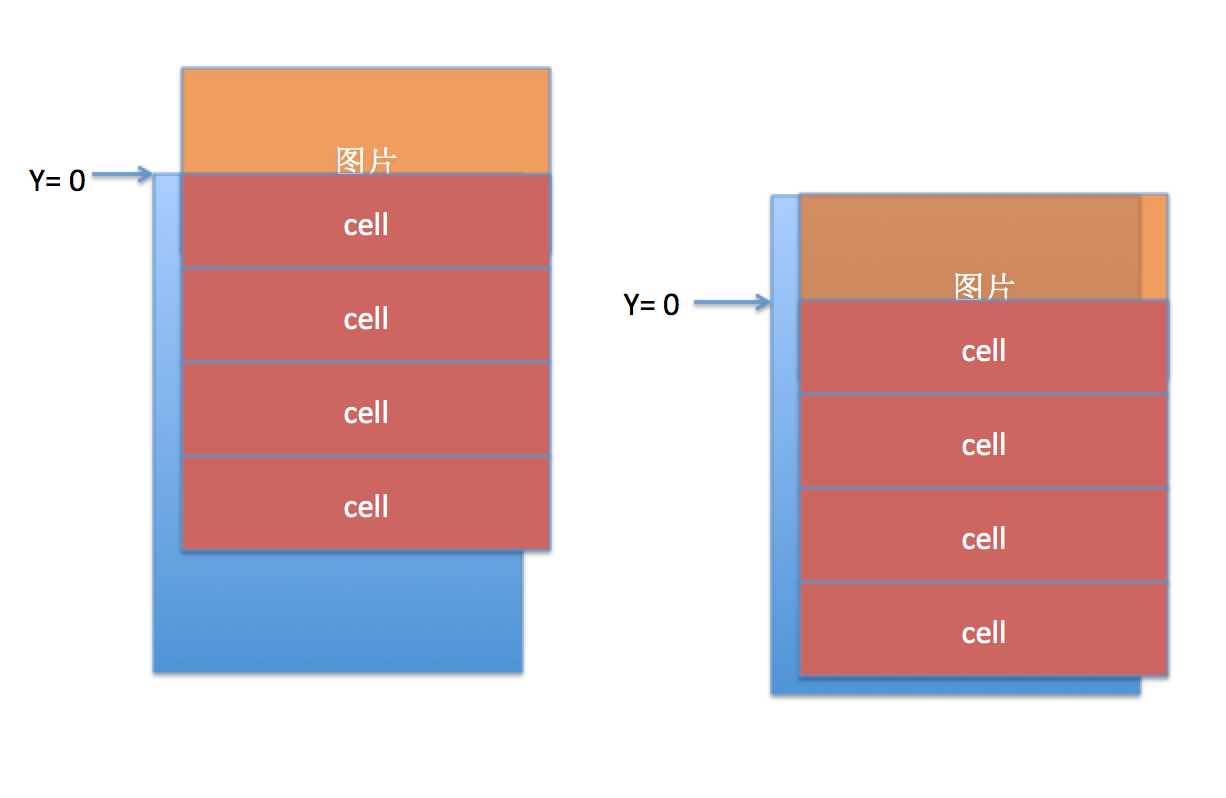
imageV.frame = CGRectMake(0, -300, 320, 300);
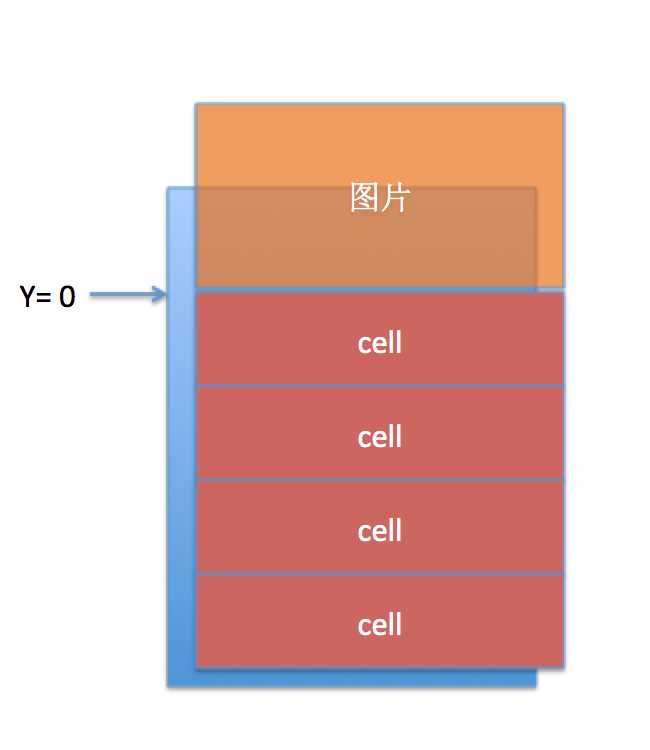

第1种思路: 1>在代理方法内,算出滚动的距离
2>imageView的高=原高+滚动的距离
3>根据新算出的高,由原来长宽比例算出图片的宽
4>imageView的Y值不用算,但是要根据宽算出X值,算出的X值,要让图片水平居中显示
总之很繁琐.
第2种思路: 1>在代理方法内,算出滚动的距离
2>imageView的高=原高+滚动的距离
3>设置图片的内容模式,设置为 ScaleAspectFill = 缩放+ 等比例+ 填满
imageV.contentMode = UIViewContentModeScaleAspectFill; //在ViewDidLoad里
//在代理方法里:
float distance = - self.tableView.contentOffset.y - 150;
self.imageV.height = 300 + distance ;
float distance = - self.tableView.contentOffset.y - 150;
if (distance < 0) return ;
self.imageV.height = 300 + distance ;
[self.tableView insertSubview:imageV atIndex:0];
标签:
原文地址:http://www.cnblogs.com/oumygade/p/4285192.html