标签:vcsa
Here are the steps to deploy the VCSA 6 using VMware Workstation 11:
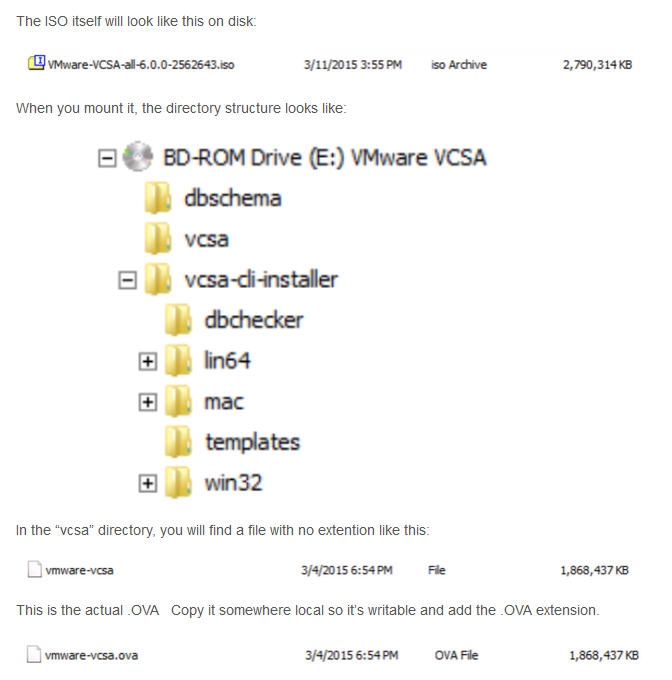
Step 1 - Download the VCSA 6 which is available as an ISO
Step 2 - Extract the contents of the ISO and add the .ova extension to following file located in vcsa/vmware-vcsa (this is the VCSA OVA)

Step 3 - Upload the OVA using VMare Workstation 11(you can either double click or just go to File->Open) but make sure you do not power it on after deployment. (this is very important)
Step 4 - Locate the directory in which the VCSA was deployed to and open up the VMX file and append the following (make sure to change the IP information and passwords based on your environment):
guestinfo.cis.vmdir.password = "VMware1!"
guestinfo.cis.appliance.root.passwd = "VMware1!"
Notes:
vmdir.password is administrator@vsphere.local password
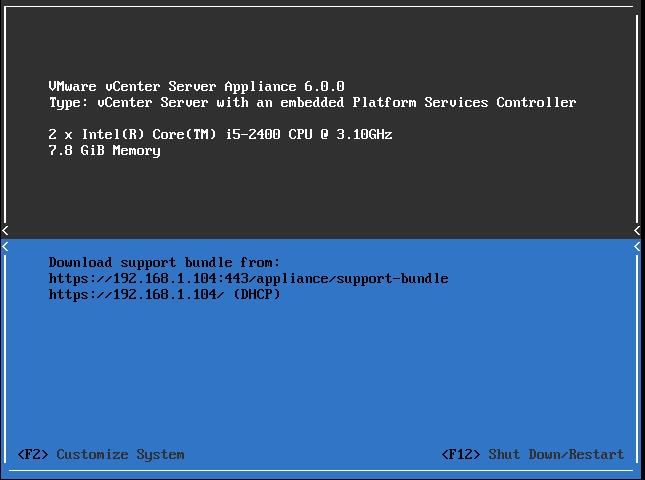
Step 5 - Once you have saved your changes, go ahead and power on the VCSA. At this point, the guestinfo properties that you just added will be read in by VMware Tools as the VCSA is booting up and the configuration will begin. Depending on the speed of your hardware, hopefully in a very short amount of time you will have a fully configured VCSA that is ready for your evaluation and testing. Notes:
1.using F2 to customize system
2.using /opt/vmware/share/vami/vami_config_net to config network from CLI
Step 6 - login with administrator@vsphere.local to grant root permission and etc.
ok
本文出自 “Ilovecat(个人笔记)” 博客,请务必保留此出处http://hj192837.blog.51cto.com/655995/1622179
Deploy VCSA 6 using VMware Workstation 11
标签:vcsa
原文地址:http://hj192837.blog.51cto.com/655995/1622179