标签:
1.首先安装好jdk并且配置好java的环境变量(具体方法可以在google中搜到)
解压hadoop-0.20.2.tar.gz到你的ubuntu账户的目录中(/home/xxxx/hadoop)(解压到任何目录都可以吧,看个人需要,不过配置下面文件的时候一定要改成自己的路径)
修改hadoop下的conf文件夹下的core-site.xml,hadoop-env,sh,hdfs-site.xml,mapred-site.xml
core-site.xml
<configuration>
    <property>
        <name>fs.default.name</name>
        <value>hdfs://localhost:9000</value>
    </property>
    <property>
        <name>hadoop.tmp.dir</name>
        <value>/home/xxxx/hadoop/tmp</value>
    </property>
</configuration>
hadoop-env.sh
在hadoop-env.sh中加入你的java-home变量,我的为:
export JAVA_HOME=/usr/java/jdk1.6.0_27
这一个不要忘了加上
hdfs-site.xml
<configuration>
    <property>
        <name>dfs.replication</name>
        <value>1</value>
    </property>


    <property>
        <name>dfs.name.dir</name>
        <value>/home/xxxx/hadoop/hdfs/name</value>
    </property>
    <property>
        <name>dfs.data.dir</name>
        <value>/home/xxxx/hadoop/hdfs/data</value>
    </property>
</configuration>
mapred-site.xml:
<configuration>
    <property>
        <name>mapred.job.tracker</name>
        <value>localhost:9001</value>
    </property>
</configuration>
注意以上配的文件夹不需要自己创建在你第一次运行hadoop的时候hadoop会自动帮你创建
2.配置ssh
(引用hadoop中的document中的内容)
注意Ubuntu默认是没有把ssh装上的,需要安装ssh
Now check that you can ssh to the localhost without a passphrase:
$ ssh localhost(你可以用这个命令测试你的机器上是否安装好了ssh)
If you cannot ssh to localhost without a passphrase, execute the following commands:
$ ssh-keygen -t dsa -P ‘‘ -f ~/.ssh/id_dsa
$ cat ~/.ssh/id_dsa.pub >> ~/.ssh/authorized_keys
用以上两条命令配置ssh免密码登录
注意要在你的账户的主文件夹的目录中执行以上两条命令(无论当前终端中处于哪个文件夹直接输入cd命令可以进入你的主文件夹)
再次输入ssh localhost就不会要密码了
3.第一次执行
进入hadoop的目录
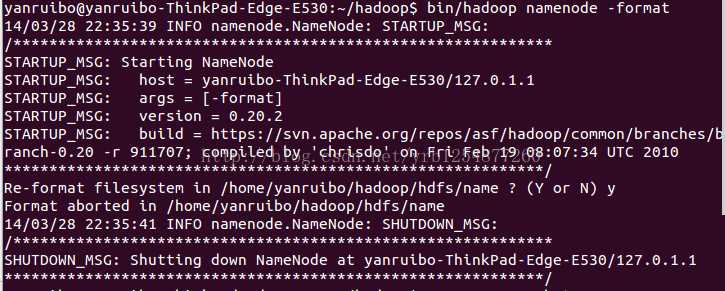
Format a new distributed-filesystem:
$ bin/hadoop namenode -format
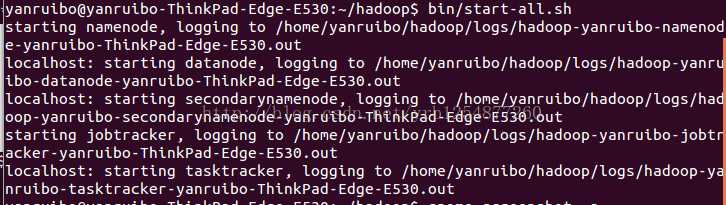
Start the hadoop daemons:
$ bin/start-all.sh
用jps命令列出所有的进程来查看是否运行成功
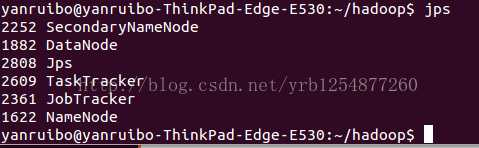
这样就运行成功了,如果少一个守护进程就表示配置错误,你可以看你的log输出来看有什么错误
以下摘自hadoop document, 比较简单就不翻译了
The hadoop daemon log output is written to the ${HADOOP_LOG_DIR} directory (defaults to${HADOOP_HOME}/logs).
Browse the web interface for the NameNode and the JobTracker; by default they are available at:
Copy the input files into the distributed filesystem:
$ bin/hadoop fs -put conf input
Run some of the examples provided:
$ bin/hadoop jar hadoop-*-examples.jar grep input output ‘dfs[a-z.]+‘
Examine the output files:
Copy the output files from the distributed filesystem to the local filesytem and examine them:
$ bin/hadoop fs -get output output
$ cat output/*
or
View the output files on the distributed filesystem:
$ bin/hadoop fs -cat output/*
When you‘re done, stop the daemons with:
$ bin/stop-all.sh
参考:
http://www.cnblogs.com/welbeckxu/archive/2011/12/29/2306757.html(在我做的时候core-site.xml,hdfs-site.xml,中的/home/xxxx/hadoop/tmp等几个文件是不用创建的,相反如果自己创建还会产生错误)。从csdn迁移过来的。
标签:
原文地址:http://www.cnblogs.com/alvin-yrb/p/4355139.html