标签:
LinPhone是一个IP电话工具,运行于Linux下。它能够让你通过internet来查询朋友的IP,并通过IP给他打电话。下面我会介绍如何在ubuntu下编译运行linphone。
1.前提条件:
已经在ubuntu下配置好android开发环境,详见http://blog.csdn.net/maylian7700/article/details/7538176#,这里不再赘述
2.然后使用git下载linphone-android在命令行里面输入git clone git://git.linphone.org/linphone-android.git --recursive (--recursive一定要有,否则可能导致下载不完全)
3.查看README文件,发现需要android api至少为16,最好为19(否则的话会编译错误),而且需要安装一些必备的插件
  1               ****************************
  2               *   LINPHONE for ANDROID   *
  3               ****************************
  4
  5 COMPILATION INSTRUCTIONS
  6 ************************
  7
  8 To build liblinphone for Android, you must:
  9 -------------------------------------------
 10 0) download the Android sdk with platform-tools and tools updated to latest revision (at least API 16 is needed), then add both ‘tools‘ and ‘platform-tools‘ folders in your path.
 11 1) download the Android ndk (=r10c) from google and add it to your path (no symlink !!!).
 12 2) install yasm, nasm, curl, ant, rsync and the autotools: autoconf, automake, aclocal, libtoolize, pkgconfig
 13     On 64 bits linux systems you‘ll need the ia32-libs package
 14     With the latest Debian (multiarch), you need this:
 15         dpkg --add-architecture i386
 16         aptitude update
 17         aptitude install libstdc++6:i386 libgcc1:i386 zlib1g:i386 libncurses5:i386
 18 3) run the Makefile script in the top level directory. This will download iLBC source files and convert some assembly files in VP8 project.
 19     $ make
 20 4) (Optional) To install the generated apk into a plugged device, run
 21     $ make install
 22 5) (Optional) To generate a liblinphone SDK zip containing a full jar and native libraries, run
 23     $ make liblinphone-android-sdk
 24 6) (Optional) To generate a libmediastreamer2 SDK zip containing a full jar and native libraries, run
 25     $ make mediastreamer2-sdk
 26 7) (Optional) To generate a signed apk to publish on the Google Play, run
 27     $ make release
 28 It will ask you for the version number that will be displayed in the about page of the app.
 29 Make sure you filled the ant.properties values for key.store and key.alias in order to correctly
 30 sign the generated apk (it will ask you the password during the process)
 31
 32 To run the tutorials:
 33 --------------------
 34 1) open the res/values/non_localizable_custom.xml file and change the value of the show_tutorials_instead_of_app to true.
 35 2) compile again using make && make install.
 36 3) /!\ don‘t forget to put it back to false to run the linphone application normally. /!\
 37
 38 To create an apk with a different package name
 39 ----------------------------------------------
 40 You need to edit the custom_rules.xml file:
 41 1) look for the property named "linphone.package.name" and change it value accordingly
 42 2) also update the values in the AndroidManifest file where the comment <!-- Change package ! --> appears
 43 3) update the path to the sounds in the linphonerc-factory files in the res folders and optionally change default sip account on linphonerc-default
 44 4) run again the Makefile script by calling "make"
 45
 46 To run the liblinphone test suite on android
 47 --------------------------------------------
 48 Simply run
 49     $ make liblinphone_tester
 50 This will be build everything, generate an apk, and install it on the connected device if any.
 51
 52 You can speed up the compilation by using ccache (compiler cache, see https://ccache.samba.org/). Simply export:
 53 export NDK_CCACHE=ccache
 54
 55 TROUBLESHOOTING
 56 ***************
 57 If you encounter the following issue:
 58 E/dalvikvm( 2465): dlopen("/data/app-lib/org.linphone-1/liblinphone-armeabi-v7a.so") failed: Cannot load library: soinfo_relocate(linker.cpp:975): cannot locate symbol "rand" referenced by "liblinphone-armeabi-v7a.so"...
 59 it‘s because you have installed the android-21 platform (which is chosen automatically because it‘s the most recent) and you deployed the apk on a android < 5 device.
 60 To fix this, in the Makefile, force ANDROID_MOST_RECENT_TARGET=android-19
 61
 62 If you encounter troubles with the make clean target and you are using the 8e android ndk, the solution can be found here: https://groups.google.com/forum/?fromgroups=#!topic/android-ndk/3wIbb-h3nDU
 63
 64 If you built the app using eclipse, ensure you ran at least once the make command (see above steps 0 to 3) ! Else you‘ll have this exceptions:
 65 FATAL EXCEPTION: main
 66 java.lang.ExceptionInInitializerError
 67 ...
 68 Caused by: java.lang.UnsatisfiedLinkError: Couldn‘t load linphone-armeabi-v7a: findLibrary returned null
 69 ...
 70
 71 BUILD OPTIONS
 72 *************
 73
 74 Some options can be passed to make, like "make SOME_OPTION=SOME_VALUE".
 75
 76 ENABLE_GPL_THIRD_PARTIES
 77     values: 0 (GPL third parties disabled) or 1 (GPL third parties enabled), default value: 1
 78     GPL third parties are: X264 and G729
 79
 80 BUILD_VIDEO
 81     values: 0 (no video) or 1 (video enabled), default value: 1
 82
 83 BUILD_OPENH264
 84     values: 0 (don‘t build openH264) or 1 (build openH264), default value: 1
 85
 86 ENABLE_OPENH264_DECODER
 87     values: 0 (disable openh264 decoder) or 1 (enable openh264 decoder), default value: 1
 88
 89 BUILD_X264
 90     values: 0 (don‘t build x264) or 1 (build x264), default value: 0
 91
 92 BUILD_AMRNB
 93     values: 0 (don‘t build amrnb codec), light (try to use amrnb codec from android), full (build your own amrnb codec), default value: full
 94
 95 BUILD_AMRWB
 96     values: 0 (don‘t build amrwb codec), 1 (build your own amrwb codec): default value: 1
 97
 98 BUILD_ZRTP
 99     values: 0 (don‘t support ZRTP), 1 (support ZRTP), default value: 1
100
101 BUILD_SILK
102     values: 0 (don‘t build silk plugin), 1 (build silk) [silk is Skype nonfree patented audio codec], default value: 1
103
104 BUILD_G729
105     values: 0 (don‘t build g729 plugin), 1 (build g729) [g729 is nonfree patented audio codec, contact Sipro lab for more details]
106     default value: 1
107
108 BUILD_TUNNEL
109     values: 0 (don‘t build tunnel), 1 (build tunnel) [requires a non-free tunnel implementation in submodules/linphone/tunnel]
110     default value: 0
111
112 BUILD_WEBRTC_AECM
113     values: 0 (don‘t build echo canceler), 1 (build echo canceler)
114     default value: 1
115
116 USE_JAVAH
117     values: 0 (don‘t generate header), 1 (generate header for linphone_core_jni) [used to check errors at liblinphone compilation]
118     default value: 1
119
120 BUILD_FOR_X86
121     values: 0 (don‘t generate liblinphone libraries for x86 architecture), 1 (build liblinphone libraries for x86 architecture)
122     default value: 1
123
124 BUILD_SQLITE
125     values: 0 (don‘t build sqlite3), 1 (build sqlite3) [used to store chat messages inside liblinphone]
126     default value: 1
127
128 BUILD_TLS
129     values: 0 (don‘t build tls), 1 (do build tls), default value: 1
130
131 BUILD_WEBRTC_ISAC
132     values: 0 (don‘t build isac), 1 (do build isac), default value: 1
133
134 BUILD_OPUS
135     values: 0 (don‘t build opus), 1 (do build opus), default value: 1
136
137 BUILD_UPNP
138     values: 0 (don‘t build upnp), 1 (do build upnp), default value: 1
139
140 BUILD_MATROSKA
141     values: 0 (don‘t build matroska and ebml), 1 (do build matroska and ebml), default value: 0
142
143 BUILD_ILBC
144     values: 0 (don‘t build iLBC), 1 (do build iLBC), default value: 1
4.安装所需插件
1     sudo apt-get install yasm
2     sudo apt-get install nasm
3     sudo apt-get install curl
4     sudo apt-get install ant
5     sudo apt-get install autoconf
6     sudo apt-get install automake
7     sudo apt-get install aclocal
8     sudo apt-get install libtoolize
9     sudo apt-get install pkgconfig
然而aclocal现在已经包括到automake里了,不需要安装;libtoolize的安装,正确的指令却是: sudo apt-get install libtool
pkgconfig则为sudo apt-get install pkg-config。
5.修改linphone-android目录权限,即chmod 777 linphone-android,进入目录后执行make命令。可能会出现以下错误
Can‘t locate LWP/UserAgent.pm in @INC (@INC contains: /usr/lib64/perl5/site_perl/5.8.8/x86_64-linux-thread-multi /usr/lib/perl5/site_perl/5.8.8 /usr/lib/perl5/site_perl /usr/lib64/perl5/vendor_perl/5.8.8/x86_64-linux-thread-multi /usr/lib/perl5/vendor_perl/5.8.8 /usr/lib/perl5/vendor_perl /usr/lib64/perl5/5.8.8/x86_64-linux-thread-multi /usr/lib/perl5/5.8.8 .) at hot_mover10.pl line 7.
BEGIN failed--compilation aborted at hot_mover10.pl line 7.
通过终端输入以下命令可以得以解决:
1  perl -MCPAN -eshell
2 cpan> install Bundle::LWP
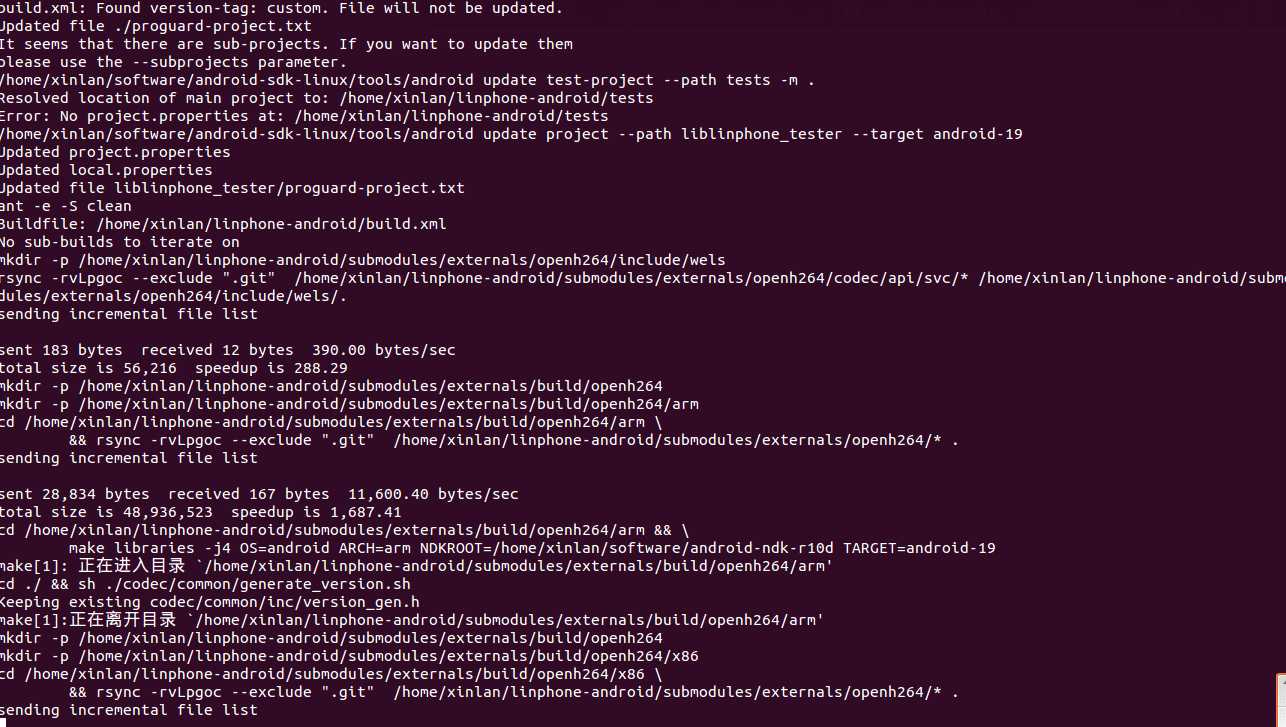
6.再次make,其中过程如下

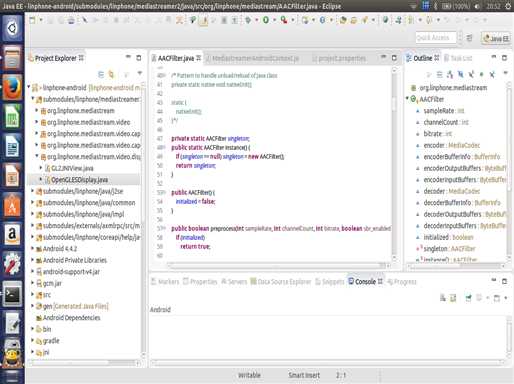
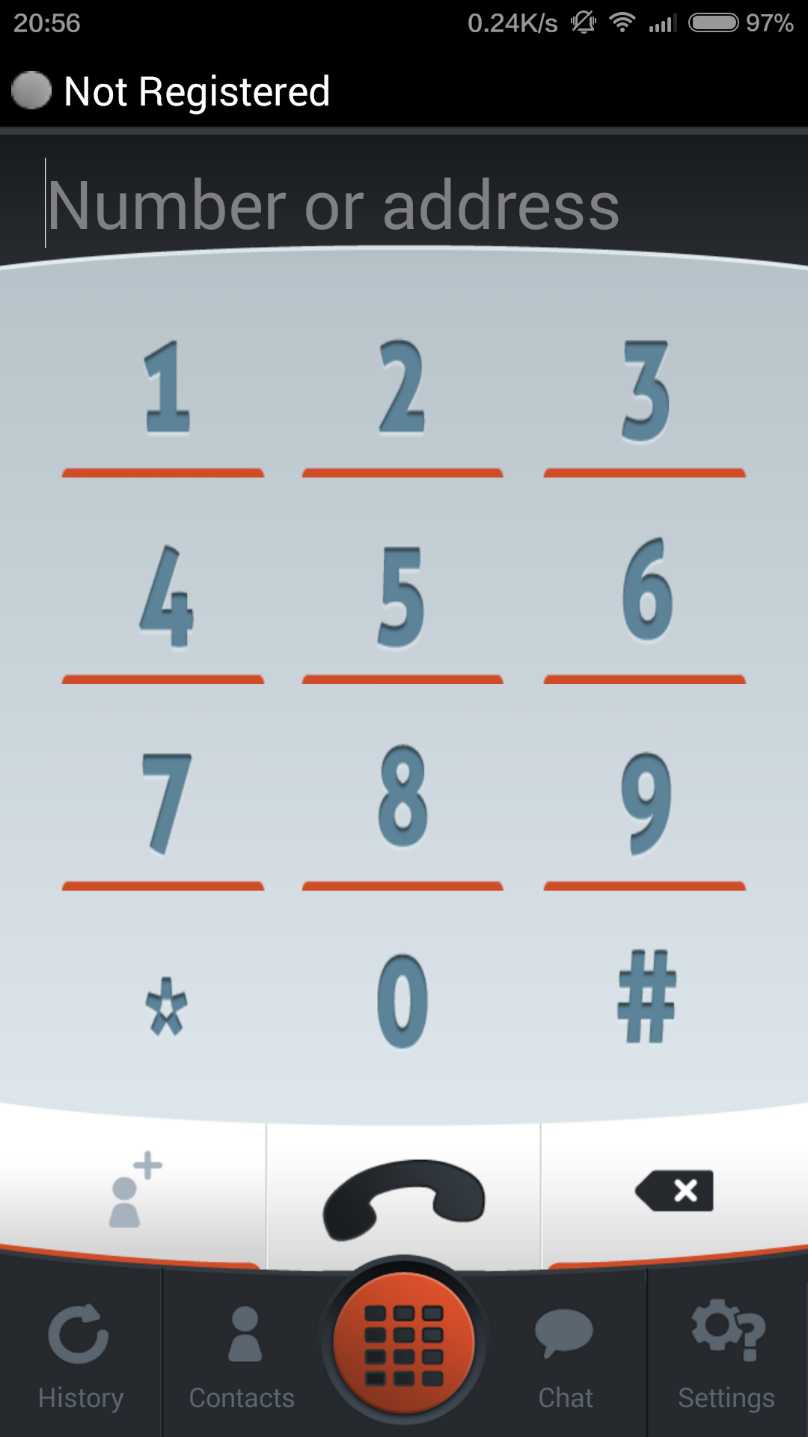
7.eclipse导入该工程,运行并真机调试,如图所示:


标签:
原文地址:http://www.cnblogs.com/xlwm/p/4390814.html