标签:
原文: wpf做的3d滑动gallery
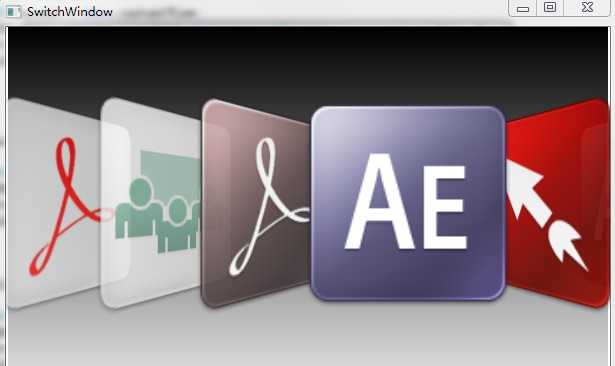
随着iphone\ipad的流行及热捧,现在做移动产品不管是什么平台的,领导总想做成像ios系统的样子。自从微软发布了window8预览版之后,领导就想着把公司的移动产品移殖到window8上去了。公司的移动产品的主界面是做成3d gallery的立体画册效果的,如下图:

window8是不带这样的控件的,究竟有没有实现如此效果的控件我就不清楚了,我认为是没有的,因为我在vs上找不到,也不符合window8风格,我找遍了互联网也没有找到这样效果的第三方控件,所以只好自已去开发实现了。虽然我认为做这样的效果放上window8上比较搞笑,但领导想要如此就没办法了,领导说怎么做就怎么做!
window8的metro风格开发需要在window8平台上开发,虽然开发框架并不是wpf ,不过也是差不多的,就是xaml加c#(这个效果其实用silverlight来实现会更简单一些,因为它有将2d视图直接模拟3D动画的类), window8只在虚拟机上装了,所以就用wpf来研究了。
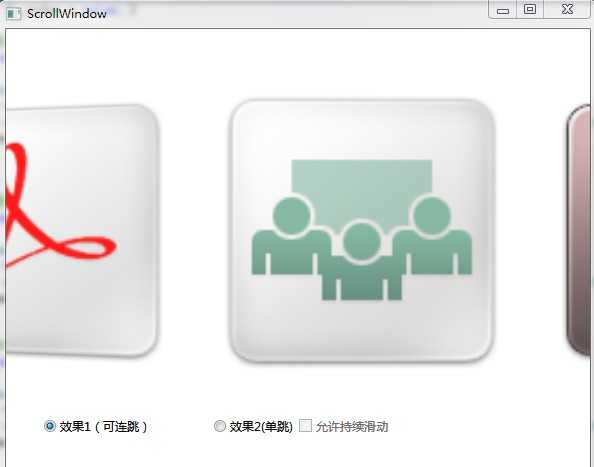
在互联网只找到一种模拟环绕滚动效果的开源代码,图片及滚动效果都有了(只是2D图效果),就拿它来开刀改造成我们要的效果。需要增加四个功能效果,一是让它支持用鼠标滑动控制,二是让图片有透视立体效果,三是当前图滑动到左右时能且有动画效果在正面与则面视角间转换,四是为每张图增加点击触发事件。
一、鼠标滑动控制功能
因为涉及到的功能比较复杂,具体同学们自已看源码研究了,这里主要是把入口代码告诉大家。只要实现控件的OnMouseMove事件去控制图片的滑动:
        private void LayoutRoot_MouseMove(object sender, MouseEventArgs e)
        {
            if (e.LeftButton == MouseButtonState.Pressed)
            {
                IsPressed = true;
                tempi += 1;
                if (tempp.X > e.GetPosition(LayoutRoot).X)
                {
                    if (tempi > MOVE_DISTANCE)
                    {
                       //鼠标滑到一定距离后图片自动滑动到下一张
                        MoveRight();
                        tempi = 0;
                    }
                     _touch_move_distance += 1;

                }
                else if (tempp.X < e.GetPosition(LayoutRoot).X)
                {
                    if (tempi > MOVE_DISTANCE)
                    {
                         //鼠标滑到一定距离后图片自动滑动到下一张
                        MoveLeft();
                        tempi = 0;
                    }
                   _touch_move_distance -= 1;

                }
                tempp = e.GetPosition(LayoutRoot);

            }
            else if (e.LeftButton == MouseButtonState.Released)
            {
                IsPressed = false;
                tempi = 0;
                tempp = new Point(0, 0);
            }
            else
            {
                tempi = 0;
                tempp = new Point(0, 0);
            }
        }
二、让图片有透视立体效果,动画效果在正面与则面视角间转换
立体效果需要有控件或类支持才行,xaml提供了一种实现方法就是用Viewport3D类,首先自定义一个具有把2d图转3D的图片view控件,用xaml实现,涉及的代码较多这里不列出来了,只说一下转换的动画效果实现,以下只是其实一种
            GeometryModel3D current = this.contentView;
            var transform3DGroup = current.Transform as Transform3DGroup;
            var rotate = (transform3DGroup.Children[0] as RotateTransform3D).Rotation as AxisAngleRotation3D;
            AnimationVisualElement(rotate, 45);
AnimationVisualElement是自定义的实现动画效果的方法,只实现在立体旋转,其他如大小缩放也是需要的
        private void AnimationVisualElement(AxisAngleRotation3D rotate, double angel)
        {
            Duration duration = new Duration(TimeSpan.FromSeconds(.1));
            //对AxisAngleRotation3D的Angle属性应用动画
            DoubleAnimation animationAngel = new DoubleAnimation();
            animationAngel.To = angel;
            animationAngel.AccelerationRatio = 0.3;
            animationAngel.DecelerationRatio = 0.7;
            animationAngel.Duration = duration;
            rotate.BeginAnimation(AxisAngleRotation3D.AngleProperty, animationAngel);
        }
三、为每张图增加点击触发事件
点击事件在添加子图片时添加进去
        public void AddImage(ImageSource bitmapImage)
        {
            Viewport3DControl image = new Viewport3DControl();
            image.SetImageSource(ref bitmapImage);
            image.Index = _images.Count;
            image.Width = ChildViewWidth;
            image.Height = ChildViewHeight;
            image.MouseDown += new MouseButtonEventHandler(image_MouseDown);
            LayoutRoot.Children.Add(image);
            posImage(image, _images.Count);
            _images.Add(image);
        }

        void image_MouseDown(object sender, MouseButtonEventArgs e)
        {
            Viewport3DControl view = (Viewport3DControl)sender;
         // 用委托输出触发事件到主线程 ,需要注意的是,在引用此控件时必须实现此委托方法
            OnTouchDownEvent(view, view.Index);
        }
        public delegate void TouchDownHander(UIElement view, int index);
        public event TouchDownHander OnTouchDownEvent;
比较特别的是,此控件拥有滑动时会产生惯性滑动效果,实现此效果的关键代码是这部分
        void _timer_Tick(object sender, EventArgs e)
        {
            //还原位置
            if (IsPressed == false && _touch_move_distance != 0)
            {
                //回弹
                _touch_move_distance += (-_touch_move_distance) * SPRINESS;
            }
            for (int i = 0; i < _images.Count; i++)
            {
                Viewport3DControl image = _images[i];
                posImage(image, i);
            }
            if (Math.Abs(_target - _current) < CRITICAL_POINT && IsPressed == false) return;
//惯性滑动效果
            _current += (_target - _current) * SPRINESS;
        }
其实就是移动距离的变化算法实现的
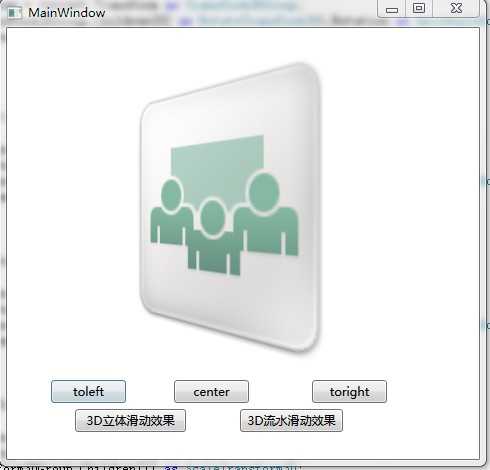
该demo界面

全部代码下载,本项目用vs2010编绎
http://files.cnblogs.com/easywebfactory/3d_Gallery.rar
标签:
原文地址:http://www.cnblogs.com/lonelyxmas/p/4446115.html