标签:
安装:
brew install nsq
使用:
The following steps will run a small NSQ cluster on your local machine and walk through publishing, consuming, and archiving messages to disk.

follow the instructions in the INSTALLING doc.

in one shell, start nsqlookupd:

$ nsqlookupd
in another shell, start nsqd:

$ nsqd --lookupd-tcp-address=127.0.0.1:4160
in another shell, start nsqadmin:

$ nsqadmin --lookupd-http-address=127.0.0.1:4161
publish an initial message (creates the topic in the cluster, too):

$ curl -d ‘hello world 1‘ ‘http://127.0.0.1:4151/put?topic=test‘
finally, in another shell, start nsq_to_file:

$ nsq_to_file --topic=test --output-dir=/tmp --lookupd-http-address=127.0.0.1:4161
publish more messages to nsqd:

$ curl -d ‘hello world 2‘ ‘http://127.0.0.1:4151/put?topic=test‘
$ curl -d ‘hello world 3‘ ‘http://127.0.0.1:4151/put?topic=test‘
to verify things worked as expected, in a web browser open http://127.0.0.1:4171/ to view the nsqadmin UI and see statistics. Also, check the contents of the log files (test.*.log) written to /tmp.

The important lesson here is that nsq_to_file (the client) is not explicitly told where the test topic is produced, it retrieves this information from nsqlookupd and, despite the timing of the connection, no messages are lost.
参考地址:
http://nsq.io/overview/quick_start.html
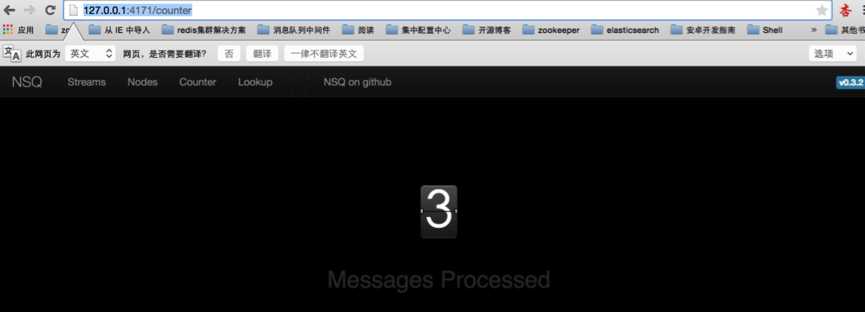
控制台:
http://127.0.0.1:4171/counter
标签:
原文地址:http://www.cnblogs.com/super-d2/p/4532623.html