标签:
PHPUnit 的 PHAR 包中已经包含了PHPUnit_Selenium组件包
phpunit官网:https://phpunit.de/,下载地址:https://phar.phpunit.de/phpunit.phar
Windows下安装
整体上说,在 Windows 下安装 PHAR 和手工在 Windows 下安装 Composer 是一样的过程:
为 PHP 的二进制可执行文件建立一个目录,例如 C:\bin
将 ;C:\bin 附加到 PATH 环境变量中(相关帮助)
下载 https://phar.phpunit.de/phpunit.phar 并将文件保存到 C:\bin\phpunit.phar
打开命令行(例如,按 Windows+R ? 输入 cmd ? ENTER)
建立外包覆批处理脚本(最后得到 C:\bin\phpunit.cmd):
C:\Users\username> cd C:\bin
C:\bin> echo @php "%~dp0phpunit.phar" %* > phpunit.cmd
C:\bin> exit
新开一个命令行窗口,确认一下可以在任意路径下执行 PHPUnit:
C:\Users\username> phpunit --version
PHPUnit x.y.z by Sebastian Bergmann and contributors.
(注意:如果执行失败,请把C:\bin路径添加到系统环境变量PATH中,如下图)
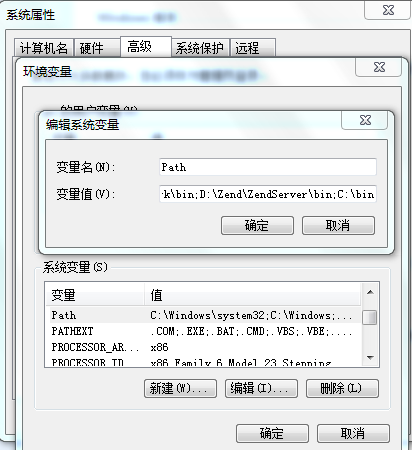
以上安装方法来自phpunit官网,其它平台安装方法请参考官方文档https://phpunit.de/manual/current/zh_cn/installation.html
Selenium Server是一个测试工具,它允许用任意主流浏览器为任意 HTTP 网站上的用任意编程语言开发的 web 应用程序编写自动用户界面测试。
下载 Selenium Server 的jar包。
然后将selenium-server-standalone-2.45.0.jar(注意版本后缀) 复制到合适的位置,比如说 C:\bin
运行C:\bin> java -jar java -jar selenium-server-standalone-2.45.0.jar 来启动 Selenium Server 服务器端。
可以用 Selenium Server 的客户端/服务器端协议来向它发送命令了。
PHPUnit_Extensions_Selenium2TestCase 测试用例能够使用 WebDriver API(部分实现),开发前,请先下载对应浏览器的WebDriver组件,并放进C:\bin
https://sites.google.com/a/chromium.org/chromedriver/downloads chrome浏览器
https://github.com/SeleniumHQ/selenium/wiki/InternetExplorerDriver IE浏览器
osc登录和发博文测试用例
<?php

class OscTest extends PHPUnit_Extensions_Selenium2TestCase
{
    private $username;
    private $psw;
    protected function setUp()
    {
        $this->username = ‘xxxxx‘; // osc帐号
        $this->psw = ‘xxxxx‘;  // osc密码
        // 设置测试的浏览器
        // $this->setDesiredCapabilities(array(
        // "firefox_binary" => "D:\\Program Files\\Mozilla Firefox\\firefox.exe"
        // ));
        // $this->setBrowser(‘firefox‘);

        $this->setDesiredCapabilities(array(
            "webdriver.chrome.driver" => "C:\\bin\\chromedriver.exe"
        ));
        $this->setBrowser(‘chrome‘);

        // $this->setSeleniumServerRequestsTimeout(180000); //IE运行会比较慢,需要设置时间
        // $this->setDesiredCapabilities(array(
        // "webdriver.ie.driver" => "C:\\bin\\IEDriverServer.exe"
        // ));
        // $this->setBrowser(‘IE‘);
        // 默认页面
        $this->setBrowserUrl(‘https://www.oschina.net/home/login‘);
    }

    public function testLogin()
    {
        // 设置测试页面
        $this->url(‘https://www.oschina.net/home/login‘);
        // 输入osc帐号
        $this->byId(‘f_email‘)->value($this->username);
        // 输入osc密码
        $this->byId(‘f_pwd‘)->value($this->psw);

        // 截图
        $screenshot = $this->currentScreenshot();
        file_put_contents("F:\\screenshot1.png", $screenshot);

        // 登录提交
        $this->byId(‘form_user‘)->submit();
        $screenshot = $this->currentScreenshot();
        file_put_contents("F:\\screenshot2.png", $screenshot);

        // 判断
        $this->assertNotEmpty($this->title());

        // 点击发表博文
        $a1 = $this->byClassName(‘a1‘);
        $this->assertNotEmpty($a1);
        $a1->click();

        $this->waitUntil(function ($testCase) {
            $url = $testCase->url();
            if (strpos($url, ‘new-blog‘) !== false) {
                return TRUE;
            }
        }, 10000);

        // 设置博客标题
        $this->byName(‘title‘)->value(‘phpunit-selenium自动化测试‘);
        // 设置博客正文
        $script = "var ueditor = UE.getEditor(‘wmd-input‘);ueditor.setContent(‘phpunit-selenium自动化测试http://my.oschina.net/penngo‘);return true;";
        $result = $this->execute(array(
            ‘script‘ => $script,
            ‘args‘ => array()
        ));
        // 设置博客分类
        $this->select($this->byId(‘blogcatalogselect‘))
            ->selectOptionByLabel("软件工程");
        $screenshot = $this->currentScreenshot();
        file_put_contents("F:\\screenshot4.png", $screenshot);
        // 发表博客
        $this->byId(‘save-bt‘)->click();
        $screenshot = $this->currentScreenshot();
        file_put_contents("F:\\screenshot5.png", $screenshot);
        // $this->assertNotEquals($new_blog, $this->url());
    }
}

?>
运行

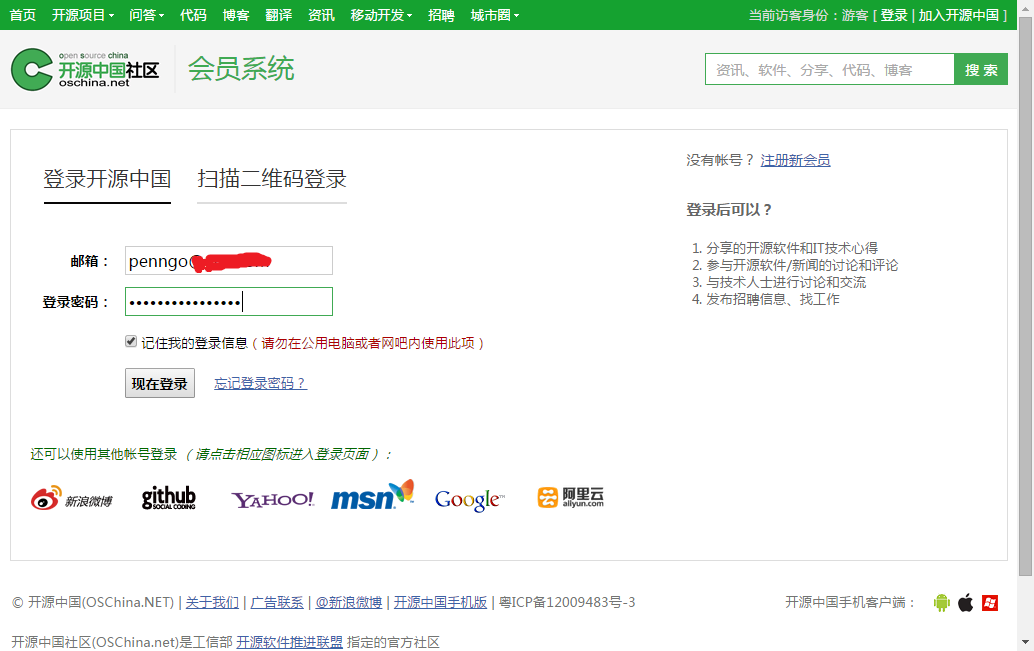
运行中的截图
screenshot1.png
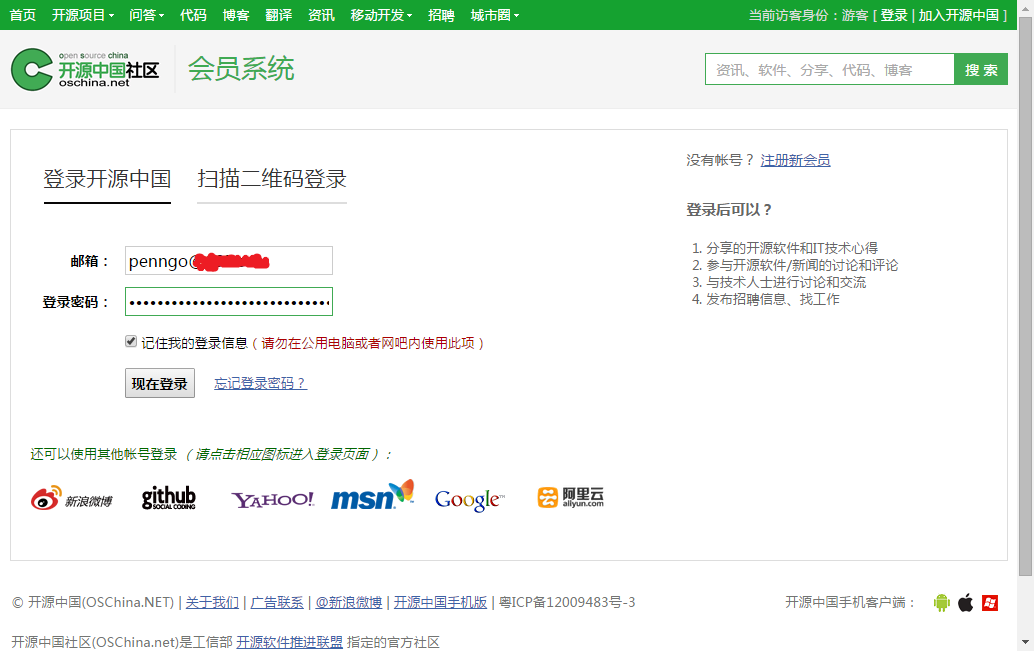
screenshot2.png
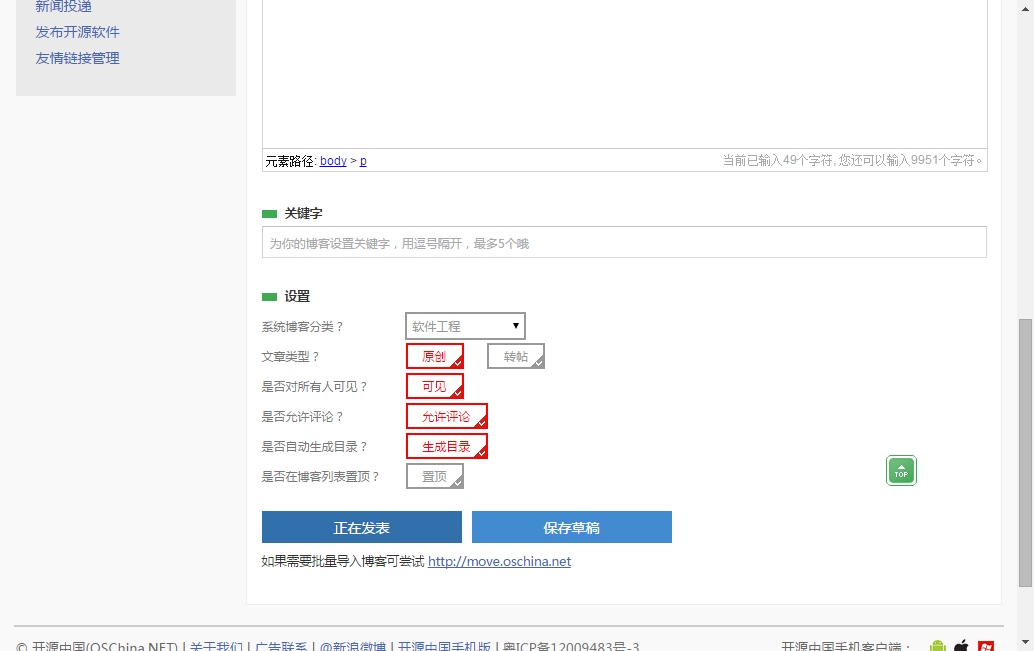
screenshot4.png

screenshot5.png
为方便大家学习研究,提供附件:php_selenium.rar(包含phpunit.phar,selenium-server-standalone-2.45.0.jar,chromedriver,IEDriverServer)
最后补充一句:如果有人使用些方法来OSC发广告,请@红薯自行解决。
phpunit-selenium自动化测试开源中国帐号登录和发博文
标签:
原文地址:http://my.oschina.net/penngo/blog/421648