标签:
今天跟大家分享一下Android自定义控件入门,先介绍一个简单的效果TextView,按下改变字体颜色,后期慢慢扩展更强大的功能
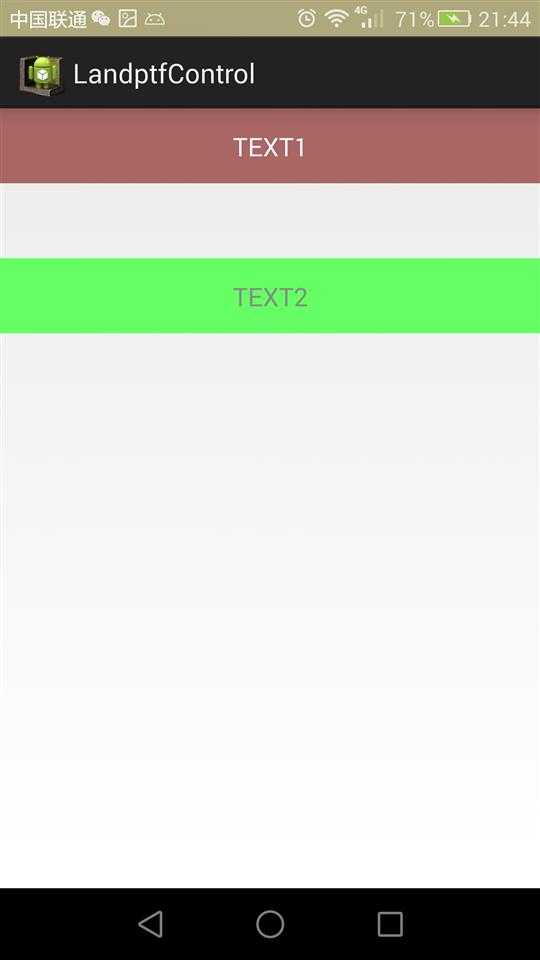
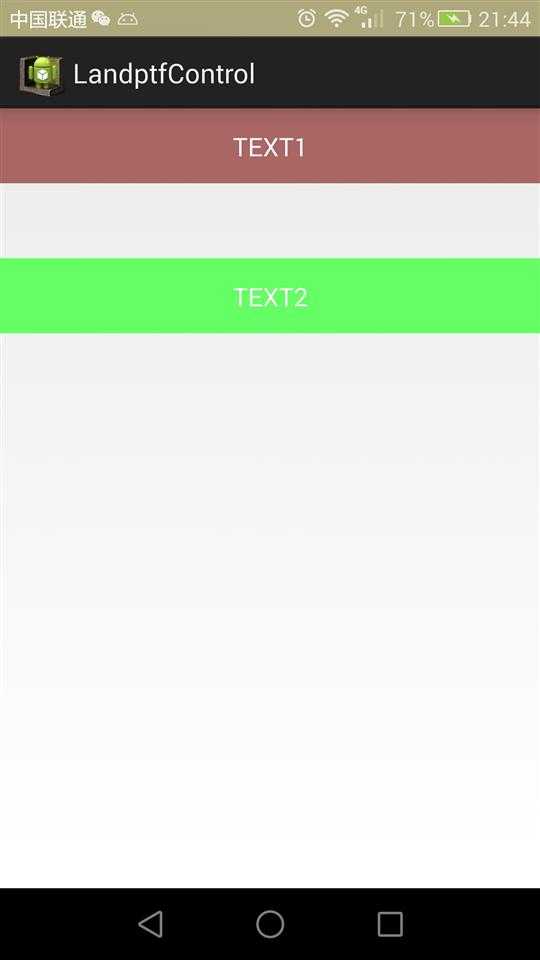
直接看图片

第一张是按下后截的图,功能很简单,也很容易实现,下面来看一下如何通过重写TextView来实现
一共三个文件 TextViewM.java,MainActivity.java,activity_textview.xml
TextViewM.java
  1 package landptf.control;
  2
  3 import android.content.Context;
  4 import android.graphics.Color;
  5 import android.util.AttributeSet;
  6 import android.view.MotionEvent;
  7 import android.view.View;
  8 import android.widget.TextView;
  9
 10 /**
 11  * 重写TextView 实现点击改变字体颜色
 12  * @author landptf
 13  * @date 2015-6-6
 14  */
 15 public class TextViewM extends TextView{
 16     private int textColori = 0;//控件的文字颜色,Int型
 17     private String textColors = "";//控件的文字颜色,String型
 18     private int textColorSeletedi = 0;//控件被按下后的文字颜色,Int型
 19     private String textColorSeleteds = "";//控件被按下后的文字颜色,String型
 20
 21     public TextViewM(Context context) {
 22         this(context, null);
 23     }
 24
 25     public TextViewM(Context context, AttributeSet attrs) {
 26         this(context, attrs, 0);
 27     }
 28
 29     /**
 30      * 实现TextView的构造方法
 31      * @param context
 32      * @param attrs
 33      * @param defStyle
 34      */
 35     public TextViewM(Context context, AttributeSet attrs, int defStyle) {
 36         super(context, attrs, defStyle);
 37         //设置TextView的Touch事件
 38         this.setOnTouchListener(new OnTouchListener() {
 39             @Override
 40             public boolean onTouch(View arg0, MotionEvent event) {
 41                 //设置颜色变化
 42                 setColor(event.getAction());
 43                 //注意此处的返回值,若想设置TextView的Click事件,则返回false
 44                 return true;
 45             }
 46         });
 47     }
 48     //设置颜色变化,该方法为private,不对外公开
 49     private void setColor(int state){
 50         try {
 51             //根据传过来的MotionEvent值来设置文字颜色
 52             if (state == MotionEvent.ACTION_DOWN) {
 53                 //鼠标按下
 54                 if (textColorSeletedi != 0) {
 55                     setTextColor(textColorSeletedi);
 56                 }else if (!textColorSeleteds.equals("")) {
 57                     setTextColor(Color.parseColor(textColorSeleteds));
 58                 }
 59             }
 60             if (state == MotionEvent.ACTION_UP) {
 61                 //鼠标抬起
 62                 if (textColori == 0 && textColors.equals("")) {
 63                     //如果为设置颜色值,则默认为黑色
 64                     setTextColor(Color.BLACK);
 65                 }else if (textColori != 0) {
 66                     setTextColor(textColori);
 67                 }else {
 68                     setTextColor(Color.parseColor(textColors));
 69                 }
 70             }
 71         } catch (Exception e) {
 72         }
 73
 74     }
 75
 76     /**
 77      * 设置文字的颜色
 78      * 为了不造成原setTextColor的冲突,在后面加“i”
 79      * @param color int类型
 80      */
 81     public void setTextColori(int color) {
 82         this.textColori = color;
 83         try {
 84             this.setTextColor(color);
 85         } catch (Exception e) {
 86         }
 87     }
 88
 89     /**
 90      * 设置文字的颜色
 91      * 为了不造成原setTextColor的冲突,在后面加“s”
 92      * @param color String类型
 93      */
 94     public void setTextColors(String color) {
 95         this.textColors = color;
 96         try {
 97             this.setTextColor(Color.parseColor(color));
 98         } catch (Exception e) {
 99         }
100     }
101
102     /**
103      * 设置文字被按下后的颜色
104      * @param color int类型
105      */
106     public void setTextColorSeleted(int textColorSeletedi) {
107         this.textColorSeletedi = textColorSeletedi;
108     }
109
110     /**
111      * 设置文字被按下后的颜色
112      * @param color String类型
113      */
114     public void setTextColorSeleted(String textColorSeleteds) {
115         this.textColorSeleteds = textColorSeleteds;
116     }
117 }
布局文件activity_textview.xml:
 1 <?xml version="1.0" encoding="utf-8"?>
 2 <RelativeLayout xmlns:android="http://schemas.android.com/apk/res/android"
 3     xmlns:tools="http://schemas.android.com/tools"
 4     android:layout_width="match_parent"
 5     android:layout_height="match_parent"
 6     tools:ignore="HardcodedText" >
 7
 8     <landptf.control.TextViewM
 9         android:id="@+id/tvText1"
10         android:layout_width="match_parent"
11         android:layout_height="50dp"
12         android:background="#AA6666"
13         android:gravity="center"
14         android:text="TEXT1"
15         android:textSize="20sp" />
16
17     <landptf.control.TextViewM
18         android:id="@+id/tvText2"
19         android:layout_width="match_parent"
20         android:layout_height="50dp"
21         android:layout_below="@+id/tvText1"
22         android:layout_marginTop="50dp"
23         android:background="#66FF66"
24         android:gravity="center"
25         android:text="TEXT2"
26         android:textSize="20sp" />
27
28 </RelativeLayout>
测试类:MainActivity.java
 1 package landptf.control;
 2
 3 import android.app.Activity;
 4 import android.os.Bundle;
 5
 6 /**
 7  * 测试类
 8  * @author landptf
 9  * @date 2015-6-6
10  */
11 public class MainActivity extends Activity {
12
13     @Override
14     protected void onCreate(Bundle savedInstanceState) {
15         super.onCreate(savedInstanceState);
16         setContentView(R.layout.activity_textview);
17         initView();
18     }
19
20     //初始化控件
21     private void initView() {
22         TextViewM tvText1 = (TextViewM) findViewById(R.id.tvText1);
23         //对tvText1设置int型的颜色id
24         tvText1.setTextColori(android.graphics.Color.WHITE);
25         //按下的颜色
26         tvText1.setTextColorSeleted(android.graphics.Color.GRAY);
27         //对tvText2设置String型的颜色
28         TextViewM tvText2 = (TextViewM) findViewById(R.id.tvText2);
29         tvText2.setTextColors("#ffffffff");
30         //按下的颜色
31         tvText2.setTextColorSeleted("#ff888888");
32     }
33 }
代码实现的功能比较简单,可以在此基础上继续扩展,比如按下改变背景色等等。这样便可以省去好多xml文件,只通过封装几行代码就可以功能实现一些。
明天再写一个健壮一些的控件。
android自定义控件实现TextView按下后字体颜色改变
标签:
原文地址:http://www.cnblogs.com/landptf/p/4557414.html