标签:
安装虚拟系统CentOS6.5,分配给至少1G的内存,其他条件适当高些,具体参考官方文档
一、安装数据库:
1、安装依赖软件包

yum install binutils -y
yum install compat-libcap -y
yum install compat-libstdc++-33 -y
yum install compat-libstdc++-33.i686 -y
yum install gcc -y
yum install gcc-c++ -y
yum install glibc -y
yum install glibc.i686 -y
yum install glibc-devel -y
yum install glibc-devel.i686 -y
yum install ksh -y
yum install libgcc -y
yum install libgcc.i686 -y
yum install libstdc++ -y
yum install libstdc++.i686 -y
yum install libstdc++-devel -y
yum install libstdc++-devel.i686 -y
yum install libaio -y
yum install libaio.i686 -y
yum install libaio-devel -y
yum install libaio-devel.i686 -y
yum install libXext -y
yum install libXext.i686 -y
yum install libXtst -y
yum install libXtst.i686 -y
yum install libX11 -y
yum install libX11.i686 -y
yum install libXau -y
yum install libXau.i686 -y
yum install libxcb -y
yum install libxcb.i686 -y
yum install libXi -y
yum install libXi.i686 -y
yum install make -y
yum install sysstat -y
yum install unixODBC -y
yum install unixODBC-devel -y
yum install zlib-devel -y
kernel.shmmni = 4096
kernel.sem = 250 32000 100 128
net.ipv4.ip_local_port_range = 9000 65500
net.core.rmem_default = 4194304
net.core.rmem_max = 4194304
net.core.wmem_default = 262144
net.core.wmem_max = 1048586
fs.aio-max-nr = 1048576
fs.file-max = 6815744
使用下面的命令让内核参数更改生效,这样就无需重启计算机:
[root@vn ~]# sysctl -p
5、[root@vn ~]# vim /etc/security/limits.conf
root用户修改,在末尾添加:
oracle soft nproc 2047
oracle hard nproc 16384
oracle soft nofile 1024
oracle hard nofile 65536
6、[root@vn ~]# vim /etc/pam.d/login
在文件末尾添加:
session    required     /lib/security/pam_limits.so
session    required     pam_limits.so
7、用root修改[root@vn ~]# vim /etc/profile
if [ $USER = "oracle" ];then
if [ $SHELL = "/bin/ksh" ];then
ulimit -p 16384
ulimit -n 65536
else
ulimit -u 16384 -n 65536
fi
fi
8、编辑/etc/hosts
[root@vn ~]# hostname
vn
[root@vn ~]# ifconfig eth0|grep "inet addr"
          inet addr:192.168.121.178  Bcast:192.168.121.255  Mask:255.255.255.0
[root@vn ~]# cat /etc/hosts
127.0.0.1   localhost localhost.localdomain localhost4 localhost4.localdomain4
::1         localhost localhost.localdomain localhost6 localhost6.localdomain6
192.168.121.178  vn                   #添加此行
9、用oracle用户身份编辑/home/oracle/.bash_profile
[root@vn ~]# su - oracle
[oracle@vn ~]$ vim /home/oracle/.bash_profile
在末尾添加以下内容:
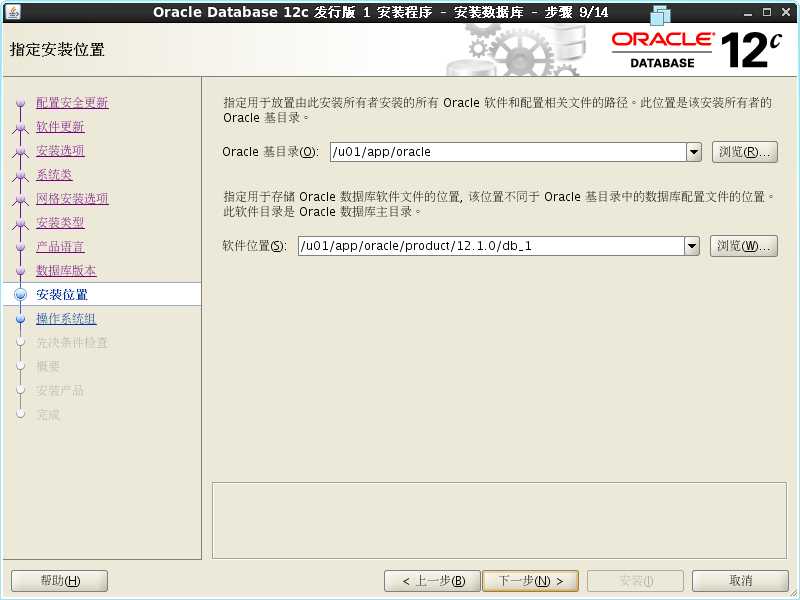
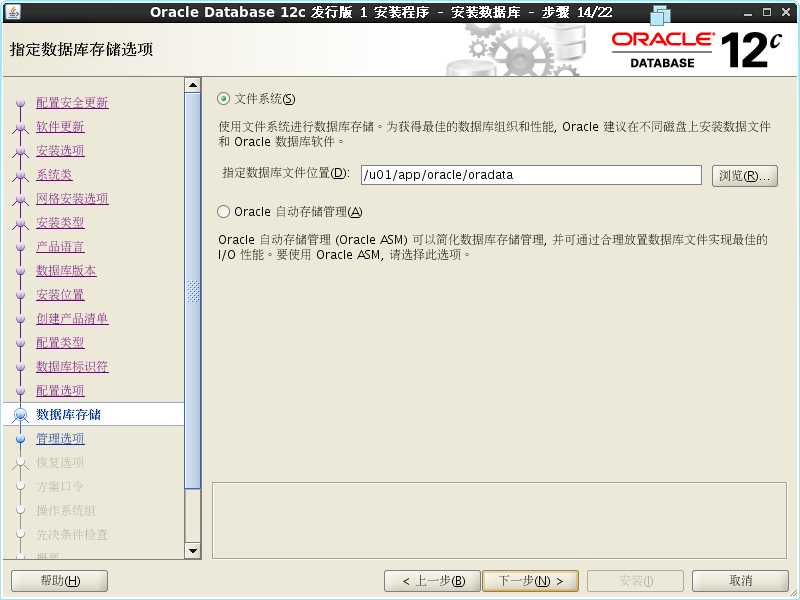
export TMP=/tmp;
export TMPDIR=$TMP;
export ORACLE_TERM=xterm
export ORACLE_BASE=/u01/app/oracle
export ORACLE_HOME=$ORACLE_BASE/product/12.1.0/db_1
export ORACLE_SID=orcl
export PATH=$ORACLE_HOME/bin:$PATH
使用下面的命令让设置生效:
[oracle@vn ~]$ source /home/oracle/.bash_profil
10、上传文件到/home/oracle,并用oracle用户解压缩
文件权限中oracle为所有者:
[root@vn oracle]# ls /home/oracle/ -l
-rwxrw-rw-. 1 root   root     1361028723 6月   2 08:10 linuxamd64_12c_database_1of2.zip
-rwxrw-rw-. 1 root   root     1116527103 6月   2 08:09 linuxamd64_12c_database_2of2.zip
[root@vn oracle]# chown oracle /home/oracle linuxamd64_12c_database_1of2.zip
[root@vn oracle]# chown oracle /home/oracle linuxamd64_12c_database_2of2.zip
[root@vn oracle]# ls /home/oracle/ -l
-rwxrw-rw-. 1 oracle root     1361028723 6月   2 08:10 linuxamd64_12c_database_1of2.zip
-rwxrw-rw-. 1 oracle root     1116527103 6月   2 08:09 linuxamd64_12c_database_2of2.zip
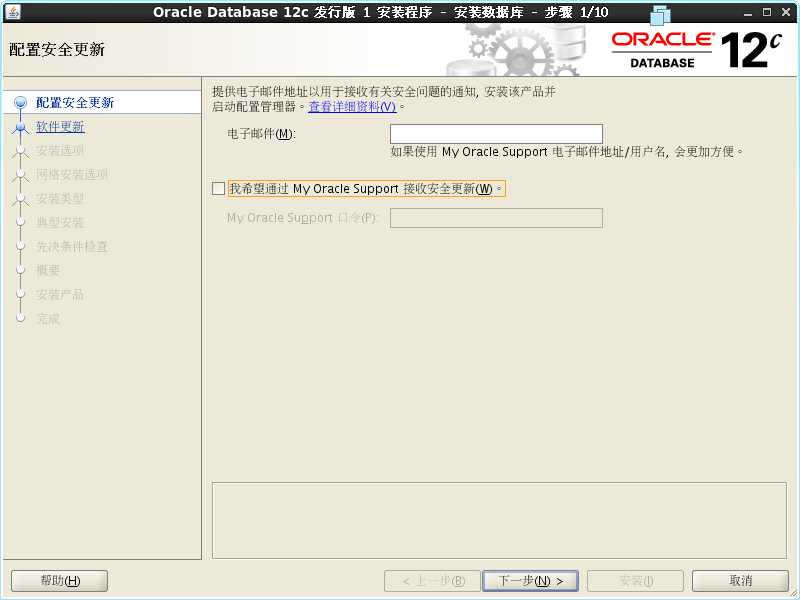
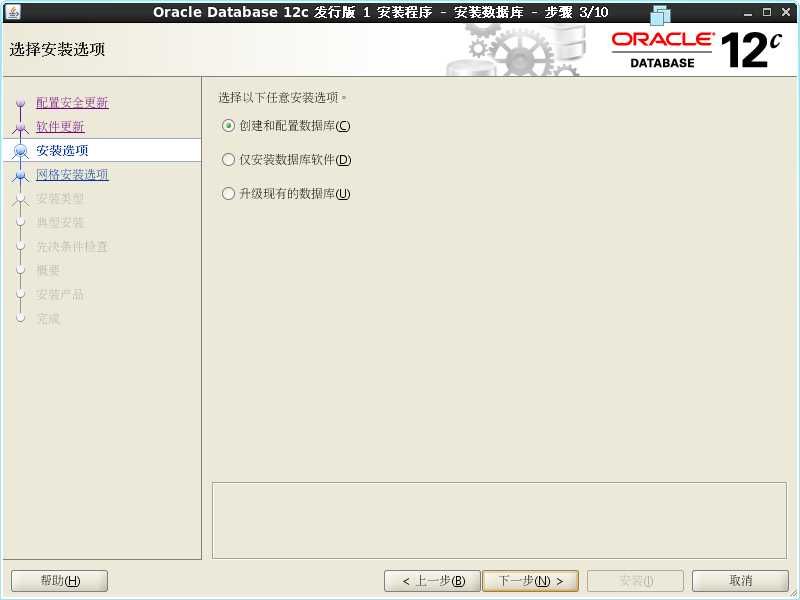
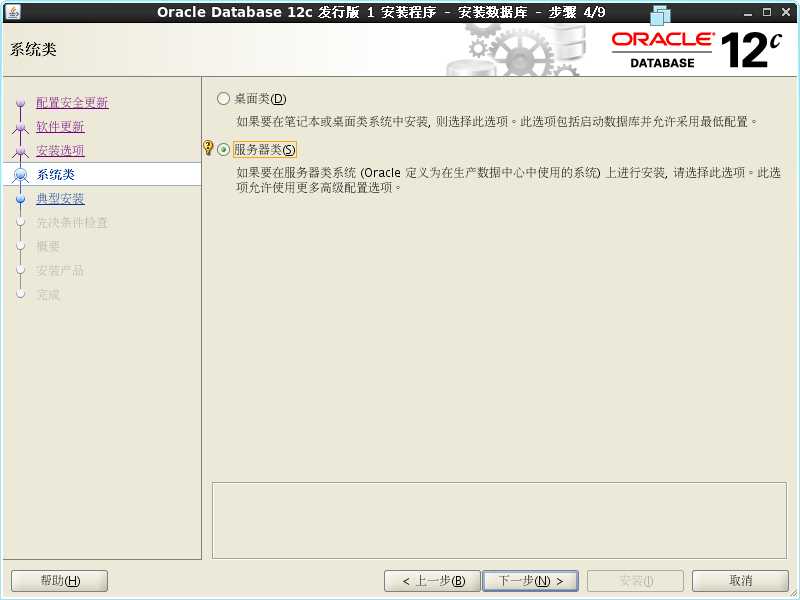
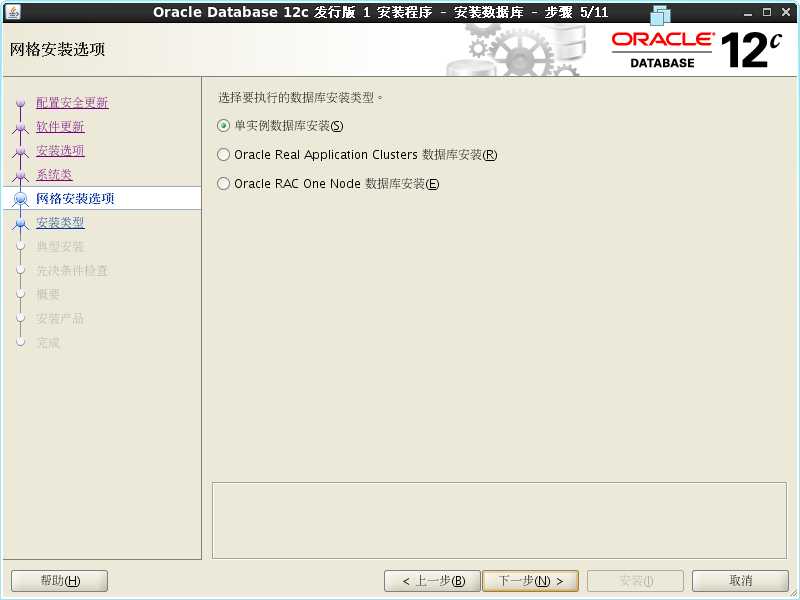
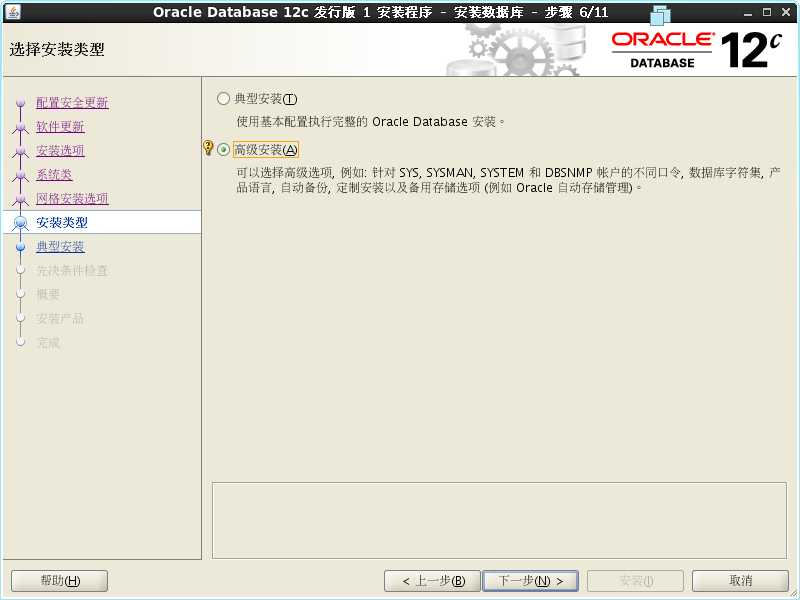
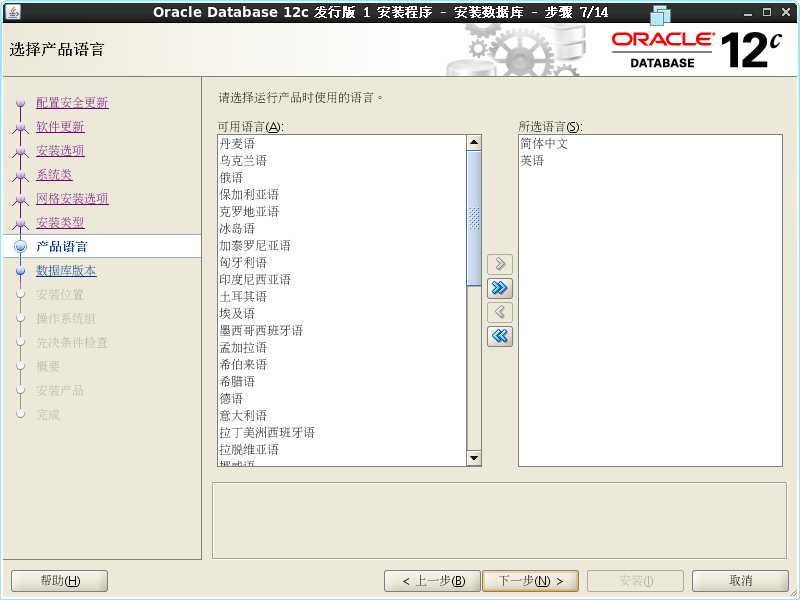
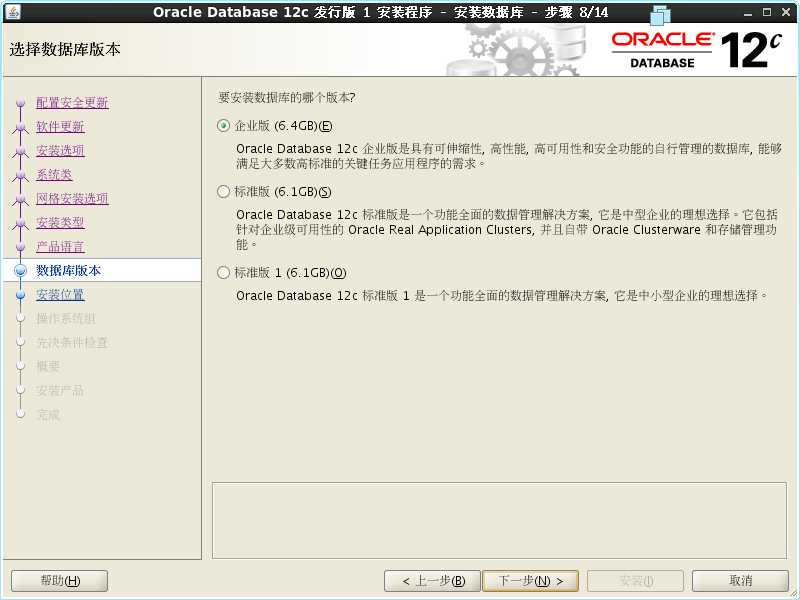
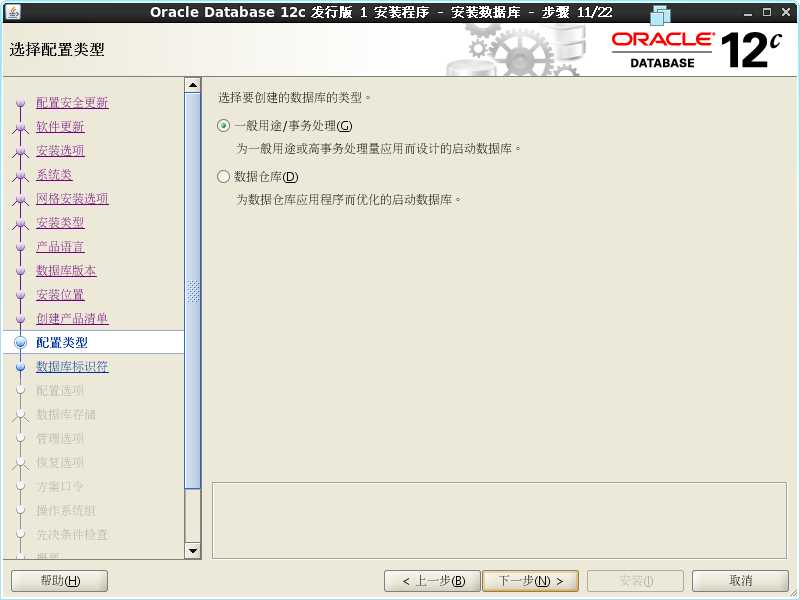
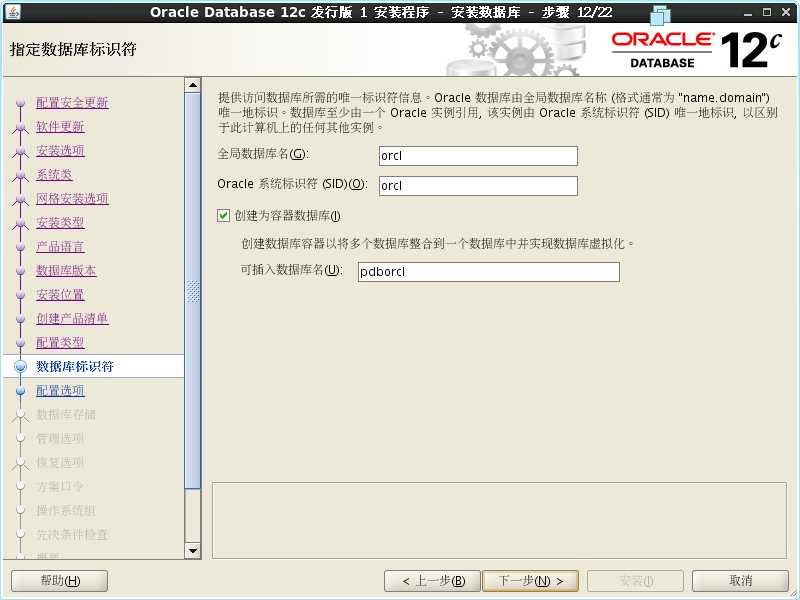
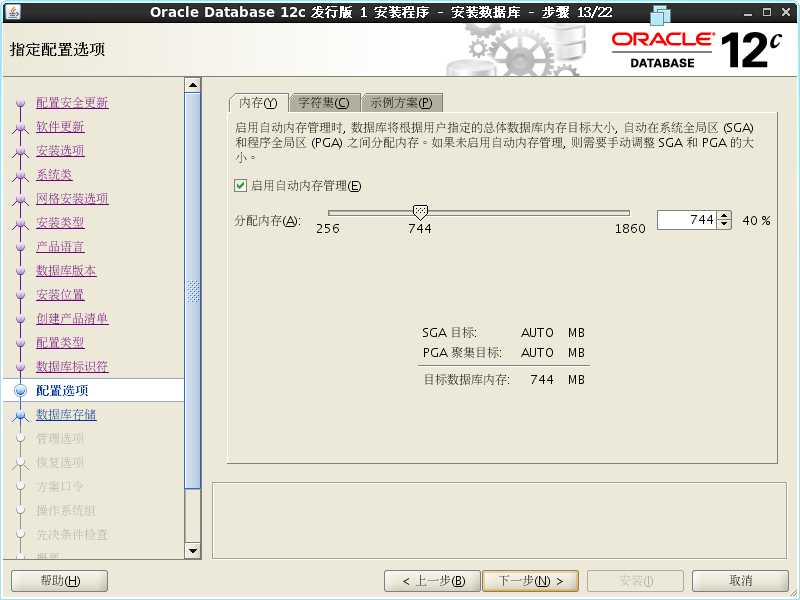
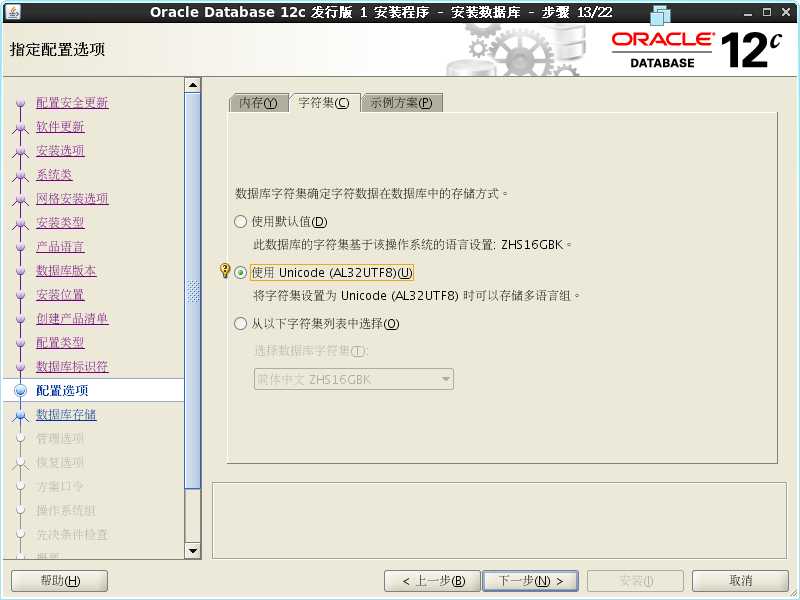
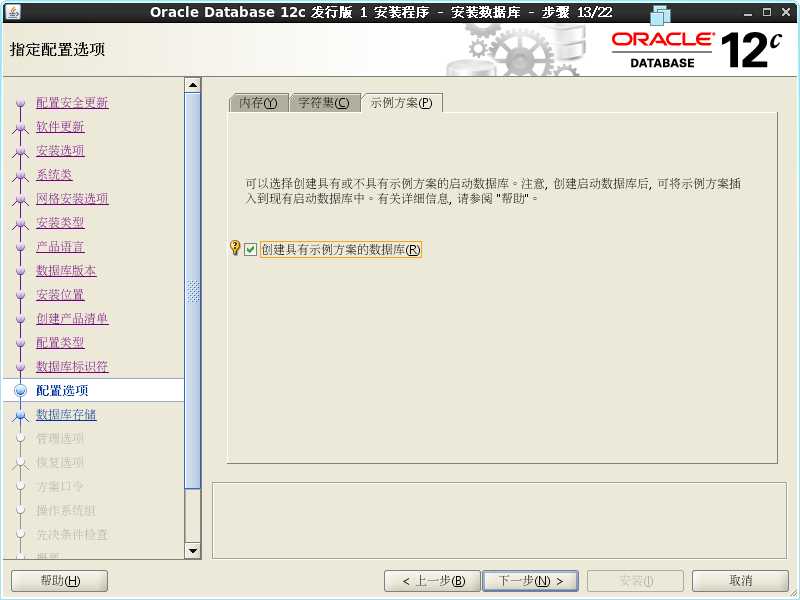
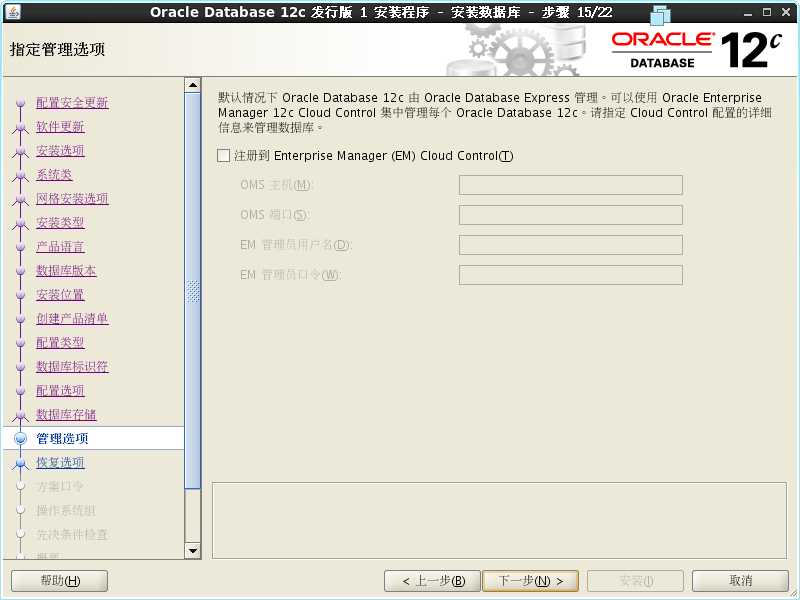
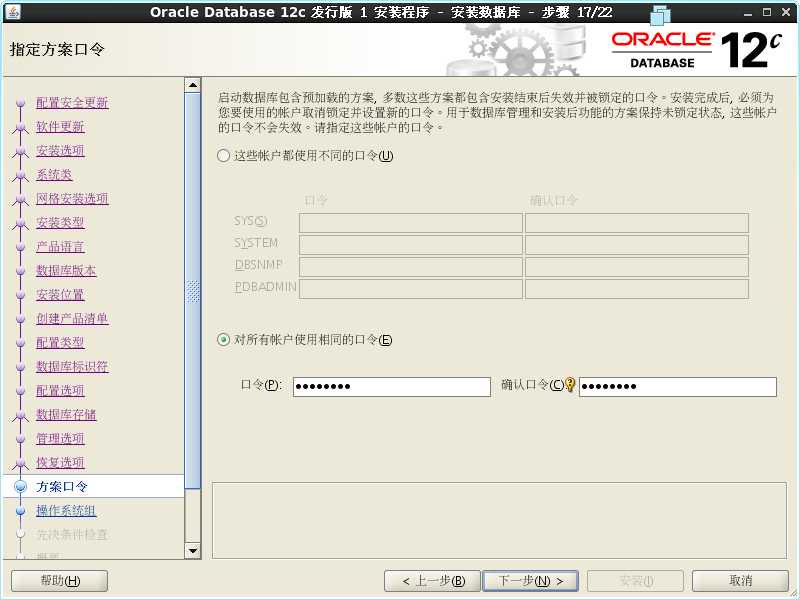
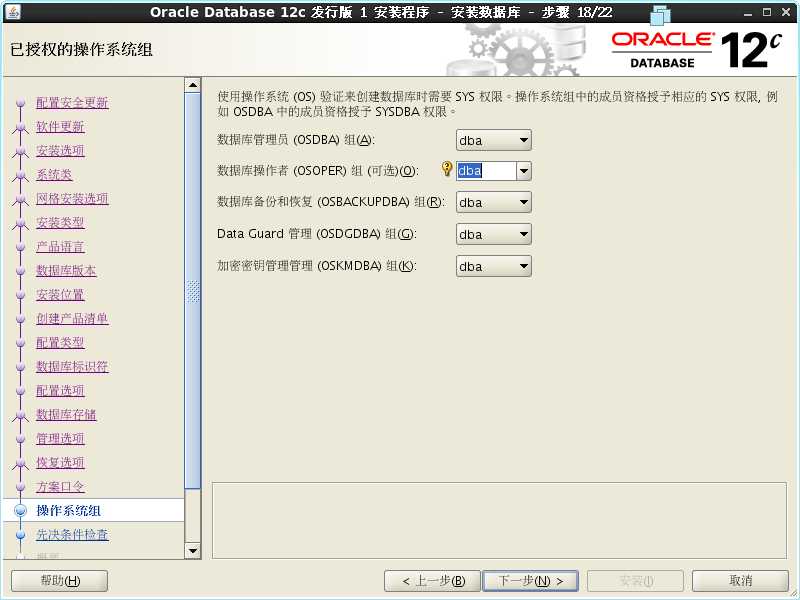
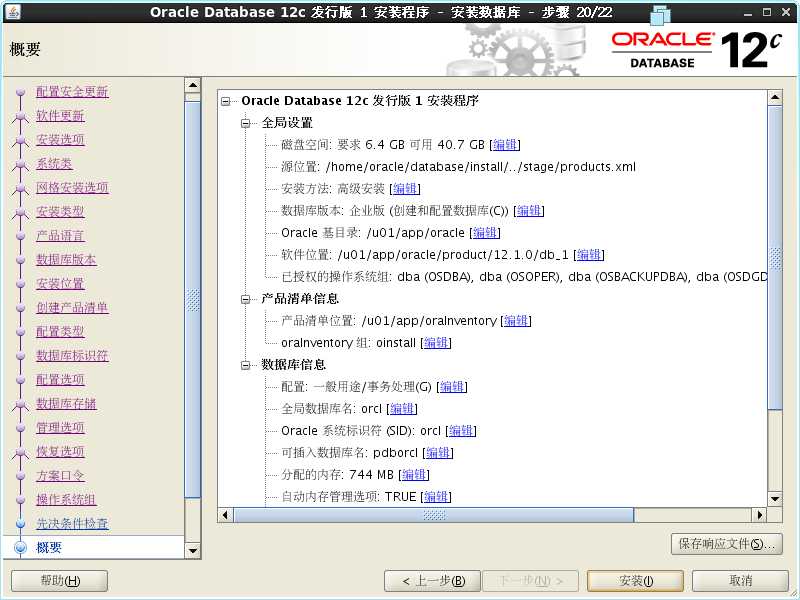
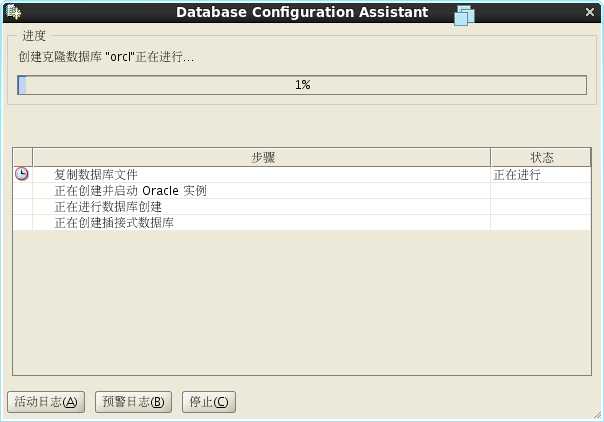
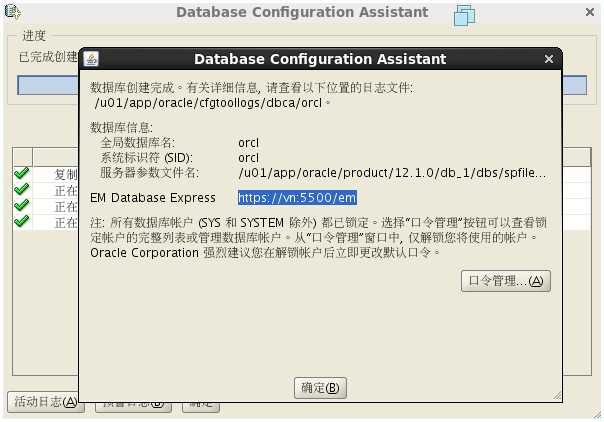
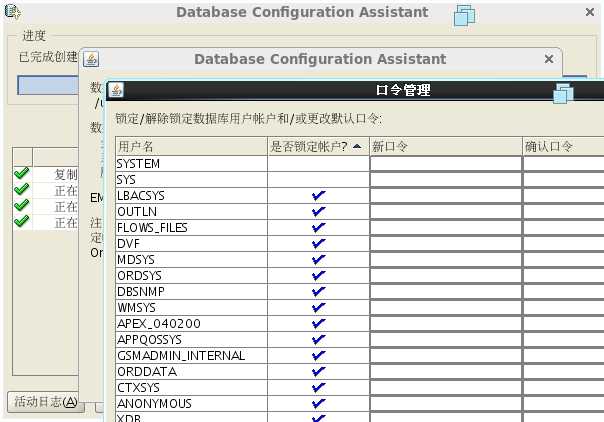
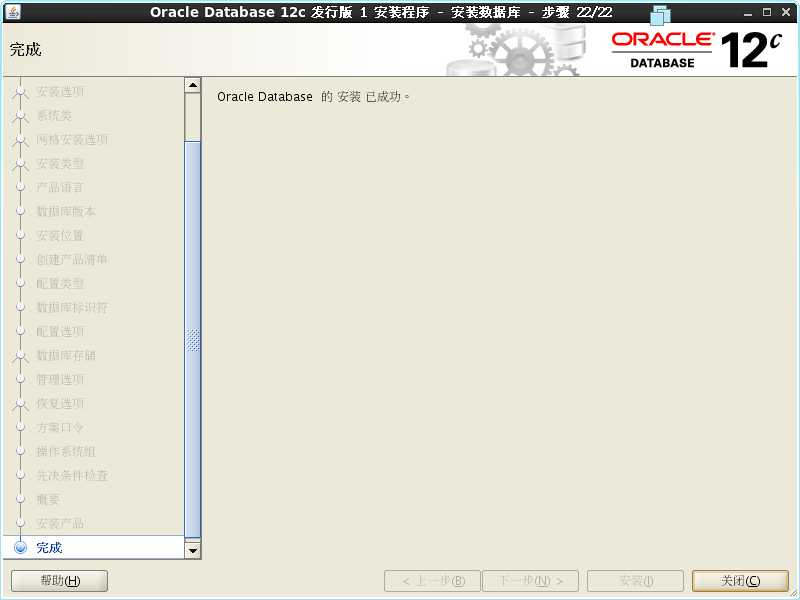
切换成oracle用户解压:11、以oracle用户登录图形界面进行安装
[root@vn oracle]# su - oracle
[oracle@vn ~]$ unzip linuxamd64_12c_database_1of2.zip
[oracle@vn ~]$ unzip linuxamd64_12c_database_2of2.zip


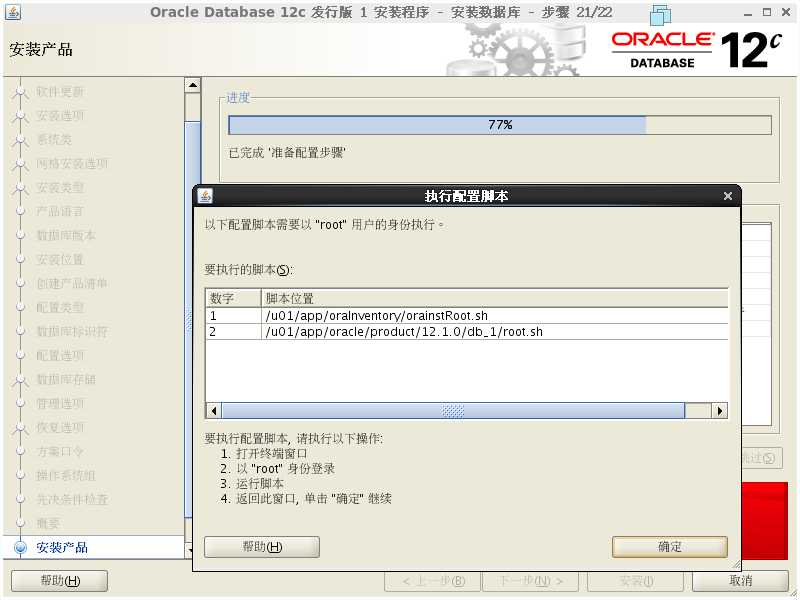
[root@vn ~]# /u01/app/oraInventory/orainstRoot.sh
更改权限/u01/app/oraInventory.
添加组的读取和写入权限。
删除全局的读取, 写入和执行权限。

更改组名/u01/app/oraInventory 到 oinstall.
脚本的执行已完成。
[root@vn ~]# /u01/app/oracle/product/12.1.0/db_1/root.sh
Performing root user operation for Oracle 12c

The following environment variables are set as:
    ORACLE_OWNER= oracle
    ORACLE_HOME=  /u01/app/oracle/product/12.1.0/db_1

Enter the full pathname of the local bin directory: [/usr/local/bin]:    这里直接回车即可
   Copying dbhome to /usr/local/bin ...
   Copying oraenv to /usr/local/bin ...
   Copying coraenv to /usr/local/bin ...


Creating /etc/oratab file...
Entries will be added to the /etc/oratab file as needed by
Database Configuration Assistant when a database is created
Finished running generic part of root script.
Now product-specific root actions will be performed.


[oracle@vn ~]$ sqlplus "sys /as sysdba"
SQL> startup
SQL> SELECT status from v$instance;
SQL> shutdown immediate;
Database closed.
Database dismounted.
ORACLE instance shut down.


标签:
原文地址:http://www.cnblogs.com/chinas/p/4562191.html
