标签:
首先我用的是Linux Mint 17,debian系的应该都差不多,其他的发行版类似吧。
1、对PHP支持
目前各种web 服务器对PHP的支持一共有三种:
(1)通过web 服务器内置的模块来实现,例如Apache的mod_php5,类似的Apache内置的mod_perl
可以对perl支持。
(2)通过CGI来实现,这个就好比之前perl的CGI,该种方式的缺点是性能差,因为每次服务器遇到
这些脚本都需要重新启动脚本解析器来执行脚本然后将结果返回给服务器;
另一方面就是不太安全;该方面几乎很少使用了。
(3)最新出现一种叫做FastCGI。所谓FastCGI就是对CGI的改进。它一般采用C/S结构,一般脚本处理器
会启动一个或者多个daemon进程,每次web 服务器遇到脚本的时候,直接交付给FastCGI的进程来执行,然后
将得到的结果(通常为html)返回给浏览器。
2、Nginx+FastCGI模式
Nginx完全是轻量级的,必须借助第三方的FastCGI处理器才可以对PHP进行解析,因此其实这样看来Nginx是
非常灵活的,它可以和任何第三方提供解析的处理器实现连接从而实现对PHP的解析(在nginx.conf中很容易设置)。
Nginx可以使用spwan-fcgi。在早期版本中需要安装lighttpd,但是在9.10版本以后直接安装spawn-fcgi就可以。
现在出现了新的第三方的PHP的FastCGI处理器,叫做PHP-FPM,可以了解一下。本文是基于spawn-fcgi实现对
PHP模块的支持。
3、安装FastCgi
$ sudo apt-get install spawn-fcgi
可以查看一下它的版本
$ spawn-fcgi -v
spawn-fcgi v1.6.3 (ipv6)
4、安装nginx
$ sudo apt-get install nginx
可以用nginx -v查看一下nginx的版本,我的是
$ nginx -v
nginx version: nginx/1.4.6 (Ubuntu)
5、安装php和mysql(mariadb)
$ sudo apt-get install php5-cli php5-cgi mariadb-server php5-mysql
这里我装的是mariadb,mysql的话基本一样,把mariadb-server换成mysql-server就可以了
安装过程中需要设定一下mariadb数据库root用的密码
安装完成之后,可以查看一下php和mariadb的版本信息
$ php -v
PHP 5.5.9-1ubuntu4.9 (cli) (built: Apr 17 2015 11:44:57)
Copyright (c) 1997-2014 The PHP Group
Zend Engine v2.5.0, Copyright (c) 1998-2014 Zend Technologies
    with Zend OPcache v7.0.3, Copyright (c) 1999-2014, by Zend Technologies
$ mysql -u root -p
Enter password:
Welcome to the MariaDB monitor.  Commands end with ; or \g.
Your MariaDB connection id is 43
Server version: 5.5.43-MariaDB-1ubuntu0.14.04.2 (Ubuntu)

Copyright (c) 2000, 2015, Oracle, MariaDB Corporation Ab and others.

Type ‘help;‘ or ‘\h‘ for help. Type ‘\c‘ to clear the current input statement.

MariaDB [(none)]>
6、修改nginx的配置文件
$ sudo vim /etc/nginx/sites-available/default
#location ~ \.php$ {
#       include fastcgi_params;
#      fastcgi_split_path_info ^(.+\.php)(/.+)$;
#       # NOTE: You should have "cgi.fix_pathinfo = 0;" in php.ini
#
#      # With php5-cgi alone:
#       fastcgi_pass 127.0.0.1:9000;
#       # With php5-fpm:
#       fastcgi_pass unix:/var/run/php5-fpm.sock;
#       fastcgi_index index.php;
#}
把这一段代码的注释去掉
注意:保留fastcgi_pass unix:/var/run/php5-fpm.sock;这一样的注释,要不然会有2个fastcgi_pass参数
还有index的一行,添加index.php,默认页面
7、启动FastCGI
$ spawn-fcgi -a 127.0.0.1 -p 9000 -C 10 -u www-data -f /usr/bin/php-cgi
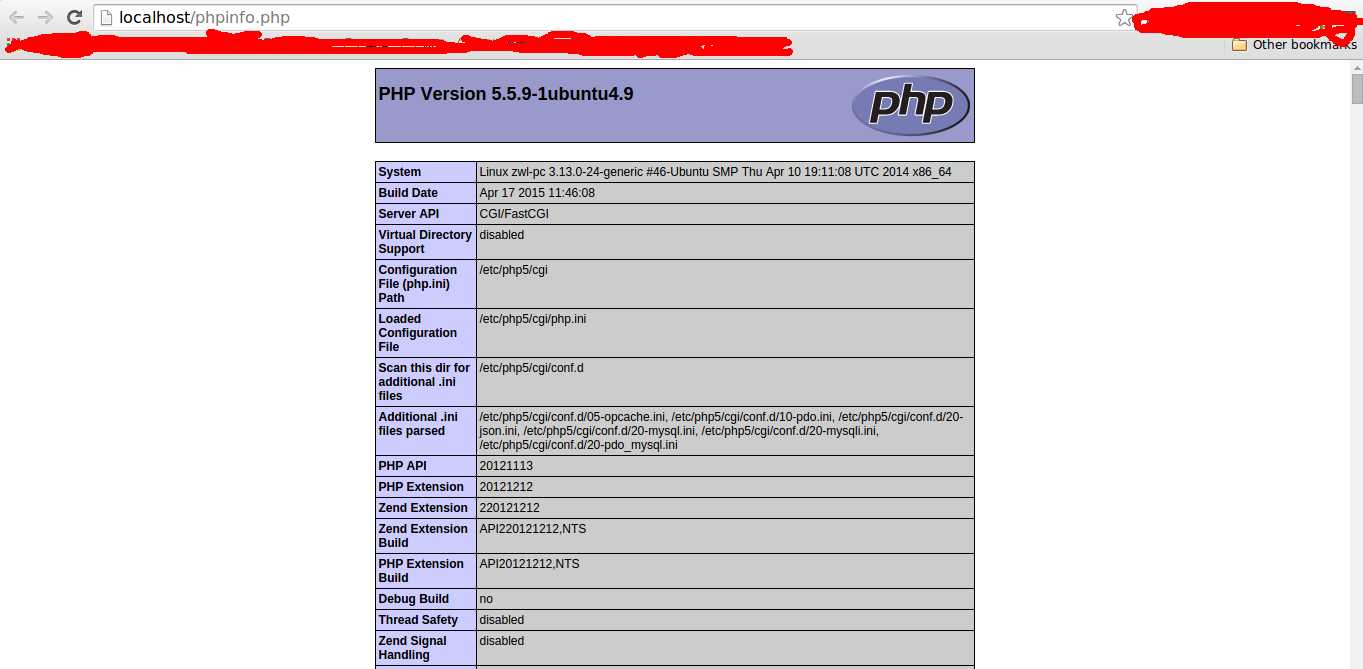
8、添加测试php的页面
$ cd /usr/share/nginx/html/
$ vim phpinfo.php
<?php
phpinfo();
?>
9、重新启动nginx,查看页面效果
$ sudo service nginx restart
标签:
原文地址:http://www.cnblogs.com/warling/p/4574044.html