标签:
最近要研究下排布的游戏关卡界面的实现,简单做了个UICollectionView的demo。
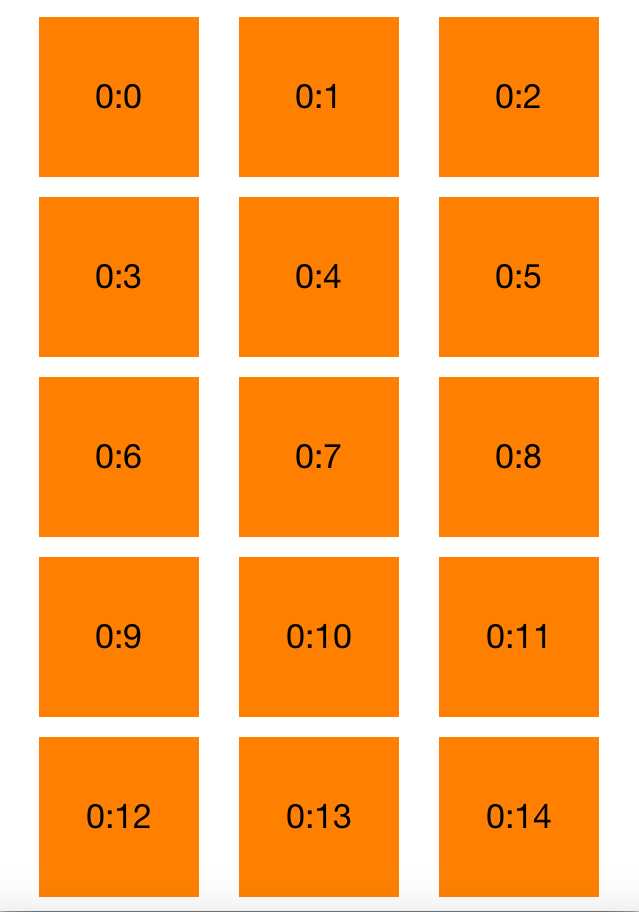
先看最后的效果:
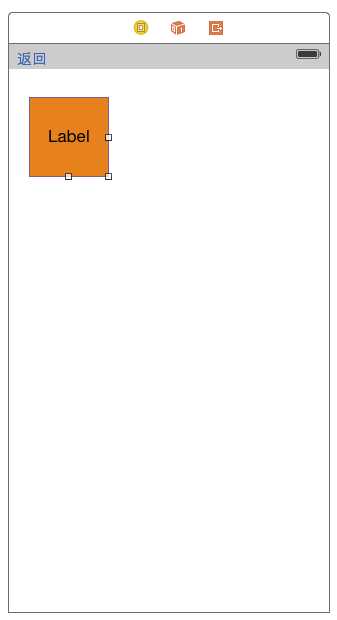
下面来看实现的方法把,在Storyboard对应的ViewController中增加一个UICollectionView控件,然后再其中加入一个CollectionViewCell
在其中增加一个Label控件
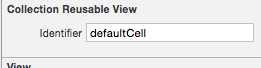
注意,下面对这个Cell进行命名,命名成defaultCell, 这样我们UI层面的工作就结束了。
代码部分:
首先我们需要了解两个类,UICollectionViewDataSource和UICollectionViewDelegate
UICollectionViewDataSource负责提供提供View所需要的数据源
UICollectionViewDelegate负责处理View对应的各种事件
class MyCollectionViewController: UIViewController, UICollectionViewDataSource, UICollectionViewDelegate{

    @IBOutlet weak var cv: UICollectionView!

    override func viewDidLoad() {
        super.viewDidLoad()
        cv.dataSource = self
        cv.delegate = self
    }


    override func didReceiveMemoryWarning() {
        super.didReceiveMemoryWarning()
        // Dispose of any resources that can be recreated.
    }

	//实现UICollectionViewDataSource
    func collectionView(collectionView: UICollectionView, numberOfItemsInSection section: Int) -> Int
    {
	//返回记录数
        return 100;
    }

  //实现UICollectionViewDataSource
    func collectionView(collectionView: UICollectionView, cellForItemAtIndexPath indexPath: NSIndexPath) -> UICollectionViewCell
    {
	//返回Cell内容,这里我们使用刚刚建立的defaultCell作为显示内容
        var cell:MyColletionCell  = cv.dequeueReusableCellWithReuseIdentifier("defaultCell", forIndexPath: indexPath) as! MyColletionCell
        cell.label.text = "\(indexPath.section):\(indexPath.row)"
        return cell;
    }

    //实现UICollectionViewDataSource
    func collectionView(collectionView: UICollectionView, didSelectItemAtIndexPath indexPath: NSIndexPath)
    {
        //某个Cell被选择的事件处理
    }
}
之后运行,你就可以看到效果啦。
标签:
原文地址:http://www.cnblogs.com/chenlhuaf/p/4579303.html