标签:
学了这么久的swift语法和相关技术,今天忍不住手痒痒就写了一个swift的小项目,这个项目非常简单(只是使用一个UITableView),但是里面的功能却非常有用。
我们要实现的功能是这样的:
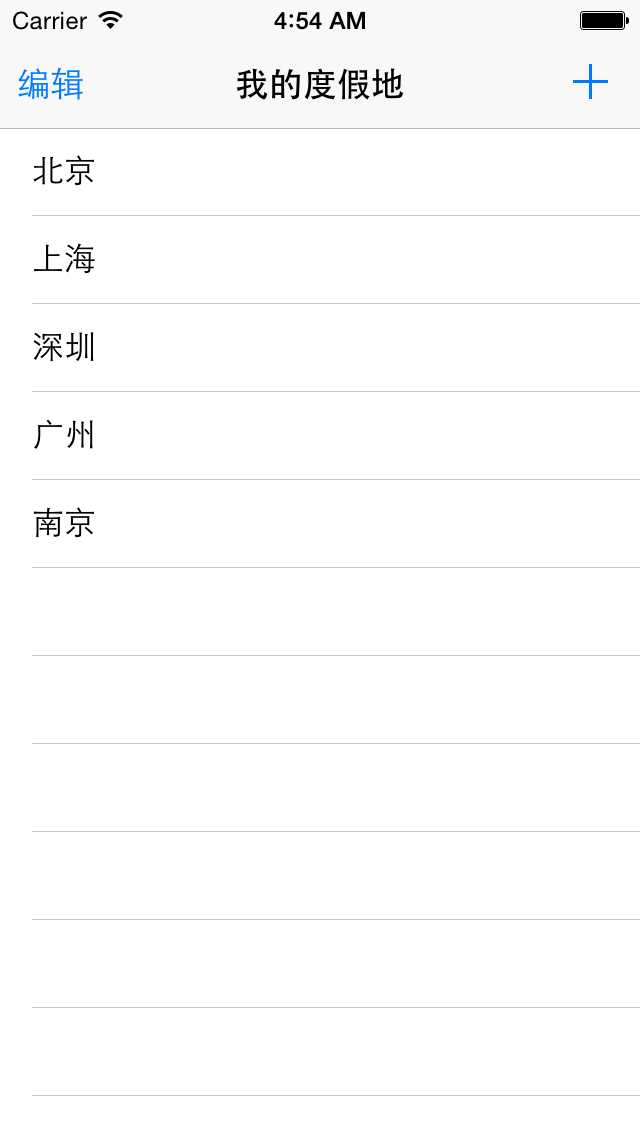
程序启动之后就会出现主界面,在主界面有一些默认的度假地
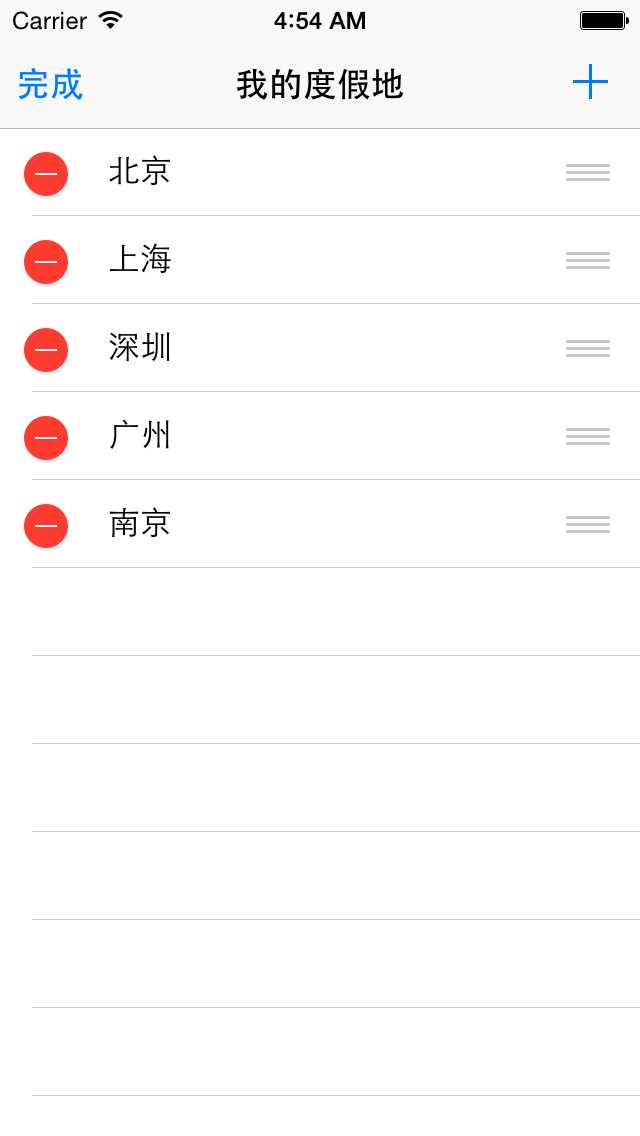
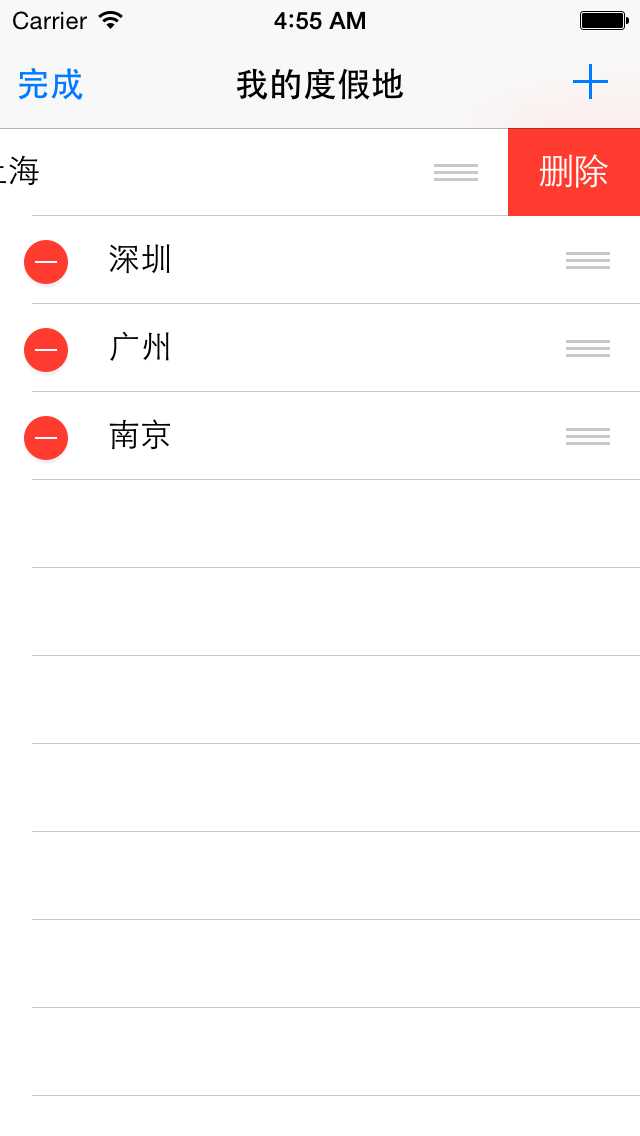
点击编辑就会出现能过编辑的界面(这里编辑只实现了删除,修改没有处理,增加在+实现了),也可以手指向左拖动实现,
点击+可新增一个项目行

是不是很简单?
下面就看看代码时证明实现的
一;定义一个类用来处理对应的属性
1 import Foundation
2
3 class Vocation {
4     var place = ""
5     var visited = false
6 }
二:在主界面嘞中实现下面代码
  1 import UIKit
  2
  3 class ListTableViewController: UITableViewController {
  4     //度假地数组
  5     var vocationList = [Vocation]()
  6
  7     //添加度假地
  8     func loadInitListData() {
  9         /**
 10          类的初始化,初始化五个度假地,设置度假地的地名,并且添加到列表中
 11         */
 12         let vocation1 = Vocation()
 13         vocation1.place = "北京"
 14         vocationList.append(vocation1)
 15
 16         let vocation2 = Vocation()
 17         vocation2.place = "上海"
 18         vocationList.append(vocation2)
 19
 20
 21         let vocation3 = Vocation()
 22         vocation3.place = "深圳"
 23         vocationList.append(vocation3)
 24
 25         let vocation4 = Vocation()
 26         vocation4.place = "广州"
 27         vocationList.append(vocation4)
 28
 29         let vocation5 = Vocation()
 30         vocation5.place = "南京"
 31         vocationList.append(vocation5)
 32
 33     }
 34
 35     override func viewDidLoad() {
 36         super.viewDidLoad()
 37         //导航栏左边的按钮
 38         self.navigationItem.leftBarButtonItem = self.editButtonItem()
 39
 40         //初始化
 41         loadInitListData()
 42     }
 43
 44     override func setEditing(editing: Bool, animated: Bool) {
 45         super.setEditing(editing, animated: true)
 46         //设置表格可以编辑
 47         tableView.setEditing(editing, animated: true)
 48
 49     }
 50
 51     override func didReceiveMemoryWarning() {
 52         super.didReceiveMemoryWarning()
 53     }
 54
 55
 56     override func numberOfSectionsInTableView(tableView: UITableView) -> Int {
 57         //返回一节数据
 58         return 1
 59     }
 60
 61     override func tableView(tableView: UITableView, numberOfRowsInSection section: Int) -> Int {
 62         //返回数组中数据的数量
 63           return   vocationList.count
 64     }
 65
 66     override func tableView(tableView: UITableView, cellForRowAtIndexPath indexPath: NSIndexPath) -> UITableViewCell {
 67         //重用机制,我们需要在单元格中设置对应的Identifier
 68         let cell = tableView.dequeueReusableCellWithIdentifier("ListID", forIndexPath: indexPath) as! UITableViewCell
 69         //保存状态
 70     let v = vocationList[indexPath.row]
 71         //根据数组的索引出来的地点来填充数据到对应的行
 72         cell.textLabel?.text = v.place
 73         //判断单元格的状态
 74         if v.visited {
 75             //如果已经参观过则点击一下现实一个勾
 76             cell.accessoryType = UITableViewCellAccessoryType.Checkmark
 77         }else {
 78             //如果没有去过可以取消点击,去掉那个勾
 79             cell.accessoryType = UITableViewCellAccessoryType.None
 80
 81             /**UITableViewCellAccessoryType对应的属性,这里是一个枚举(enmu:case)
 82             case None // don‘t show any accessory view
 83             case DisclosureIndicator // regular chevron. doesn‘t track
 84             case DetailDisclosureButton // info button w/ chevron. tracks
 85             case Checkmark // checkmark. doesn‘t track
 86             @availability(iOS, introduced=7.0)
 87             case DetailButton // info button. tracks
 88             */
 89         }
 90
 91         return cell
 92     }
 93
 94     //选择行
 95     override func tableView(tableView: UITableView, didSelectRowAtIndexPath indexPath: NSIndexPath) {
 96         //取出选择的对应行数据
 97         let v1 = vocationList[indexPath.row]
 98         //设置已经去过的地方,这里使用取反实现
 99         v1.visited = !v1.visited
100         //取消选中状态
101         tableView.deselectRowAtIndexPath(indexPath, animated: false)
102         //刷新表格
103         tableView.reloadData()
104
105     }
106
107     // 是否能够编辑
108     override func tableView(tableView: UITableView, canEditRowAtIndexPath indexPath: NSIndexPath) -> Bool {
109         return true
110     }
111
112
113     override func tableView(tableView: UITableView, commitEditingStyle editingStyle: UITableViewCellEditingStyle, forRowAtIndexPath indexPath: NSIndexPath) {
114         //如果是删除状态
115         if editingStyle == .Delete {    //省略了UITableViewCellEditingStyle
116             //根据索引行删除数据
117             vocationList.removeAtIndex(indexPath.row)
118             //根据索引行删除单元格
119             tableView.deleteRowsAtIndexPaths([indexPath], withRowAnimation: .Fade)
120
121             /**UITableViewRowAnimation对应的属性,这里是一个枚举
122             case Fade
123             case Right // slide in from right (or out to right)
124             case Left
125             case Top
126             case Bottom
127             case None // available in iOS 3.0
128             case Middle // available in iOS 3.2.  attempts to keep cell centered in the space it will/did occupy
129             case Automatic // available in iOS 5.0.  chooses an appropriate animation style for you
130             */
131
132             //如果是插入状态
133         } else if editingStyle == .Insert {
134
135         }
136     }
137
138
139
140     // Override to support rearranging the table view.
141     override func tableView(tableView: UITableView, moveRowAtIndexPath fromIndexPath: NSIndexPath, toIndexPath: NSIndexPath) {
142
143     }
144
145     //是否能够移动
146     override func tableView(tableView: UITableView, canMoveRowAtIndexPath indexPath: NSIndexPath) -> Bool {
147         return true
148     }
149
150     //prepareForSegue方法
151     override func prepareForSegue(segue: UIStoryboardSegue, sender: AnyObject?) {
152
153     }
154
155
156     //回到主界面的方法
157     @IBAction func unwindToList(segue: UIStoryboardSegue){
158         //定义一个源控制器为我们自定义的控制器
159         let source = segue.sourceViewController as! AddViewController
160         let va = source.vocation
161         //判断度假地是否为空
162         if va.place != "" {
163             vocationList.append(va)
164         }
165
166     }
167
168 }
实现点击新增(+)界面的代码
 1 class AddViewController: UIViewController {
 2     //初始化类
 3     var vocation = Vocation()
 4
 5     @IBOutlet weak var text: UITextField!
 6     //@IBOutlet weak var textField:UItextField!
 7
 8     @IBOutlet weak var done: UIBarButtonItem!
 9     //@IBOutlet weak var doneBtn:UIBarButtonItem!
10
11     override func viewDidLoad() {
12         super.viewDidLoad()
13
14     }
15
16     override func didReceiveMemoryWarning() {
17         super.didReceiveMemoryWarning()
18     }
19
20
21
22
23     override func prepareForSegue(segue: UIStoryboardSegue, sender: AnyObject?) {
24
25         if  sender as! NSObject == done {
26             if (!text.text.isEmpty) {
27                 vocation.place = text.text
28             }
29         }
30     }
31
32
33
标签:
原文地址:http://www.cnblogs.com/iCocos/p/4589632.html