标签:
前言
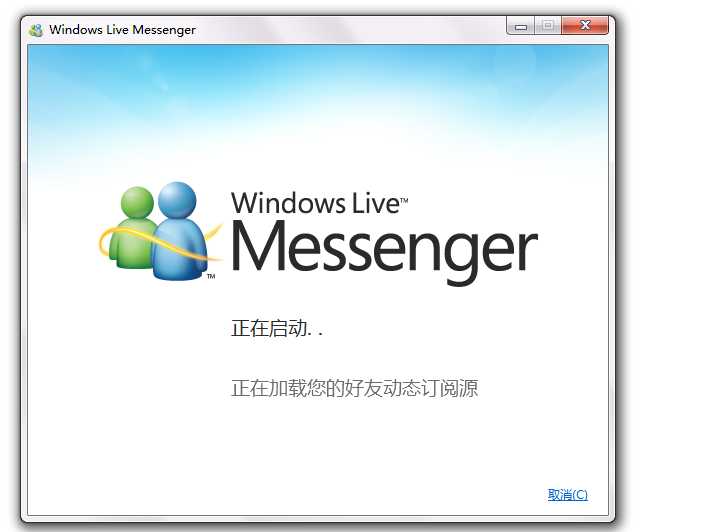
使用动画,是增强用户体验的一种有效的手段。合理的动画,可以让应用程序的界面看起来更加自然、真实、流畅、舒适,更有效地向用户展现信息,用户也更容易接受。同时也增加了软件使用的乐趣,提高用户粘度。(如MSN2011的启动界面动画,字体滑动和淡入淡出。)
在以往的程序开发中,如果想构建动画,需要定时器和自定义的绘图元素,并让这些绘图元素根据定时器做出相应的改变,以实现动画效果,开发难度和工作量都是很高的。并且这些动画的拓展性和灵活性一般很弱,代码量和复杂度却很大。而在WPF中,可以使用声明的方式构建动画,甚至不需要任何后台代码,就可以实现动画效果。WPF提供的动画模型和强大的类库,让一般动画的实现,都变得轻而易举。在WPF中,创建更加复杂的动画,甚至也可以使用设计工具或第三方工具在XAML中实现。所以,需要的更多的,可能不是代码量,而是你的想象力!
本文将介绍WPF 中三种基本动画,线性插值、关键帧和路径动画。
在 System.Windows.Media.Animation 这个命名空间中,包含了三种动画类:线性插值动画类(17个)、关键帧动画(22个)、路径动画(3个)。
在C#代码中使用Animation类,需要引入命名空间:System.Windows.Media.Animation
using System.Windows.Media.Animation;
该动画表现为,元素的某个属性,在开始值和结束值之间逐步增加,是一种线性插值的过程。比如,实现一个按钮的淡入效果,让它的透明度Opacity在0~1之间线性增长,就可以实现预期效果。
以下是 System.Windows.Media.Animation 命名空间中,17个线性插值动画类。
ByteAnimation
ColorAnimation
DecimalAnimation
DoubleAnimation
Int16Animation
Int32Animation
Int64Animation
Point3DAnimation
PointAnimation
QuaternionAnimation
RectAnimation
Rotation3DAnimation
SingleAnimation
SizeAnimation
ThicknessAnimation
Vector3DAnimation
VectorAnimation
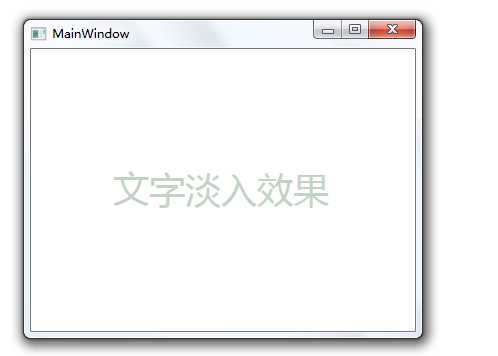
示例1:以 DoubleAnimation 为例,实现文字的淡入效果。
在XAML中可以直接定义动画,以下示例是以后台代码形式实现的动画。
XAML
<TextBlock Height="50" Width="220" Foreground="#326939" FontSize="36" Name="textBlock1" Text="文字淡入效果"/>
CS
DoubleAnimation da = new DoubleAnimation();
da.From = 0;    //起始值
da.To = 1;      //结束值
da.Duration = TimeSpan.FromSeconds(3);         //动画持续时间
this.textBlock1.BeginAnimation(TextBlock.OpacityProperty, da);//开始动画
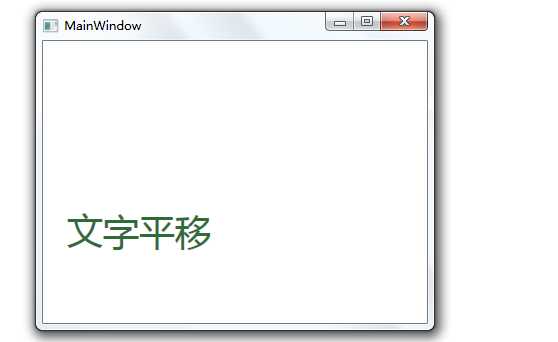
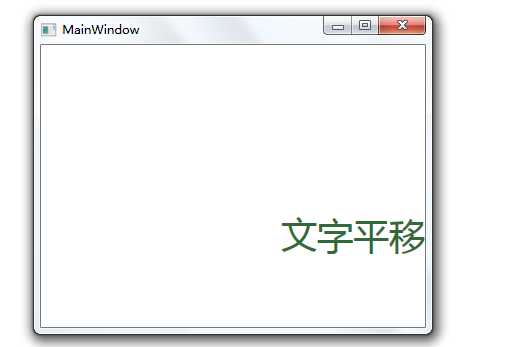
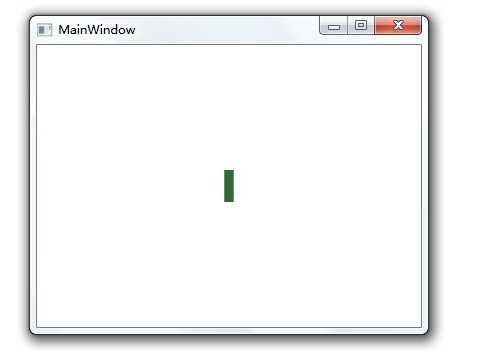
示例2:利用 ThicknessAnimation ,实现元素平移效果。
XMAL
<TextBlock Height="50" Foreground="#326939" Margin="0,100,0,0" FontSize="36" Name="textBlock1" Text="文字平移"/>
CS
//文字平移,Margin属性是Thickness类型,选择ThicknessAnimation
ThicknessAnimation ta = new ThicknessAnimation();
ta.From = new Thickness(0, 100, 0, 0);             //起始值
ta.To = new Thickness(240, 100, 0, 0);        //结束值
ta.Duration = TimeSpan.FromSeconds(3);         //动画持续时间
this.textBlock1.BeginAnimation(TextBlock.MarginProperty, ta);//开始动画
2、关键帧动画
关键帧动画是以时间为节点,在指定时间节点上,属性达到某个值。
以下是 System.Windows.Media.Animation 命名空间中,22个关键帧动画类。
BooleanAnimationUsingKeyFrames
ByteAnimationUsingKeyFrames
CharAnimationUsingKeyFrames
ColorAnimationUsingKeyFrames
DecimalAnimationUsingKeyFrames
DoubleAnimationUsingKeyFrames
Int16AnimationUsingKeyFrames
Int32AnimationUsingKeyFrames
Int64AnimationUsingKeyFrames
MatrixAnimationUsingKeyFrames
ObjectAnimationUsingKeyFrames
Point3DAnimationUsingKeyFrames
PointAnimationUsingKeyFrames
QuaternionAnimationUsingKeyFrames
RectAnimationUsingKeyFrames
Rotation3DAnimationUsingKeyFrames
SingleAnimationUsingKeyFrames
SizeAnimationUsingKeyFrames
StringAnimationUsingKeyFrames
ThicknessAnimationUsingKeyFrames
Vector3DAnimationUsingKeyFrames
VectorAnimationUsingKeyFrames
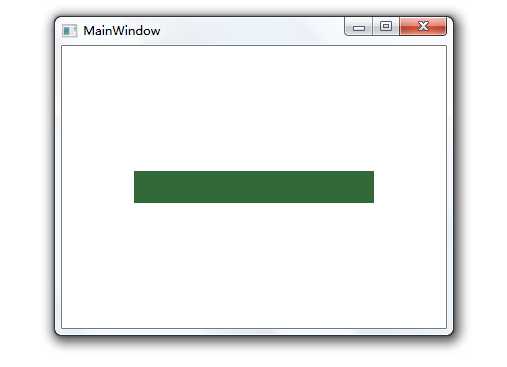
示例3:Border宽度的关键帧动画
XAML
<Border Height="32" Width="0" Background="#326939" Name="border1"/>
CS
//Border长度关键帧动画
DoubleAnimationUsingKeyFrames dak = new DoubleAnimationUsingKeyFrames();
//关键帧定义
dak.KeyFrames.Add(new LinearDoubleKeyFrame(0, KeyTime.FromTimeSpan(TimeSpan.FromSeconds(0))));
dak.KeyFrames.Add(new LinearDoubleKeyFrame(240, KeyTime.FromTimeSpan(TimeSpan.FromSeconds(3))));
dak.KeyFrames.Add(new LinearDoubleKeyFrame(240, KeyTime.FromTimeSpan(TimeSpan.FromSeconds(6))));
dak.KeyFrames.Add(new LinearDoubleKeyFrame(0, KeyTime.FromTimeSpan(TimeSpan.FromSeconds(9))));

dak.BeginTime = TimeSpan.FromSeconds(2);//从第2秒开始动画
dak.RepeatBehavior = new RepeatBehavior(3);//动画重复3次
//开始动画
this.border1.BeginAnimation(Border.WidthProperty, dak);
(程序运行时开始计时,第0秒)
0~5:动画尚未开始;
5~8:border1宽度从0增加到240;
8~11:border1宽度保持240不变;
11~14:border1宽度从240减少到0;
14-17:又从0增加到240……(即5~14的过程循环3次)
3、路径动画
基于路径的动画,比起前两种更加专业一些。它的表现方式是,修改数值使其符合PathGeometry对象描述的形状,并且让元素沿着路径移动。以下是 System.Windows.Media.Animation 命名空间中,3个路径动画类。
DoubleAnimationUsingPath
MatrixAnimationUsingPath
PointAnimationUsingPath
示例4:基于路径动画的演示
XMAL(该动画是在XAML中定义,使用事件触发器,窗体加载时开始动画)
<Window x:Class="WpfApplication9.MainWindow"
        xmlns="http://schemas.microsoft.com/winfx/2006/xaml/presentation"
        xmlns:x="http://schemas.microsoft.com/winfx/2006/xaml"
        Title="MainWindow" Height="360" Width="480">
    <Window.Resources>
        <!--路径资源-->
        <PathGeometry x:Key="path">
            <PathFigure IsClosed="True">
                <ArcSegment Point="200,200" Size="30,10" SweepDirection="Clockwise"></ArcSegment>
                <ArcSegment Point="300,200" Size="5,5"></ArcSegment>
            </PathFigure>
        </PathGeometry>
    </Window.Resources>
    <!---事件触发器,窗体加载时动画开始,周期6秒,无限循环-->
    <Window.Triggers>
        <EventTrigger RoutedEvent="Window.Loaded">
            <BeginStoryboard>
                <Storyboard>
                    <DoubleAnimationUsingPath Storyboard.TargetName="image" Storyboard.TargetProperty="(Canvas.Left)"
                     PathGeometry="{StaticResource path}" Duration="0:0:6" RepeatBehavior="Forever" Source="X"></DoubleAnimationUsingPath>
                    <DoubleAnimationUsingPath Storyboard.TargetName="image" Storyboard.TargetProperty="(Canvas.Top)"
                     PathGeometry="{StaticResource path}" Duration="0:0:6" RepeatBehavior="Forever" Source="Y"></DoubleAnimationUsingPath>
                </Storyboard>
            </BeginStoryboard>
        </EventTrigger>
    </Window.Triggers>
    <Canvas>
        <!--显示路径-->
        <Path Margin="30" Stroke="#ddd" Data="{StaticResource path}"></Path>
        <!--动画元素-->
        <Image Name="image" Source="me.png" Width="48" Height="48" />
    </Canvas>
</Window>
我的头像将沿着曲线路径进行移动,由于RepeatBehavior属性设置为Forever,则动画将无限循环。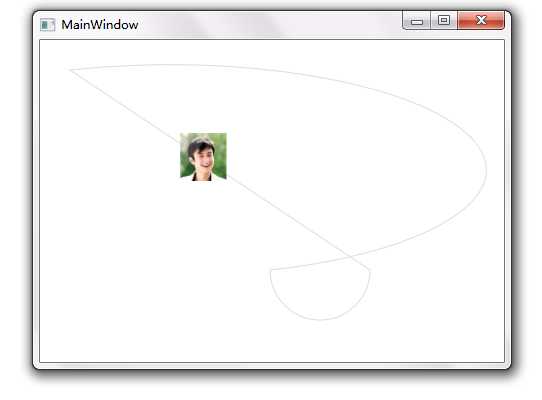
标签:
原文地址:http://www.cnblogs.com/lk-kk/p/4605252.html