标签:
最近在做一个集富媒体功能于一身的项目。需要上传视频。这里我希望做成异步上传,并且有进度条,响应有状态码,视频连接,缩略图。
1 {
2     "thumbnail": "/slsxpt//upload/thumbnail/6f05d4985598160c548e6e8f537247c8.jpg",
3     "success": true,
4     "link": "/slsxpt//upload/video/6f05d4985598160c548e6e8f537247c8.mp4"
5 }
并且希望我的input file控件不要被form标签包裹。原因是form中不能嵌套form,另外form标签在浏览器了还是有一点点默认样式的,搞不好又要写css。
以前用ajaxFileUpload做过文件异步上传。不过这个东西好久未更新,代码还有bug,虽然最后勉强成功用上了,但总觉不好。而且ajaxFileUpload没有直接添加xhr2的progress事件响应,比较麻烦。
上网找了一下,发现方法都是很多。
比如在文件上传后,将上传进度放到session中,轮询服务器session。但我总觉的这个方法有问题,我认为这种方法看到的进度,应该是我的服务端应用程序代码(我的也就是action)从服务器的临时目录复制文件的进度,因为所有请求都应该先提交给服务器软件,也就是tomcat,tomcat对请求进行封装session,request等对象,并且文件实际上也应该是它来接收的。也就是说在我的action代码执行之前,文件实际上已经上传完毕了。
后来找到个比较好的方法使用 jquery.form.js插件的ajaxSubmit方法。这个方法以表单来提交,也就是 $.fn.ajaxSubmit.:$(form selector).ajaxSubmit({}),这个api的好处是它已经对xhr2的progress时间进行了处理,可以在调用时传递一个uploadProgress的function,在function里就能够拿到进度。而且如果不想input file被form包裹也没关系,在代码里createElement应该可以。不过这个方法我因为犯了个小错误最后没有成功,可惜了。
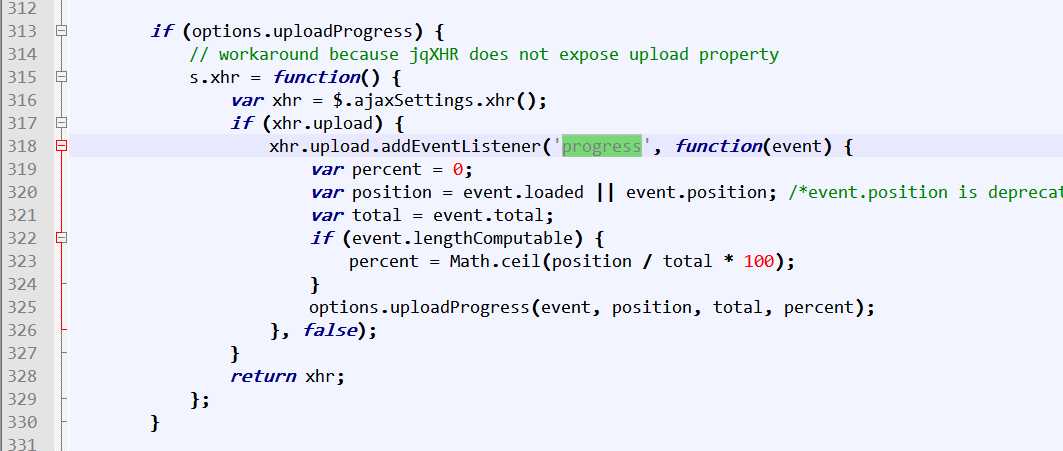
最后,还是使用了$.ajax 方法来做。$.ajax 不需要管理form,有点像个静态方法哦。唯一的遗憾就是$.ajax options里没有对progress的响应。不过它有一个参数为 xhr ,也就是你可以指定xhr,那么久可以通过xhr添加progress的事件处理程序。再结合看一看ajaxSubmit方法里对progress事件的处理,顿时豁然开朗

那么我也可以在$.ajax 方法中添加progress事件处理函数了。为了把对dom的操作从上传业务中抽取出来,我决定以插件的形式写。下面是插件的代码
 1 ;(function ($) {
 2     var defaults = {
 3             uploadProgress        :    null,
 4             beforeSend            :    null,
 5             success                :    null,
 6         },
 7         setting = {
 8
 9         };
10
11     var upload = function($this){
12         $this.parent().on(‘change‘,$this,function(event){
13             //var $this = $(event.target),
14             var    formData = new FormData(),
15                 target = event.target || event.srcElement;
16             //$.each(target.files, function(key, value)
17             //{
18             //    console.log(key);
19             //    formData.append(key, value);
20             //});
21             formData.append(‘file‘,target.files[0]);
22             settings.fileType && formData.append(‘fileType‘,settings.fileType);
23             $.ajax({
24                 url                :    $this.data(‘url‘),
25                 type            :    "POST",
26                 data            :    formData,
27                 dataType        :    ‘json‘,
28                 processData        :    false,
29                 contentType        :    false,
30                 cache            :    false,
31                 beforeSend        :    function(){
32                     //console.log(‘start‘);
33                     if(settings.beforeSend){
34                         settings.beforeSend();
35                     }
36                 },
37                 xhr                :     function() {
38                     var xhr = $.ajaxSettings.xhr();
39                     if(xhr.upload){
40                         xhr.upload.addEventListener(‘progress‘,function(event){
41                             var total = event.total,
42                                 position = event.loaded  || event.position,
43                                 percent = 0;
44                             if(event.lengthComputable){
45                                 percent = Math.ceil(position / total * 100);
46                             }
47                             if(settings.uploadProgress){
48                                 settings.uploadProgress(event, position, total, percent);
49                             }
50
51                         }, false);
52                     }
53                     return xhr;
54                 },
55                 success            :    function(data,status,jXhr){
56                     if(settings.success){
57                         settings.success(data);
58                     }
59                 },
60                 error            :    function(jXhr,status,error){
61                     if(settings.error){
62                         settings.error(jXhr,status,error);
63                     }
64                 }
65             });
66         });
67
68     };
69     $.fn.uploadFile = function (options) {
70         settings = $.extend({}, defaults, options);
71         // 文件上传
72         return this.each(function(){
73             upload($(this));
74         });
75
76
77     }
78 })($ || jQuery);
下面就可以在我的jsp页面里面使用这个api了。
1 <div class="col-sm-5"> 2 <input type="text" name="resource_url" id="resource_url" hidden="hidden"/> 3 <div class="progress" style=‘display: none;‘> 4 <div class="progress-bar progress-bar-success uploadVideoProgress" role="progressbar" 5 aria-valuenow="0" aria-valuemin="0" aria-valuemax="100" style="width: 0%"> 6 7 </div> 8 </div> 9 <input type="file" class="form-control file2 inline btn btn-primary uploadInput uploadVideo" 10 accept="video/mp4" 11 data-url="${baseUrl}/upload-video.action" 12 data-label="<i class=‘glyphicon glyphicon-circle-arrow-up‘></i> 选择文件" /> 13 <script> 14 (function($){ 15 $(document).ready(function(){ 16 var $progress = $(‘.uploadVideoProgress‘), 17 start = false; 18 $(‘input.uploadInput.uploadVideo‘).uploadFile({ 19 beforeSend : function(){ 20 $progress.parent().show(); 21 }, 22 uploadProgress : function(event, position, total, percent){ 23 $progress.attr(‘aria-valuenow‘,percent); 24 $progress.width(percent+‘%‘); 25 if(percent >= 100){ 26 $progress.parent().hide(); 27 $progress.attr(‘aria-valuenow‘,0); 28 $progress.width(0+‘%‘); 29 } 30 }, 31 success : function(data){ 32 if(data.success){ 33 $(‘#thumbnail‘).attr(‘src‘,data.thumbnail); 34 } 35 } 36 }); 37 }); 38 })(jQuery); 39 </script> 40 </div>
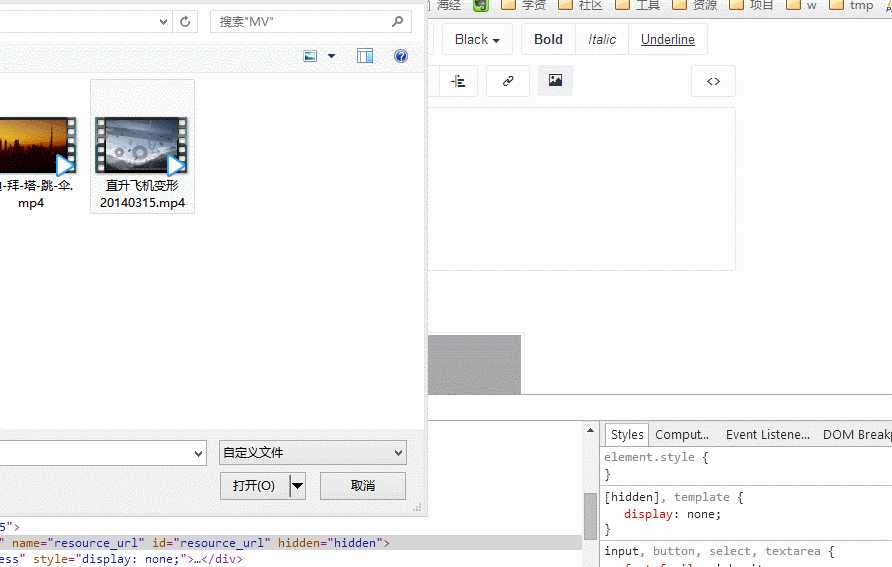
看下效果

下面部分就是服务端处理上传,并且对视频提取缩量图下面是action的处理代码
 1 package org.lyh.app.actions;
 2
 3 import org.apache.commons.io.FileUtils;
 4 import org.apache.struts2.ServletActionContext;
 5 import org.lyh.app.base.BaseAction;
 6 import org.lyh.library.SiteHelpers;
 7 import org.lyh.library.VideoUtils;
 8
 9 import java.io.File;
10 import java.io.IOException;
11 import java.security.KeyStore;
12 import java.util.HashMap;
13 import java.util.Map;
14
15 /**
16  * Created by admin on 2015/7/2.
17  */
18 public class UploadAction extends BaseAction{
19     private String saveBasePath;
20     private String imagePath;
21     private String videoPath;
22     private String audioPath;
23     private String thumbnailPath;
24
25     private File file;
26     private String fileFileName;
27     private String fileContentType;
28
29     /*
30     // 省略setter getter方法
31     */
32
33     public String video() {
34         Map<String, Object> dataJson = new HashMap<String, Object>();
35         System.out.println(file);
36         System.out.println(fileFileName);
37         System.out.println(fileContentType);
38         String fileExtend = fileFileName.substring(fileFileName.lastIndexOf("."));
39         String newFileName = SiteHelpers.md5(fileFileName + file.getTotalSpace());
40         String typeDir = "normal";
41         if (fileContentType.contains("video")) {
42             typeDir = videoPath;
43             // 提取缩量图
44             String thumbnailName = newFileName + ".jpg";
45             String thumbnailFile
46                     =
47                     ServletActionContext.getServletContext()
48                             .getRealPath(saveBasePath + thumbnailPath) + "/" + thumbnailName;
49             dataJson.put("thumbnail",ServletActionContext.getServletContext()
50                     .getContextPath() + "/" + saveBasePath + thumbnailPath + "/" + thumbnailName);
51             VideoUtils.extractThumbnail(file, thumbnailFile);
52         }
53         String realPath = ServletActionContext.getServletContext().getRealPath(saveBasePath + typeDir);
54         File saveFile = new File(realPath, newFileName + fileExtend);
55         // 存在同名文件,跳过
56         if (!saveFile.exists()) {
57
58             if (!saveFile.getParentFile().exists()) {
59                 saveFile.getParentFile().mkdirs();
60             }
61             try {
62                 FileUtils.copyFile(file, saveFile);
63                 dataJson.put("success", true);
64             } catch (IOException e) {
65                 System.out.println(e.getMessage());
66                 dataJson.put("success", false);
67             }
68         }else{
69             dataJson.put("success",true);
70         }
71         if((Boolean)dataJson.get("success")){
72             dataJson.put("link", ServletActionContext.getServletContext()
73                     .getContextPath() + "/" + saveBasePath + typeDir + "/" + newFileName + fileExtend);
74         }
75         this.responceJson(dataJson);
76         return NONE;
77     }
78
79 }
action配置
1 <action name="upload-*" class="uploadAction" method="{1}">
2         <param name="saveBasePath">/upload</param>
3         <param name="imagePath">/images</param>
4         <param name="videoPath">/video</param>
5         <param name="audioPath">/audio</param>
6         <param name="thumbnailPath">/thumbnail</param>
7 </action>
这里个人任务,如果文件的名称跟大小完全一样的话,它们是一个文件的概率就非常大了,所以我这里取文件名跟文件大小做md5运算,应该可以稍微避免下重复上传相同文件了。
转码的时候用到FFmpeg。需要的可以去这里下载。
 1 package org.lyh.library;
 2
 3 import java.io.File;
 4 import java.io.IOException;
 5 import java.io.InputStream;
 6 import java.util.ArrayList;
 7 import java.util.List;
 8
 9 /**
10  * Created by admin on 2015/7/15.
11  */
12 public class VideoUtils {
13     public static final String FFMPEG_EXECUTOR = "C:/Software/ffmpeg.exe";
14     public static final int THUMBNAIL_WIDTH = 400;
15     public static final int THUMBNAIL_HEIGHT = 300;
16
17     public static boolean extractThumbnail(File inputFile,String thumbnailOutput){
18         List<String> command = new ArrayList<String>();
19         File ffmpegExe = new File(FFMPEG_EXECUTOR);
20         if(!ffmpegExe.exists()){
21             System.out.println("转码工具不存在");
22             return false;
23         }
24
25         System.out.println(ffmpegExe.getAbsolutePath());
26         System.out.println(inputFile.getAbsolutePath());
27         command.add(ffmpegExe.getAbsolutePath());
28         command.add("-i");
29         command.add(inputFile.getAbsolutePath());
30         command.add("-y");
31         command.add("-f");
32         command.add("image2");
33         command.add("-ss");
34         command.add("10");
35         command.add("-t");
36         command.add("0.001");
37         command.add("-s");
38         command.add(THUMBNAIL_WIDTH+"*"+THUMBNAIL_HEIGHT);
39         command.add(thumbnailOutput);
40
41         ProcessBuilder builder = new ProcessBuilder();
42         builder.command(command);
43         builder.redirectErrorStream(true);
44         try {
45             long startTime = System.currentTimeMillis();
46             Process process = builder.start();
47             System.out.println("启动耗时"+(System.currentTimeMillis()-startTime));
48             return true;
49         } catch (IOException e) {
50             e.printStackTrace();
51             return false;
52         }
53     }
54
55 }
另外这里由java启动了另外一个进程,在我看来他们应该是不想干的,java启动了ffmpeg.exe之后,应该回来继续执行下面的代码,所以并不需要单独起一个线程去提取缩量图。测试看也发现耗时不多。每次长传耗时也区别不大,下面是两次上传同一个文件耗时
第一次


第二次


另外这里上传较大文件需要对tomcat和struct做点配置
修改tomcat下conf目录下的server.xml文件,为Connector节点添加属性 maxPostSize="0"表示不显示上传大小
另外修改 struts.xml添加配置,这里的value单位为字节,这里大概300多mb
<constant name="struts.multipart.maxSize" value="396014978"/>
就用户体验来说没有很大的区别。
标签:
原文地址:http://www.cnblogs.com/lvyahui/p/4649754.html