标签:
1.前言


最原始的init一般不用这种,默认是上拉菜单样式
import UIKit
class ViewController: UIViewController {
override func viewDidLoad() {
super.viewDidLoad()
// Do any additional setup after loading the view, typically from a nib.
}
override func didReceiveMemoryWarning() {
super.didReceiveMemoryWarning()
// Dispose of any resources that can be recreated.
}
override func touchesBegan(touches: Set<NSObject>, withEvent event: UIEvent) {
// 单击屏幕触发
//方式一
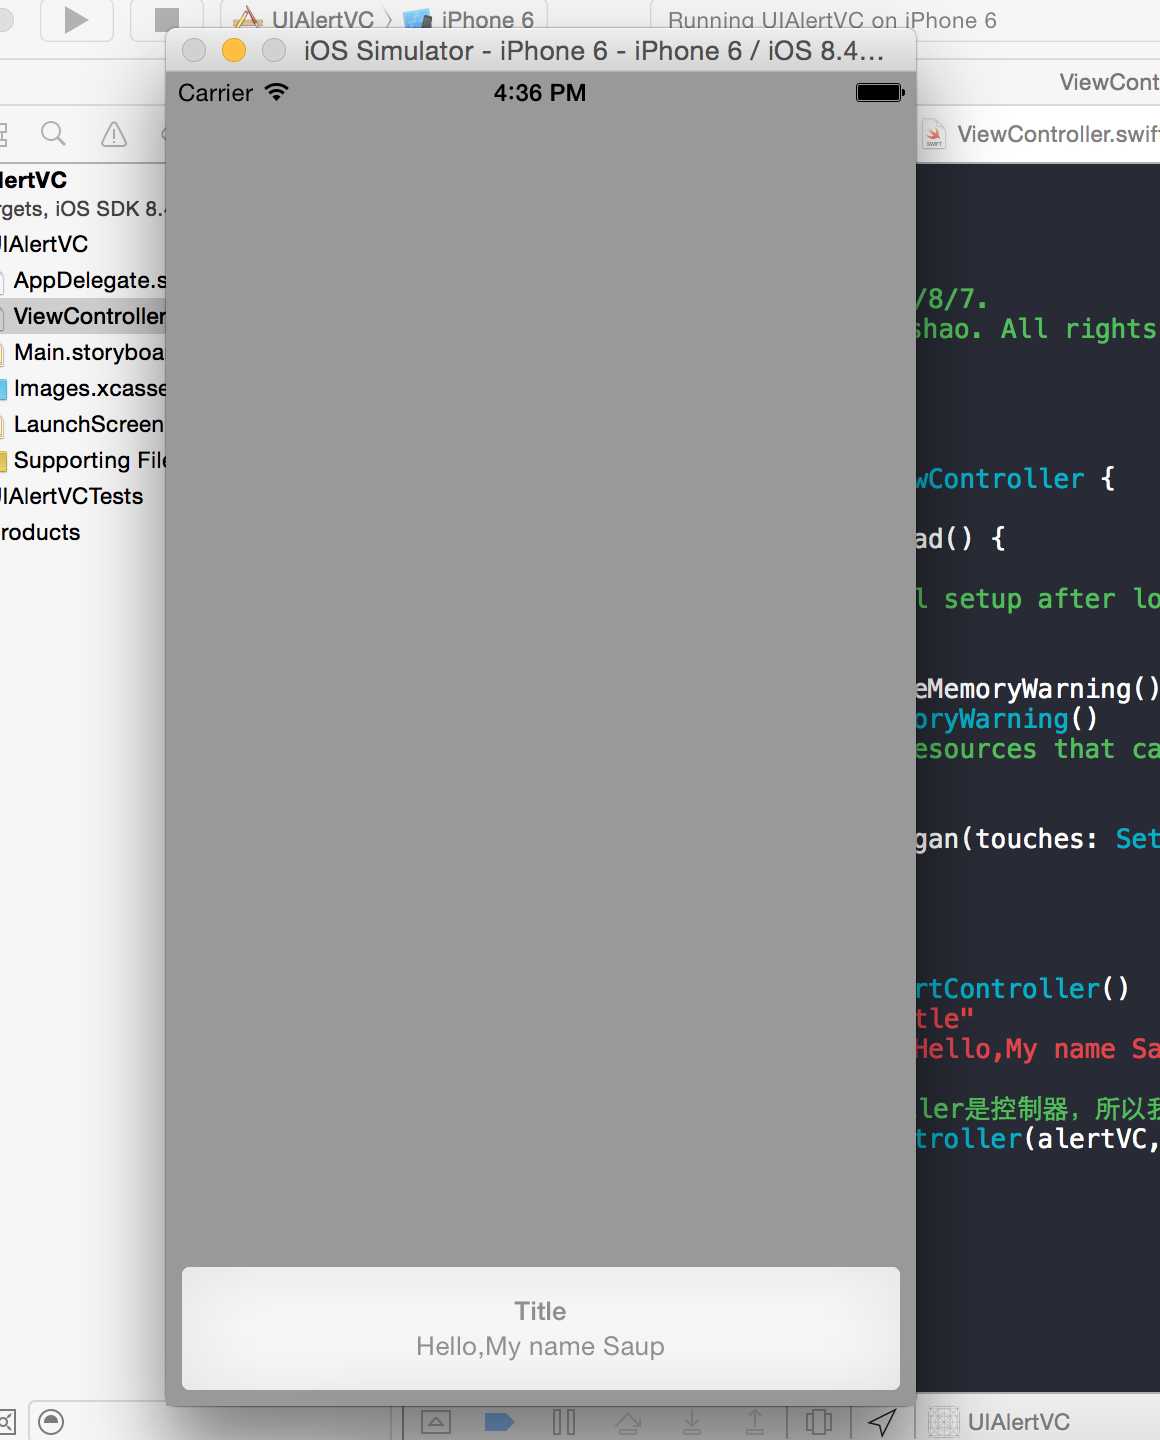
var alertVC = UIAlertController()
alertVC.title = "Title"
alertVC.message = "Hello,My name Saup"
//因为UIAlertController是控制器,所以我们现在得改用控制器弹出
self.presentViewController(alertVC, animated: true, completion: nil)
}
效果图1:
override func touchesBegan(touches: Set<NSObject>, withEvent event: UIEvent) {
// 单击屏幕触发
//方式二
//创建控制器
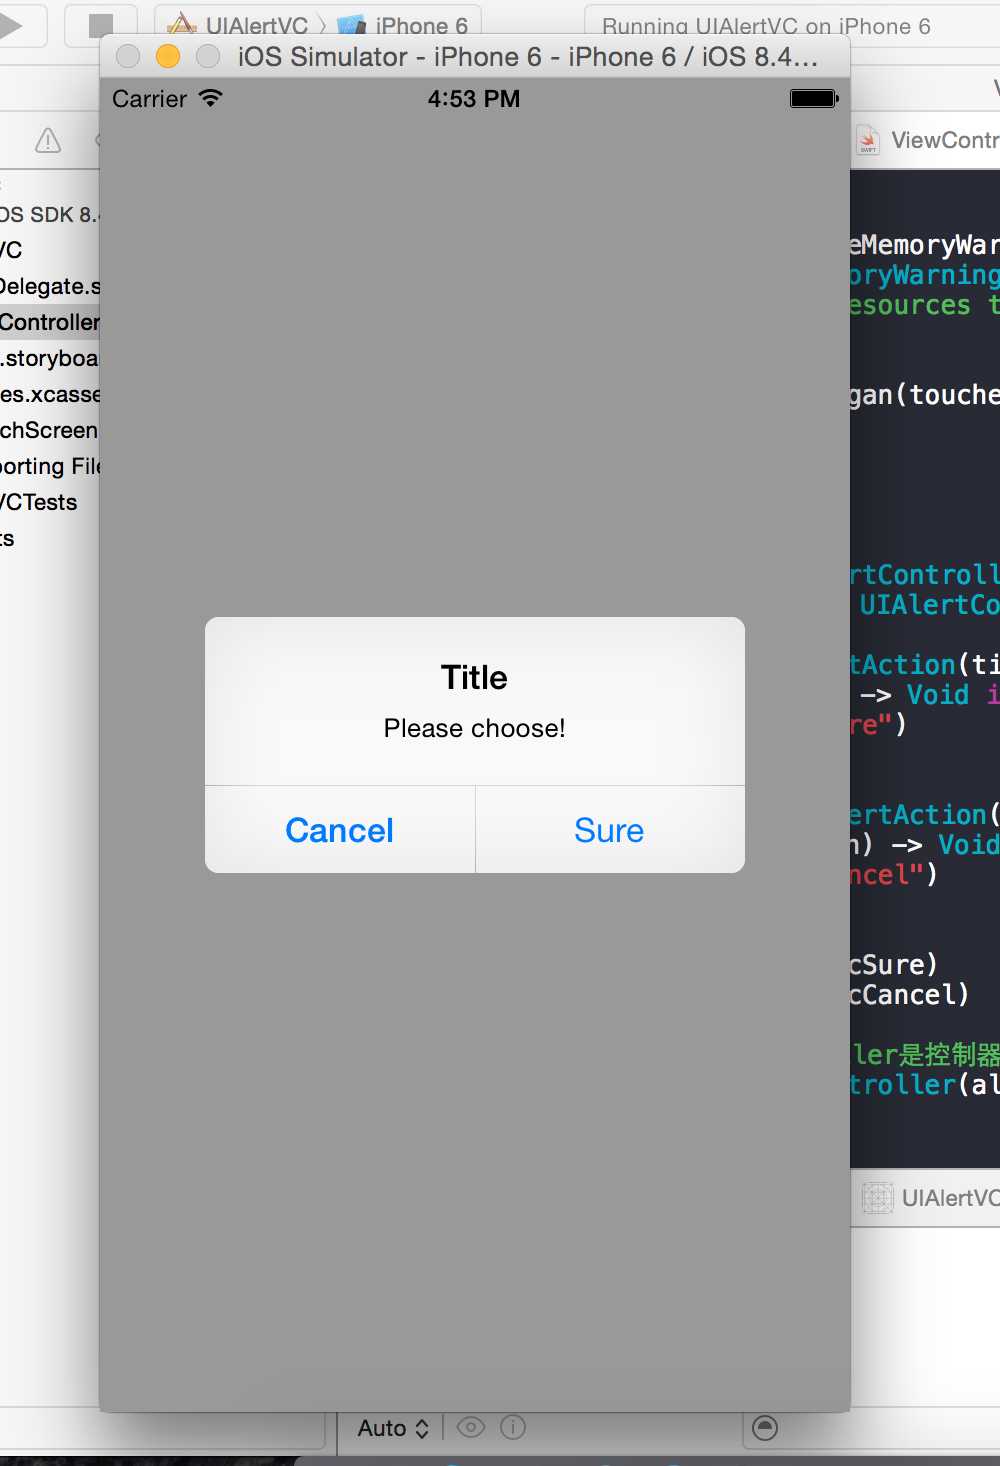
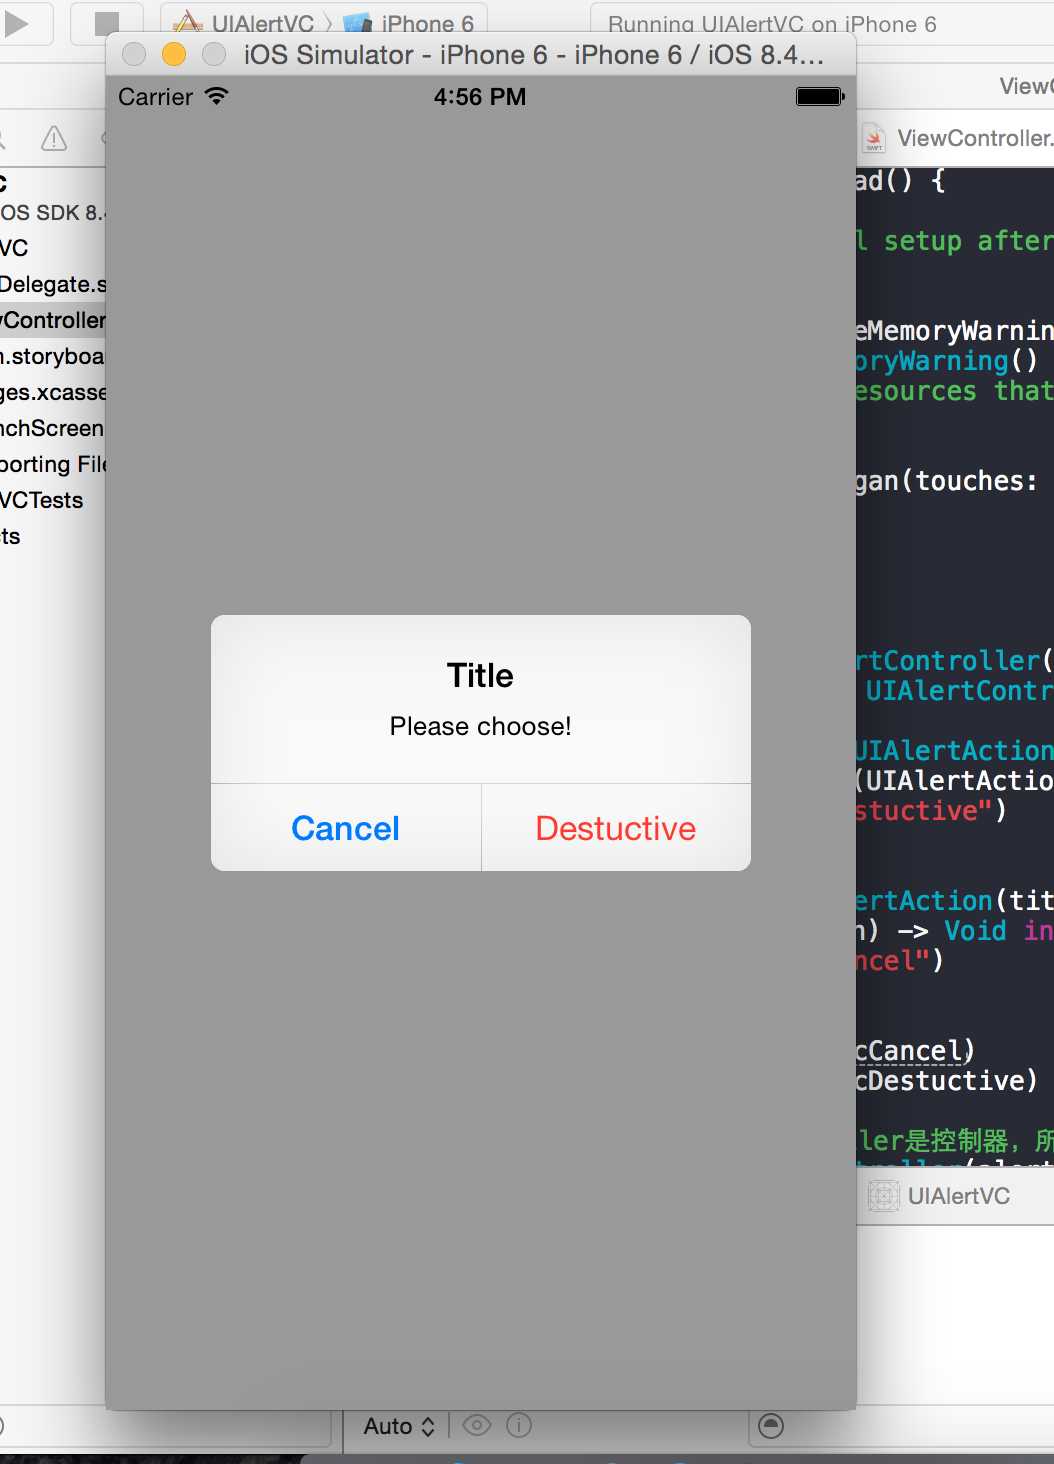
var alertVC = UIAlertController(title: "Title", message: "Please choose!", preferredStyle: UIAlertControllerStyle.ActionSheet)
//创建按钮
var acSure = UIAlertAction(title: "Sure", style: UIAlertActionStyle.Default) { (UIAlertAction) -> Void in
print("click Sure")
}
var acCancel = UIAlertAction(title: "Cancel", style: UIAlertActionStyle.Cancel) { (UIAlertAction) -> Void in
print("click Cancel")
}
// var acDestuctive = UIAlertAction(title: "Destuctive", style: //UIAlertActionStyle.Destuctive) { (UIAlertAction) -> Void in
// print("click Destuctive")
// }
alertVC.addAction(acSure)
alertVC.addAction(acCancel)
// alertVC.addAction(acDestuctive)
//因为UIAlertController是控制器,所以我们现在得改用控制器弹出
self.presentViewController(alertVC, animated: true, completion: nil)
}
效果图2:

override func touchesBegan(touches: Set<NSObject>, withEvent event: UIEvent) {
// 单击屏幕触发
//方式三
//创建控制器
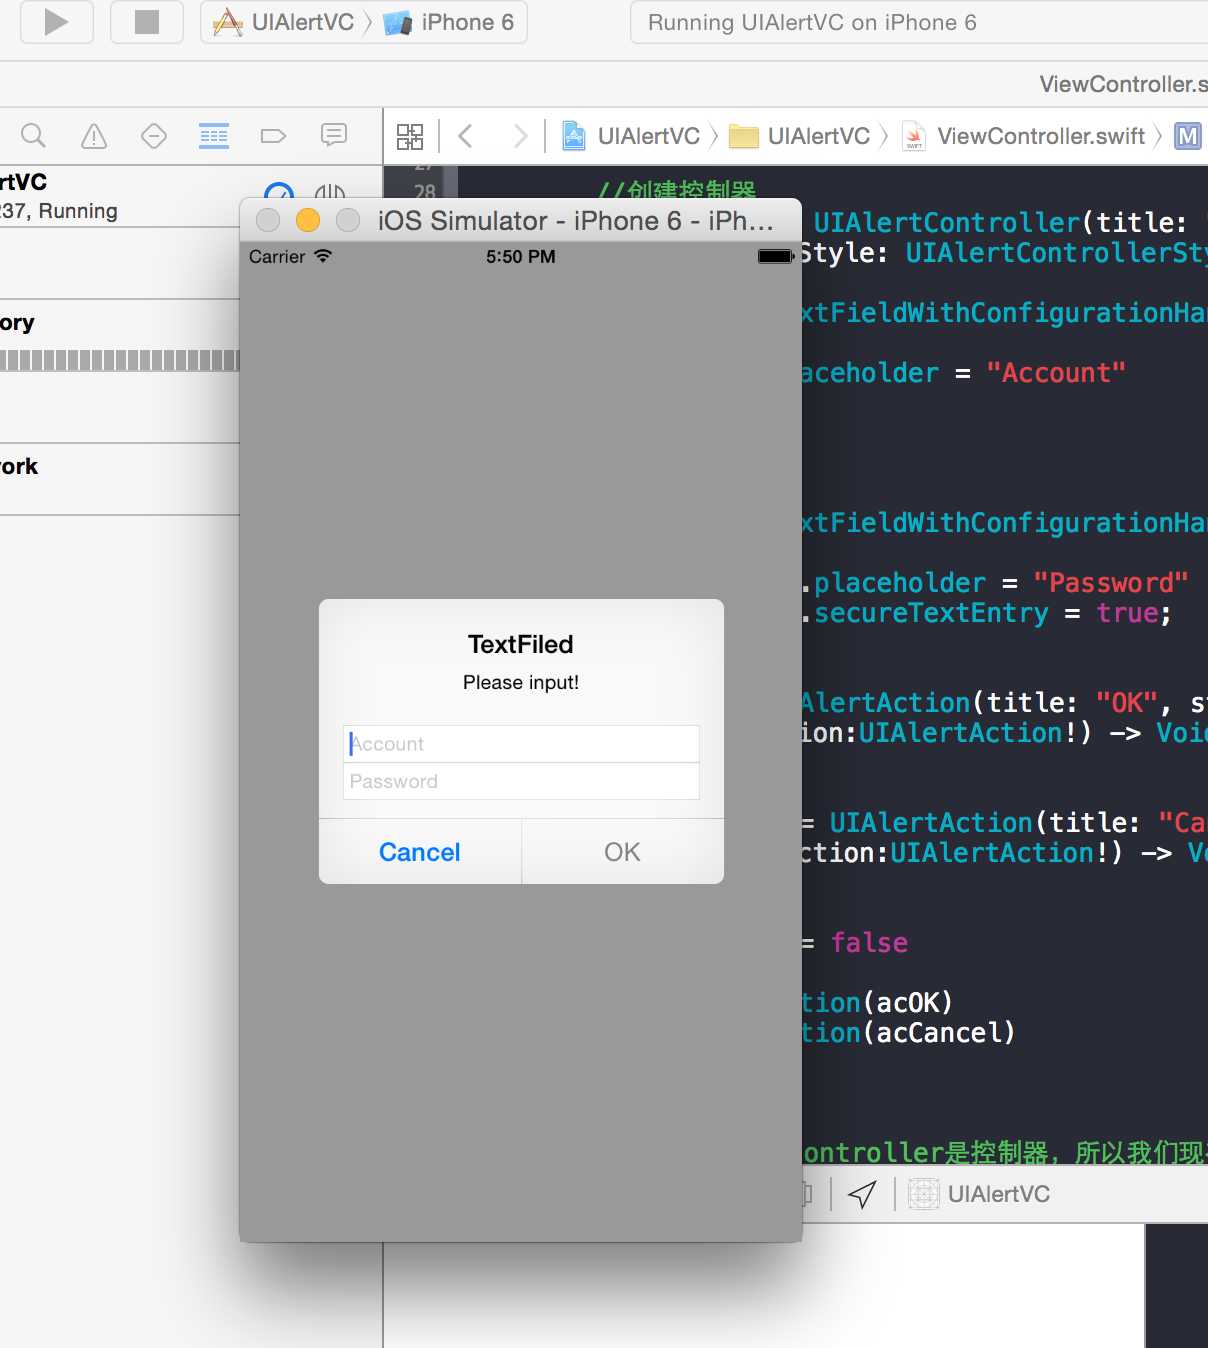
var alertVC = UIAlertController(title: "TextFiled", message: "Please input!", preferredStyle: UIAlertControllerStyle.Alert)
alertVC.addTextFieldWithConfigurationHandler { (tField:UITextField!) -> Void in
tField.placeholder = "Account"
}
alertVC.addTextFieldWithConfigurationHandler {(textField:UITextField!) -> Void in
textField.placeholder = "Password"
textField.secureTextEntry = true;
}
var acOK = UIAlertAction(title: "OK", style: UIAlertActionStyle.Default) { (alertAction:UIAlertAction!) -> Void in
}
var acCancel = UIAlertAction(title: "Cancel", style: UIAlertActionStyle.Cancel) { (alertAction:UIAlertAction!) -> Void in
}
acOK.enabled = false
alertVC.addAction(acOK)
alertVC.addAction(acCancel)
//因为UIAlertController是控制器,所以我们现在得改用控制器弹出
self.presentViewController(alertVC, animated: true, completion: nil)
}
效果图3:
作者: 清澈Saup
出处: http://www.cnblogs.com/qingche/
本文版权归作者和博客园共有,欢迎转载,但必须保留此段声明,且在文章页面明显位置给出原文连接。
iOS -Swift:如何使用iOS8中的UIAlertController
标签:
原文地址:http://www.cnblogs.com/qingche/p/4711579.html