标签:
本教程结合Github服务端和客户端完成本地代码上传至Github,下面进行详细讲解:
1.创建Github账号,这一个步骤应该不用太多解释,直接上官网进行注册登录即可https://github.com/
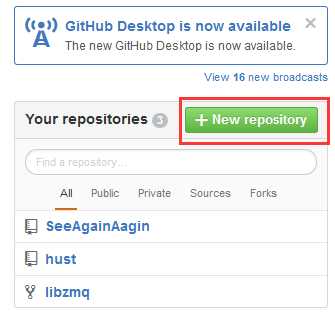
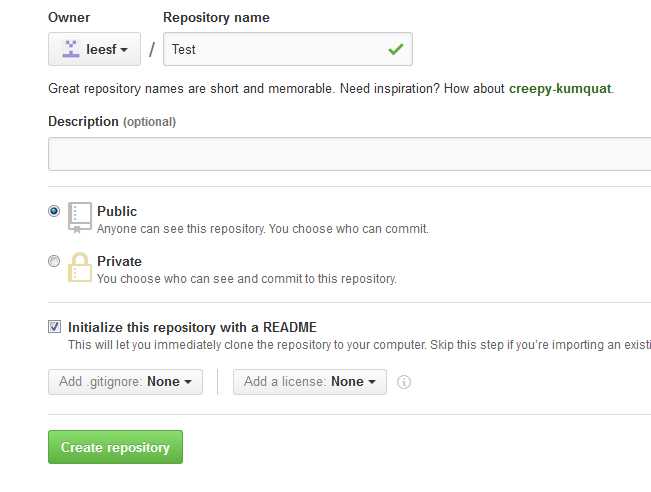
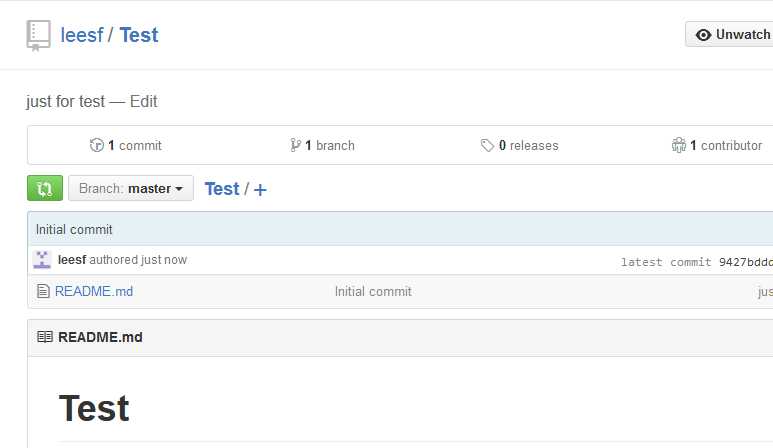
2.新建一个repository。如图,注册登录之后可以找到如下页面,新建一个repository。
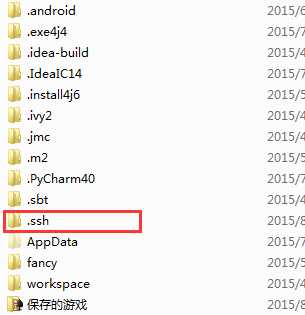
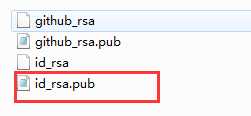
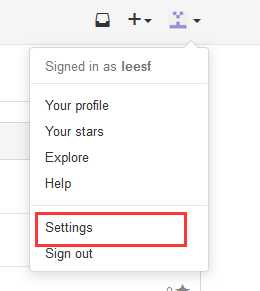
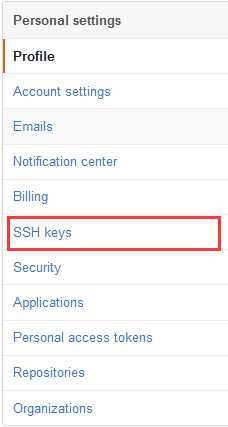

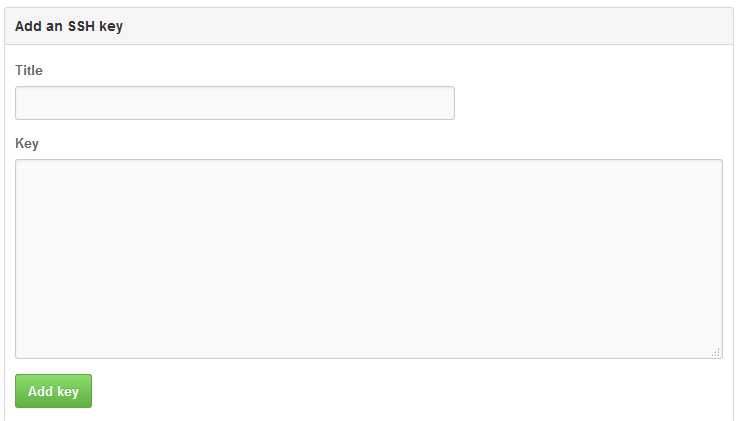
正确结果会显示:
Warning:Permanently added ‘github.com,207.97.227.239‘ (RSA) to the list of known hosts.
  Hi LEESF! You‘ve successfully authenticated, but GitHub does not provide shell access.
Warning 不用理会
4.clone刚才新建名为Test的repository 到本地,输入命令:
git clone https://github.com/leesf/Test.git
之后会在本地生成一个如下的目录结构:
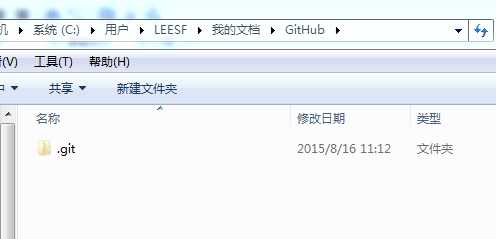
5.把想要上传的代码文件夹复制到GitHub下(与.git处于同一目录下) 如把Test文件夹(里面包含了Test.java文件)复制到此目录中,如图:

6.开始上传文件
在Shell中依次输入如下命令:
git init
git add Test
git commit -m "Test.java"
git remote add origin https://github.com/leesf/Test.git
git push origin master
如果执行git remote add origin https://github.com/leesf/Test.git 出现错误:
fatal: remote origin already exists
则执行以下语句:
git remote rm origin
再次执行git remote add origin https://github.com/leesf/Test.git即可。
在执行git push origin master时,报错:
error:failed to push som refs to.......
则执行以下语句:
git pull origin master
先把远程服务器github上面的文件拉先来,再push 上去
这样整个上传过程就完成了,现在可以在GitHub上查看自己上传的源代码了。
标签:
原文地址:http://www.cnblogs.com/leesf456/p/4733958.html