一、nginx
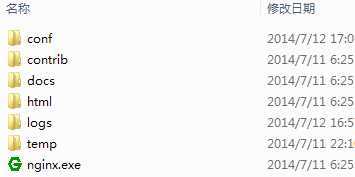
nginx是一个轻量级的Web 服务器/反向代理服务器及电子邮件(IMAP/POP3)代理服务器,以开源形式发布。nginx的性能稳定,功能丰富,配置简单,且占用系统资源低。可支持多个系统平台,nginx的下载地址如下:http://nginx.org/en/download.html 。下载nginx,这里下载的版本为windows版本 nginx-1.7.3,放在D盘根目录下解压,目录结构如下:

二、实例
1、运行nginx
cmd目录进入nginx.exe所在的目录,输入:nginx.exe -t,提示成功后再输入nginx.exe即可启动nginx。如下图

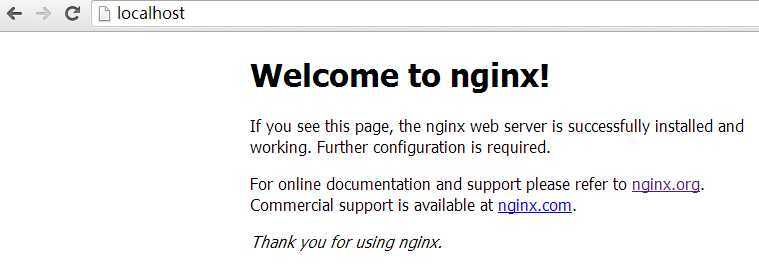
此时访问http://localhost/,页面如下,则nginx启动成功。

2、配置nginx
此时我们有两个tomcat服务器,一个端口是8080.另外一个端口是8089。我们需要对这两台服务配置到nginx中。进入nginx解压的根目录中的conf目录,用编辑器打开conf目录下的nginx.conf文件。
1、在该文件的http里面添加如下内容
    upstream  test.cc  {
              server   127.0.0.1:8080;
              server   127.0.0.1:8089;
      }
2、在server里面配置如下内容
    location /test1 {
	     proxy_set_header Host      $host;
	     proxy_set_header X-Real-IP $remote_addr;
             proxy_pass   http://test.cc;
        }
nginx.conf内容如下
worker_processes  1;

events {
    worker_connections  1024;
}

http {
    include       mime.types;
    default_type  application/octet-stream;
    sendfile        on;
    keepalive_timeout  65;

    upstream  test.cc  {
              server   127.0.0.1:8080; #服务器1地址
              server   127.0.0.1:8089; #服务器2地址
    }

    server {
        listen       80; #服务器监听的端口
        server_name  localhost;

         location / {
            root   html;
            index  index.html index.htm;
        }

	location /test1 {   #test1 与tomcat运行的项目的根名称一样
	     proxy_set_header Host      $host;
	     proxy_set_header X-Real-IP $remote_addr;
             proxy_pass   http://test.cc;
        }

         error_page   500 502 503 504  /50x.html;
        location = /50x.html {
            root   html;
        }

    }
}
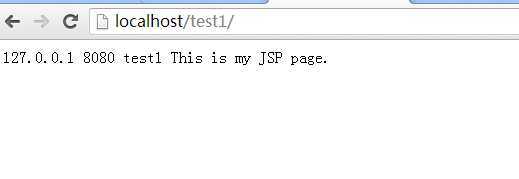
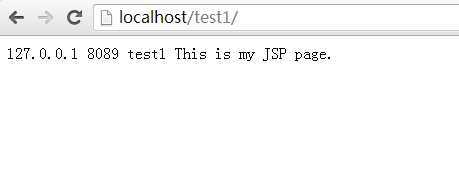
2、在两个tomcat里面运行同一个javaweb项目test1,在index.jsp中取到当前的访问的端口(<%= request.getLocalPort()%>),并显示。同时启动两个tomcat。并将nginx停止并重新启动,停止命令为:nginx.exe -s stop。(windows可能输入该命令后还没停止,我们可以进入任务管理器,杀掉现场nginx即可)。nginx重启成功后访问
http://localhost/test1/ ,即可看到当前访问服务器的端口,从而可以确定访问的是哪一个tomcat。当刷新时即可看到端口在8080与8089之间改变。如下图所示:


原文地址:http://www.cnblogs.com/always-online/p/3840258.html