标签:
Version: OpenCV 2.4.9
IDE : VS2010
OS : Windows
-----------------------------------------------------------------------------------
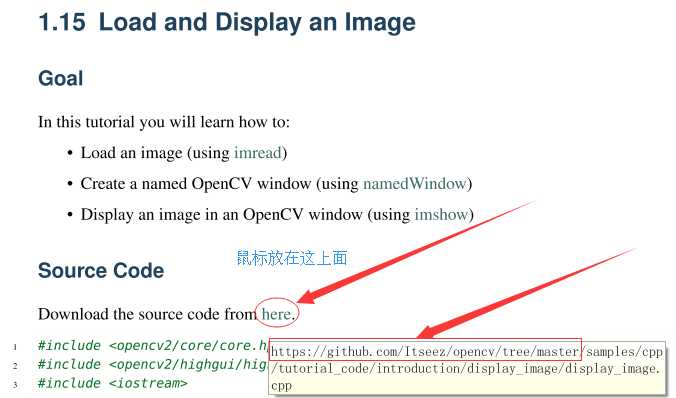
Goal
In this tutorial you will learn how to:
• Load an image (using imread)
• Create a named OpenCV window (using namedWindow)
• Display an image in an OpenCV window (using imshow)
Source Code
 1 #include <opencv2/core/core.hpp>
 2 #include <opencv2/highgui/highgui.hpp>
 3 #include <iostream>
 4
 5 using namespace cv;
 6 using namespace std;
 7
 8 int main( int argc, char** argv )
 9 {
10     if( argc != 2)
11     {
12      cout <<" Usage: display_image ImageToLoadAndDisplay" << endl;
13      return -1;
14     }
15
16     Mat image;
17     image = imread(argv[1], CV_LOAD_IMAGE_COLOR);    // Read the file
18
19     if(! image.data )                              // Check for invalid input
20     {
21         cout <<  "Could not open or find the image" << std::endl ;
22         return -1;
23     }
24
25     namedWindow( "Display window", WINDOW_AUTOSIZE );// Create a window for display.
26     imshow( "Display window", image );                   // Show our image inside it.
27
28     waitKey(0);                                             // Wait for a keystroke in the window
29     return 0;
30 }
[纯小白学习OpenCV系列]官方例程01:Load and Display an Image
标签:
原文地址:http://www.cnblogs.com/demosaic/p/4957564.html