标签:android style blog http java color
GridLayout是一个表格视图,我们一般定义它的列数和行数来设置好这个控件。
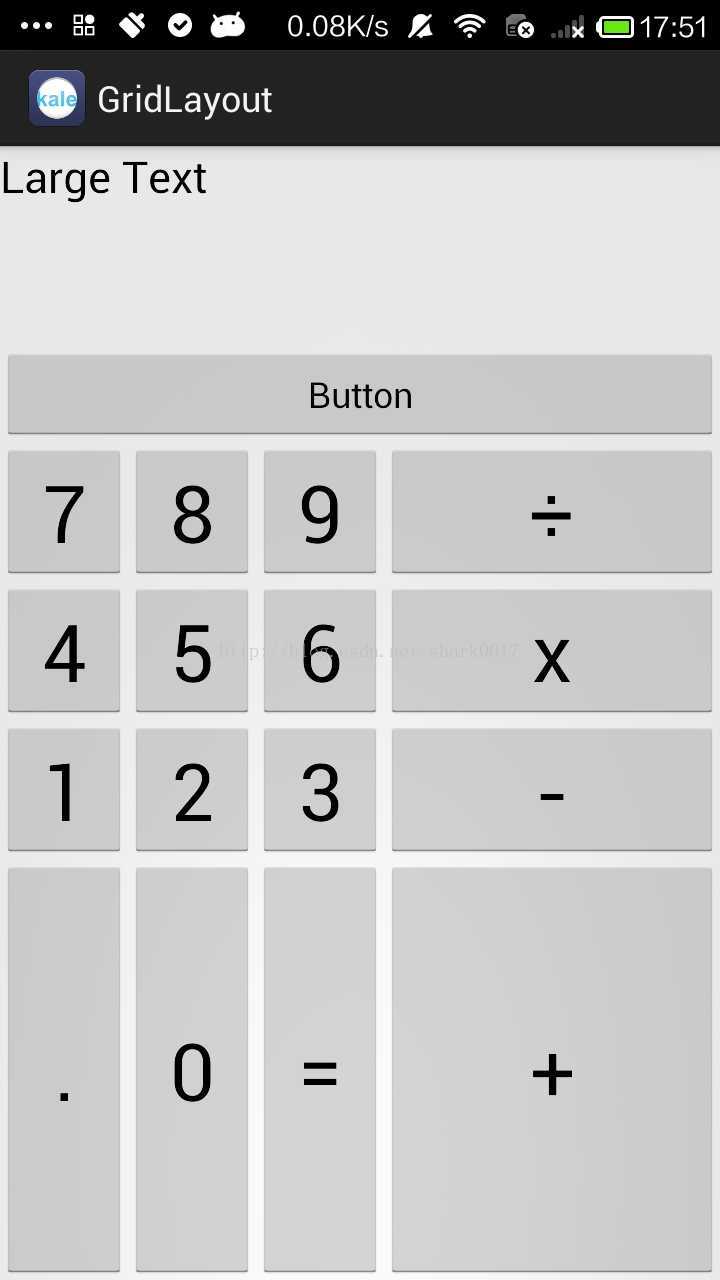
下面的布局文件先定义了一个TextView和一个Button,设置他们的属性为横跨4列。这样就可以独自占据一行了。然后我们用代码来放入其他的子元素,其实就是些Button。
布局文件
<RelativeLayout xmlns:android="http://schemas.android.com/apk/res/android"
    xmlns:tools="http://schemas.android.com/tools"
    android:layout_width="match_parent"
    android:layout_height="match_parent"
    tools:context="${relativePackage}.${activityClass}"
     xmlns:app="http://schemas.android.com/apk/res/com.kale.gridlayout">

    <!-- 六行四列 -->
    <android.support.v7.widget.GridLayout
        android:id="@+id/root_gridLayout_id"
        android:layout_width="match_parent"
        android:layout_height="match_parent"
        app:rowCount="6"
        app:columnCount="4">

        <TextView
            android:layout_width="match_parent"
            android:layout_height="100dp"
            app:layout_columnSpan="4"
            android:text="Large Text"
            android:textAppearance="?android:attr/textAppearanceLarge" />

        <Button
            android:layout_width="match_parent"
            android:layout_height="wrap_content"
            app:layout_gravity="center_horizontal|top"
            app:layout_columnSpan="4"
            android:text="Button" />
    </android.support.v7.widget.GridLayout>

</RelativeLayout>
MainActivity.java
package com.kale.gridlayout;

import android.app.Activity;
import android.os.Bundle;
import android.support.v7.widget.GridLayout;
import android.view.Gravity;
import android.widget.Button;

public class MainActivity extends Activity {
    String [] chars = new String[]{
        "7","8","9","÷",
        "4","5","6","x",
        "1","2","3","-",
        ".","0","=","+"
    };
    @Override
    protected void onCreate(Bundle savedInstanceState) {
        super.onCreate(savedInstanceState);
        setContentView(R.layout.activity_main);

        GridLayout gLayout = (GridLayout)findViewById(R.id.root_gridLayout_id);
        for (int i = 0; i < chars.length; i++) {
            Button bt = new Button(this);
            bt.setText(chars[i]);
            bt.setTextSize(40);

            //指定该组件所占的行
            GridLayout.Spec rowSpec = GridLayout.spec(i/4 + 2);
            //指定该组件所占的列
            GridLayout.Spec columnSpec = GridLayout.spec(i % 4);
            //按照设置好的行和列来建立对象
            GridLayout.LayoutParams params = new GridLayout.LayoutParams(rowSpec,columnSpec);
            //指定该组件占满父控件
            params.setGravity(Gravity.FILL);
            gLayout.addView(bt,params);
        }

    }
}
用GridLayout实现计算器的布局,布布扣,bubuko.com
标签:android style blog http java color
原文地址:http://www.cnblogs.com/tianzhijiexian/p/3855573.html