标签:
一、nexus的安装
1.下载nexus(点解这里)
2.下载后解压文件,将解压后的nexus文件放在你自己想要的地方
3.配置环境变量(和配置java的环境变量一样)


4.安装和启动nexus

由于我已经安装和启动过nexus,所以有错误信息提示
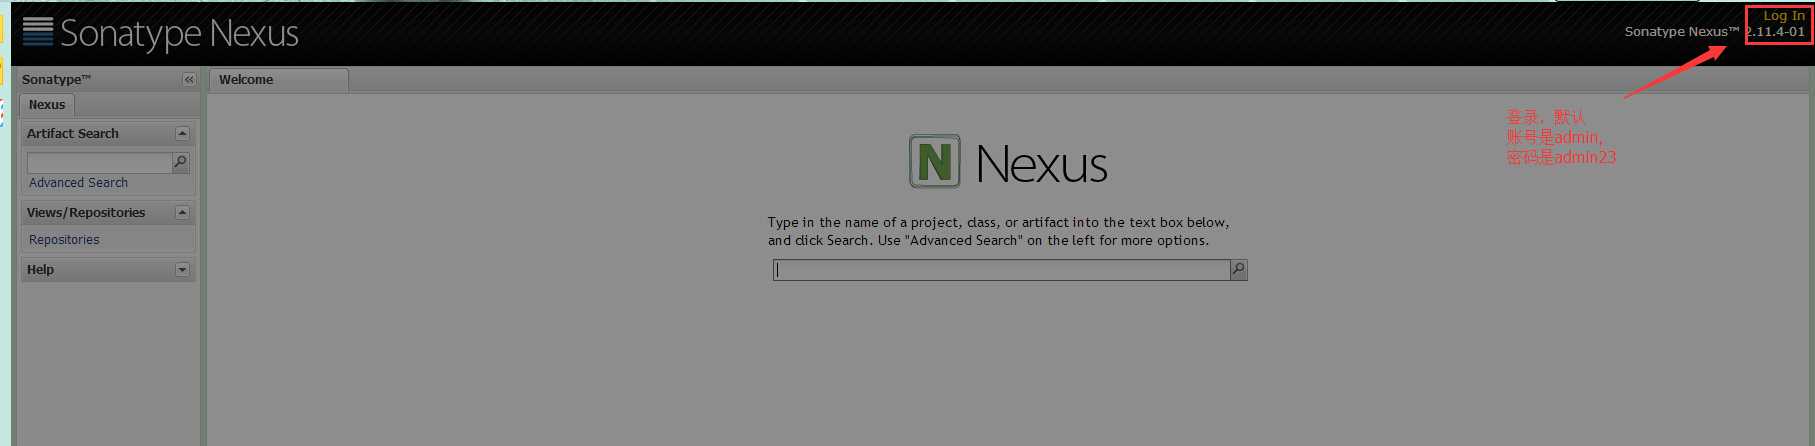
5.启动成功后,在浏览器输入http://localhost:8081/nexus/就会进入nexus的操作界面
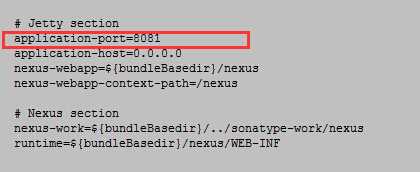
我们也可以在conf/nexus.properties修改端口
6.用admin登录成功后,可以看到如下界面
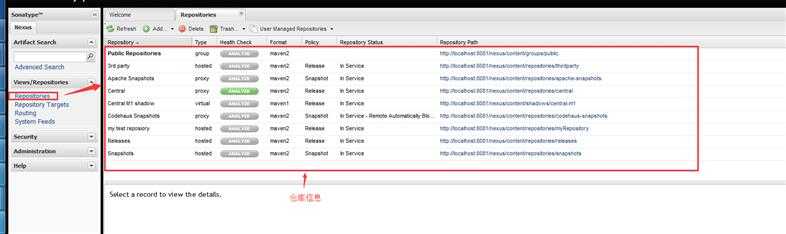
我们可以看见type有多重类型,这里我们介绍三种:
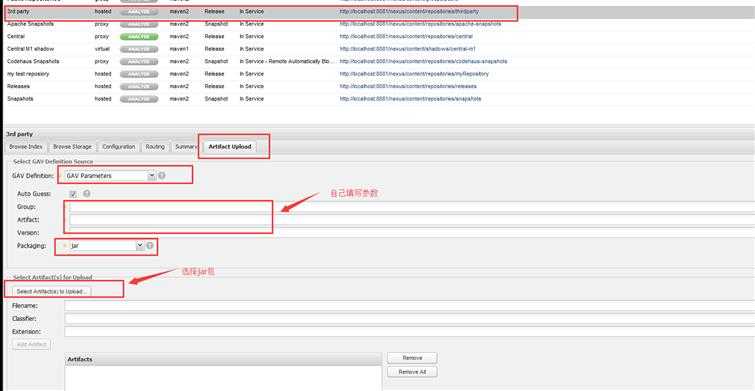
二、使用nexus的管理界面上传jar包
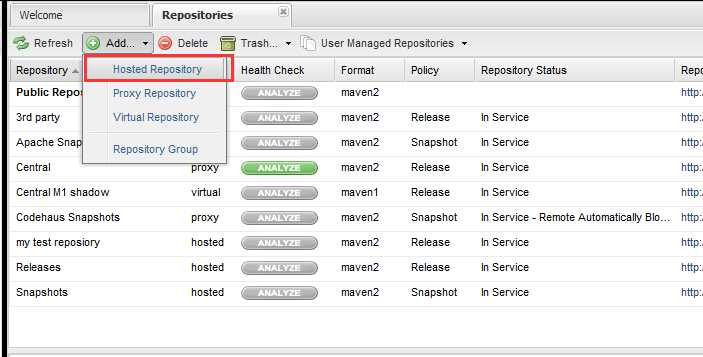
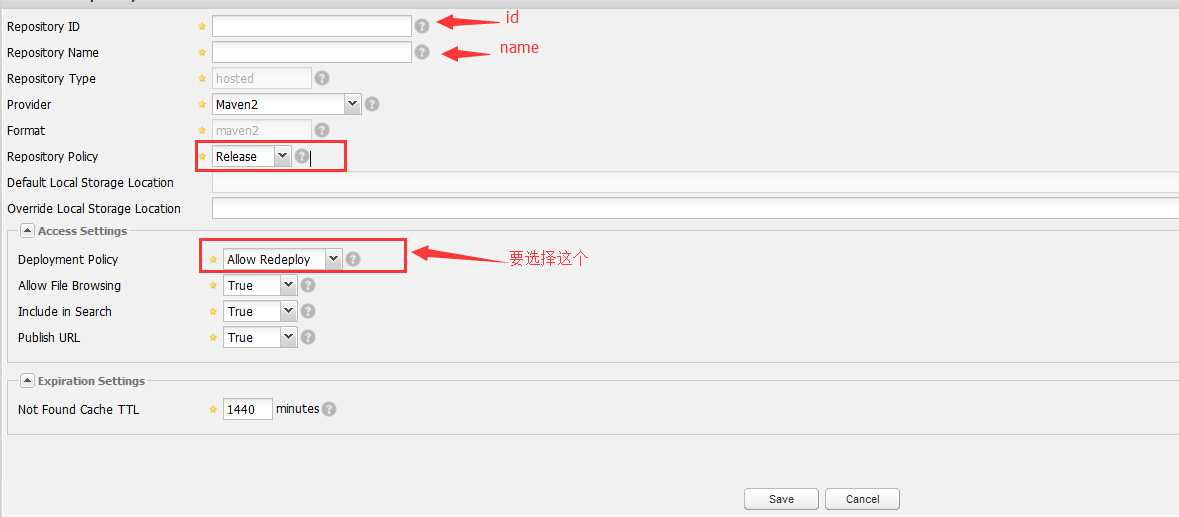
三、创建自己的私有仓库
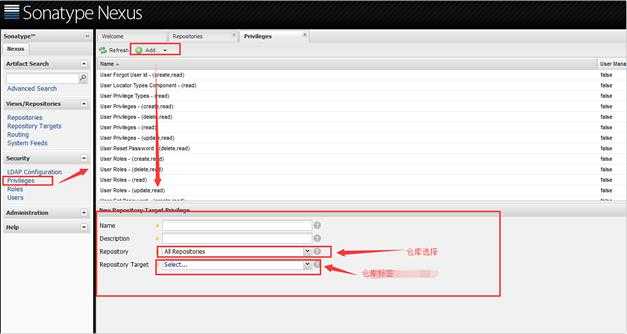
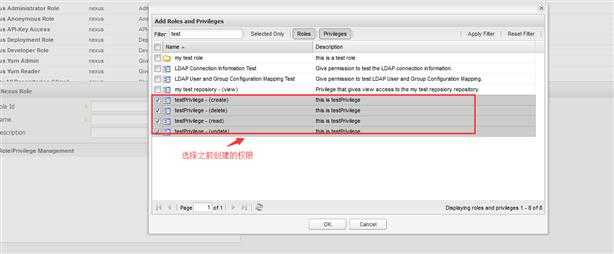
四、创建权限
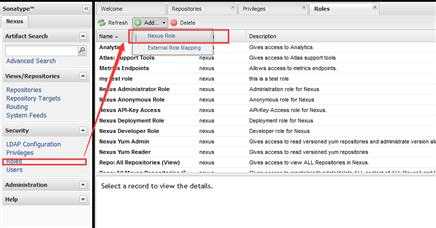
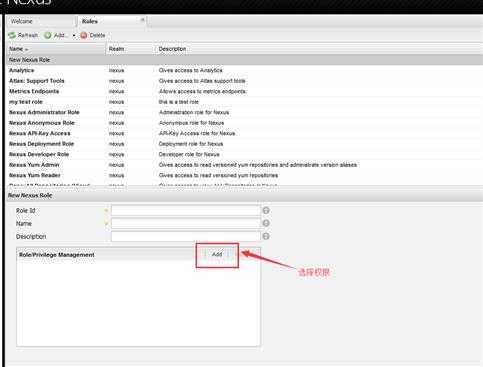
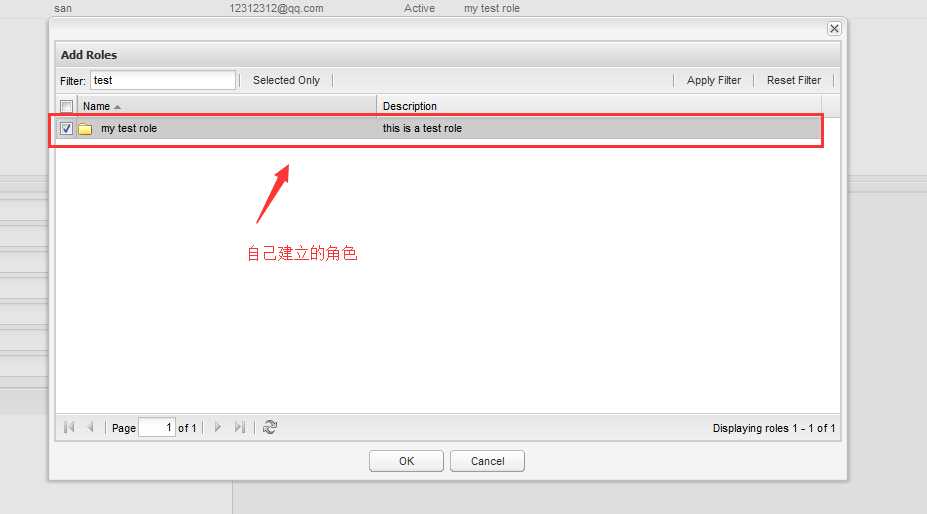
五、创建角色
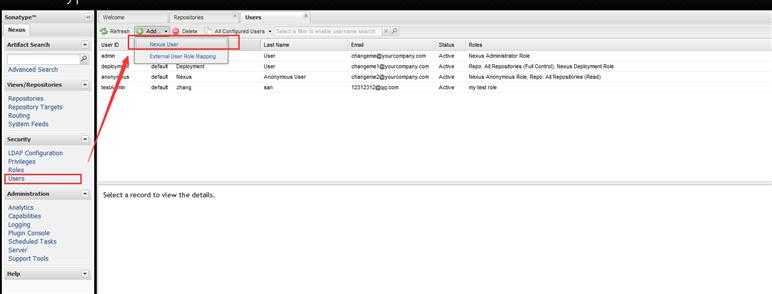
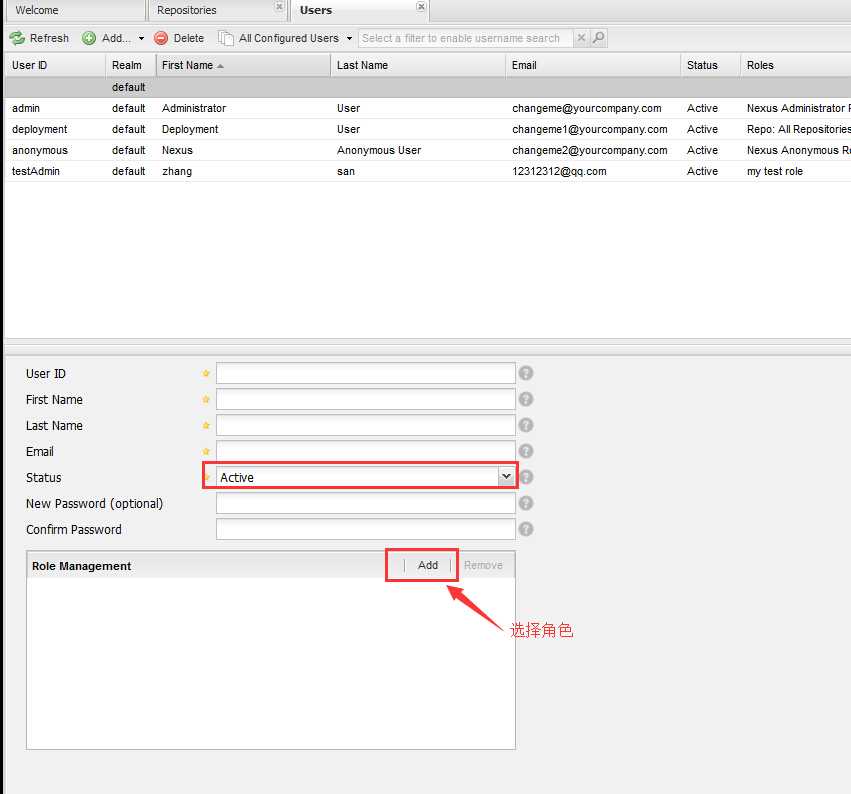
五、创建用户
六、关联自己的私有仓库
1.在settings.xml文件中添加镜像文件关联
  <mirrors>
    <mirror>
      <id>nexus-releases</id>
      <mirrorOf>*</mirrorOf>
      <url>http://localhost:8081/nexus/content/groups/public</url>
    </mirror>
     <mirror>
       <id>nexus-snapshots</id>
      <mirrorOf>*</mirrorOf>
       <url>http://localhost:8081/nexus/content/repositories/apache-snapshots/</url>
     </mirror>
  </mirrors>
2.在settings.xml文件中设置profile
  </profiles>
    <profile>
        <id>nexusTest</id>
        <repositories>
          <repository>
            <id>local-nexus</id>
            <url>http://127.0.0.1:8081/nexus/content/groups/public/</url>
            <releases>
              <enabled>true</enabled>
            </releases>
            <snapshots>
              <enabled>true</enabled>
            </snapshots>
          </repository>
        </repositories>
      </profile>
  </profiles>
<activeProfiles> <!--激活id为nexusTest的profile-->
<activeProfile>nexusTest</activeProfile>
</activeProfiles>
七、发布自己的快照版本到私有仓库
这里我们测试将的nexusTest.jar发布到myRepository仓库中
1.在pom.xml中添加
<distributionManagement>
        <!--自己创建的库-->
       <repository>
            <id>myReposioryT</id><!--这里的id与角色中配置的id要一致-->
            <name>my test reposiory</name>
            <url> http://localhost:8081/nexus/content/repositories/myRepository</url>
        </repository>
        <!--snapshots库-->
        <snapshotRepository>
            <id>nexus-snapshots</id>
            <name>Nexus Snapshot Repository</name>
            <url>http://127.0.0.1:8081/nexus/content/repositories/snapshots/</url>
        </snapshotRepository>
      <!--<repository>
            <id>nexus-releases</id>
            <name>Nexus Release Repository</name>
            <url>http://127.0.0.1:8081/nexus/content/repositories/releases/</url>
        </repository>
       -->
    </distributionManagement>
1.在settings.xml文件中添加
    <servers>
         <server>
            <id>myReposioryT</id> <!-- 这里的id要与pom.xml中的一致  表示使用该账号上传jar到自己建立的my test reposiory仓库中-->
            <username>testAdmin</username>
            <password>123456</password>
          </server>
      <server>
        <id>nexus-releases</id>
        <username>admin</username>
        <password>admin123</password>
      </server>
      <server>
        <id>nexus-snapshots</id>
        <username>admin</username>
        <password>admin123</password>
      </server>
    </servers>
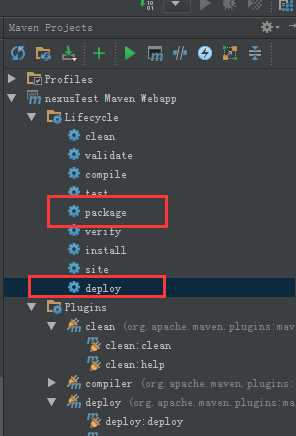
使用maven的package deploy 命令就可以将自己的项目打成jar包发布到自己的私有仓库。
注意,要发布jar包,需要将修改 <packaging>war</packaging>为 <packaging>jar</packaging>
附录:
如果使用idea,则有很好的工具帮我们操作
标签:
原文地址:http://www.cnblogs.com/mouseIT/p/5035345.html