标签:
一、新建一个文件夹,用来放插件的代码
二、首先新建配置文件manifest.json
 1 // 开发参考:http://open.chrome.360.cn/extension_dev/overview.html
 2 // 字段说明参考:http://open.chrome.360.cn/extension_dev/manifest.html
 3 {
 4   "name": "myTB Name", // 必填
 5   "version": "1.0", // 必填
 6   "description": "myTB ...",
 7   "permissions": [
 8     "tabs", "http://*/*", "https://*/*"
 9   ],
10
11   "browser_action": {
12       "default_title": "myTB title",
13       "default_icon": "20151225.jpg",
14       "default_popup": "popup.html"
15   },
16   "manifest_version": 2 // 必填 没有会报错:The ‘manifest_version‘ key must be present and set to 2 (without quotes). See developer.chrome.com/extensions/manifestVersion.html for details.
17 }
注意配置 manifest_version
三、其他代码
1、popup.html
 1 <!DOCTYPE html>
 2 <html lang="zh-CN">
 3 <head>
 4     <meta http-equiv="Content-Type" content="text/html; charset=UTF-8">
 5     <meta charset="utf-8">
 6     <meta http-equiv="X-UA-Compatible" content="IE=edge">
 7     <meta name="viewport" content="width=device-width, initial-scale=1">
 8     <meta name="description" content="">
 9     <meta name="author" content="">
10     <title>myTB</title>
11 </head>
12 <body style="padding:0px; width:500px;" >
13     <input type="text" placeholder="请输入您想搜索的图片链接的关键词" id="imgUrlKey"/>
14     <input type="button" value="找找看" id="myBtn" />
15     <script src="jquery-1.8.1.min.js"></script>
16     <script src="popup.js"></script>
17 </body>
18 </html>
2、popup.js
1 chrome.tabs.executeScript(null, {file: "content.js"});
2 $(‘#myBtn‘).click(function(){
3     var _imgUrlKey = $(‘#imgUrlKey‘).val();
4     if(!_imgUrlKey){
5         alert(‘请先输入‘);
6         return;
7     }
8     chrome.tabs.executeScript(null, {code: "findImg(‘" + _imgUrlKey + "‘)"});
9 });
关键代码:chrome.tabs.executeScript(null, {file: "content.js"});
通过这个popup.js就可以调用content.js的方法。content.js可以操作处理淘宝页面的dom
3、content.js
function findImg(imgUrlKey){
    var imgs = document.querySelectorAll(‘img‘);
    if(!imgs && !imgs.length){
        return;
    }
    for(var i = 0, len = imgs.length; i < len; i++){
        var img = imgs[i];
        if(img.getAttribute(‘src‘).indexOf(imgUrlKey) > -1){
            img.style.border = ‘3px solid #440404‘;
        }
    }
}
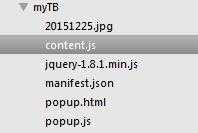
四、代码结构
五、代码写得差不多了,开始装在浏览器进行调试。首先找到chrome的扩展
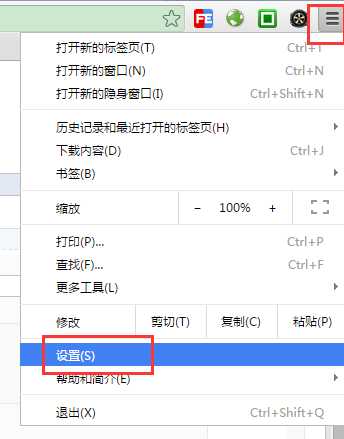

以上注意选择开发者模式
六、开始打包
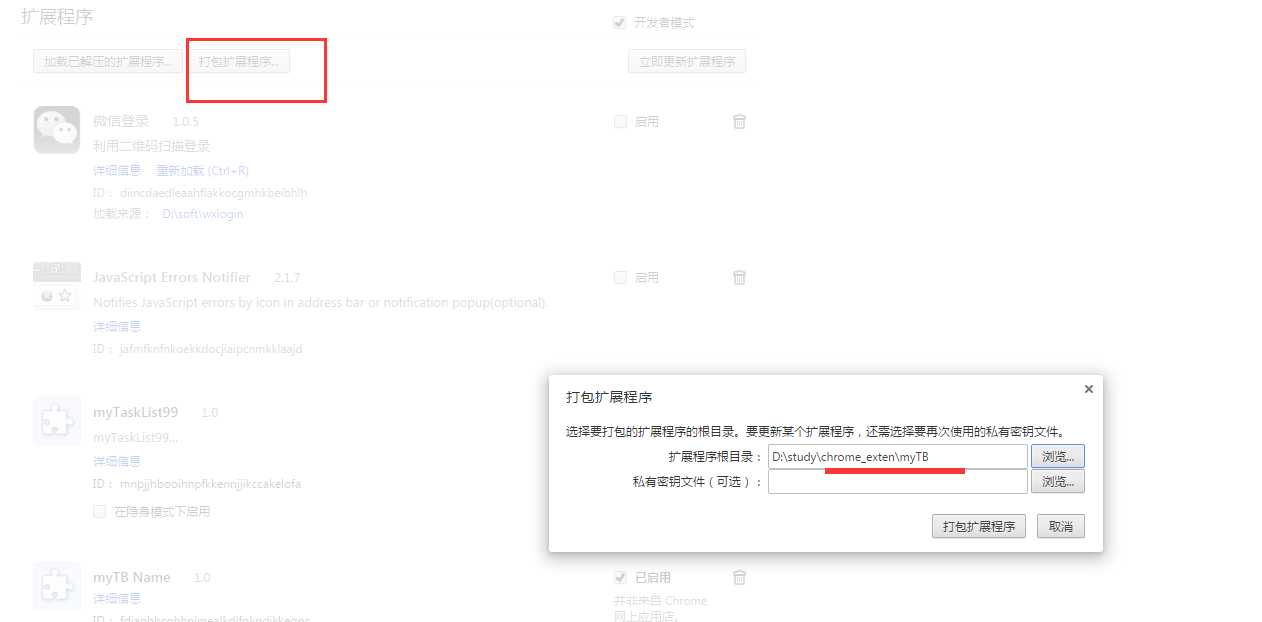
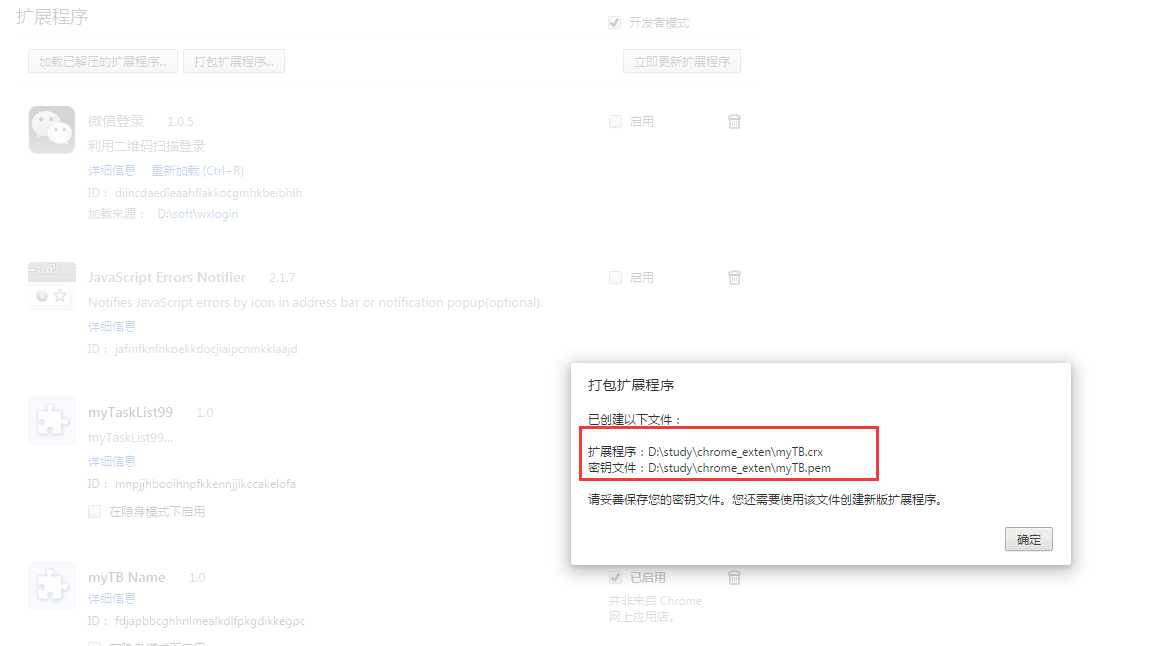
以上操作会在chrome_exten目录下生成两个文件,如果修改了代码,需要重新打包时,需要在上图的第一步“私有秘钥文件(可选)”选择myTB.pem,并将myTB.crx删除再点击“打包扩展程序”
将扩展crx文件拖入以上界面
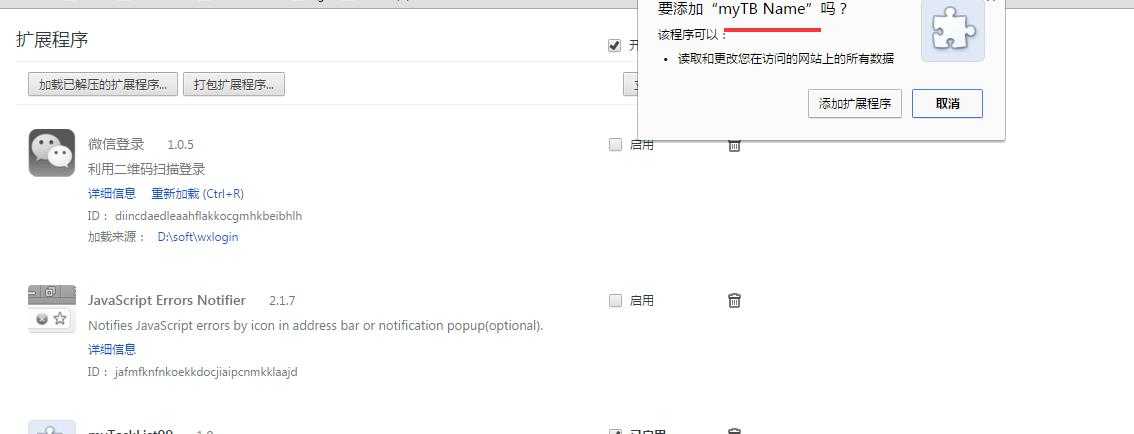
七、使用扩展
打开淘宝网页(注意,重新使用扩展时需要刷新依赖的网页),点击右上角的扩展图标

此时可通过控制台查看扩展插件的源码
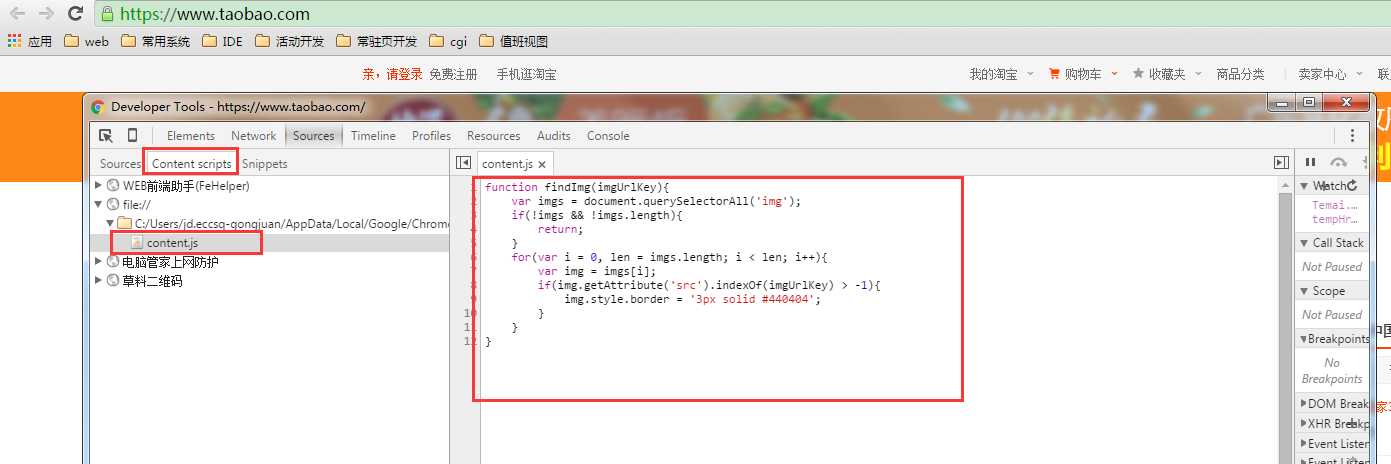
可通过打断点在此调试
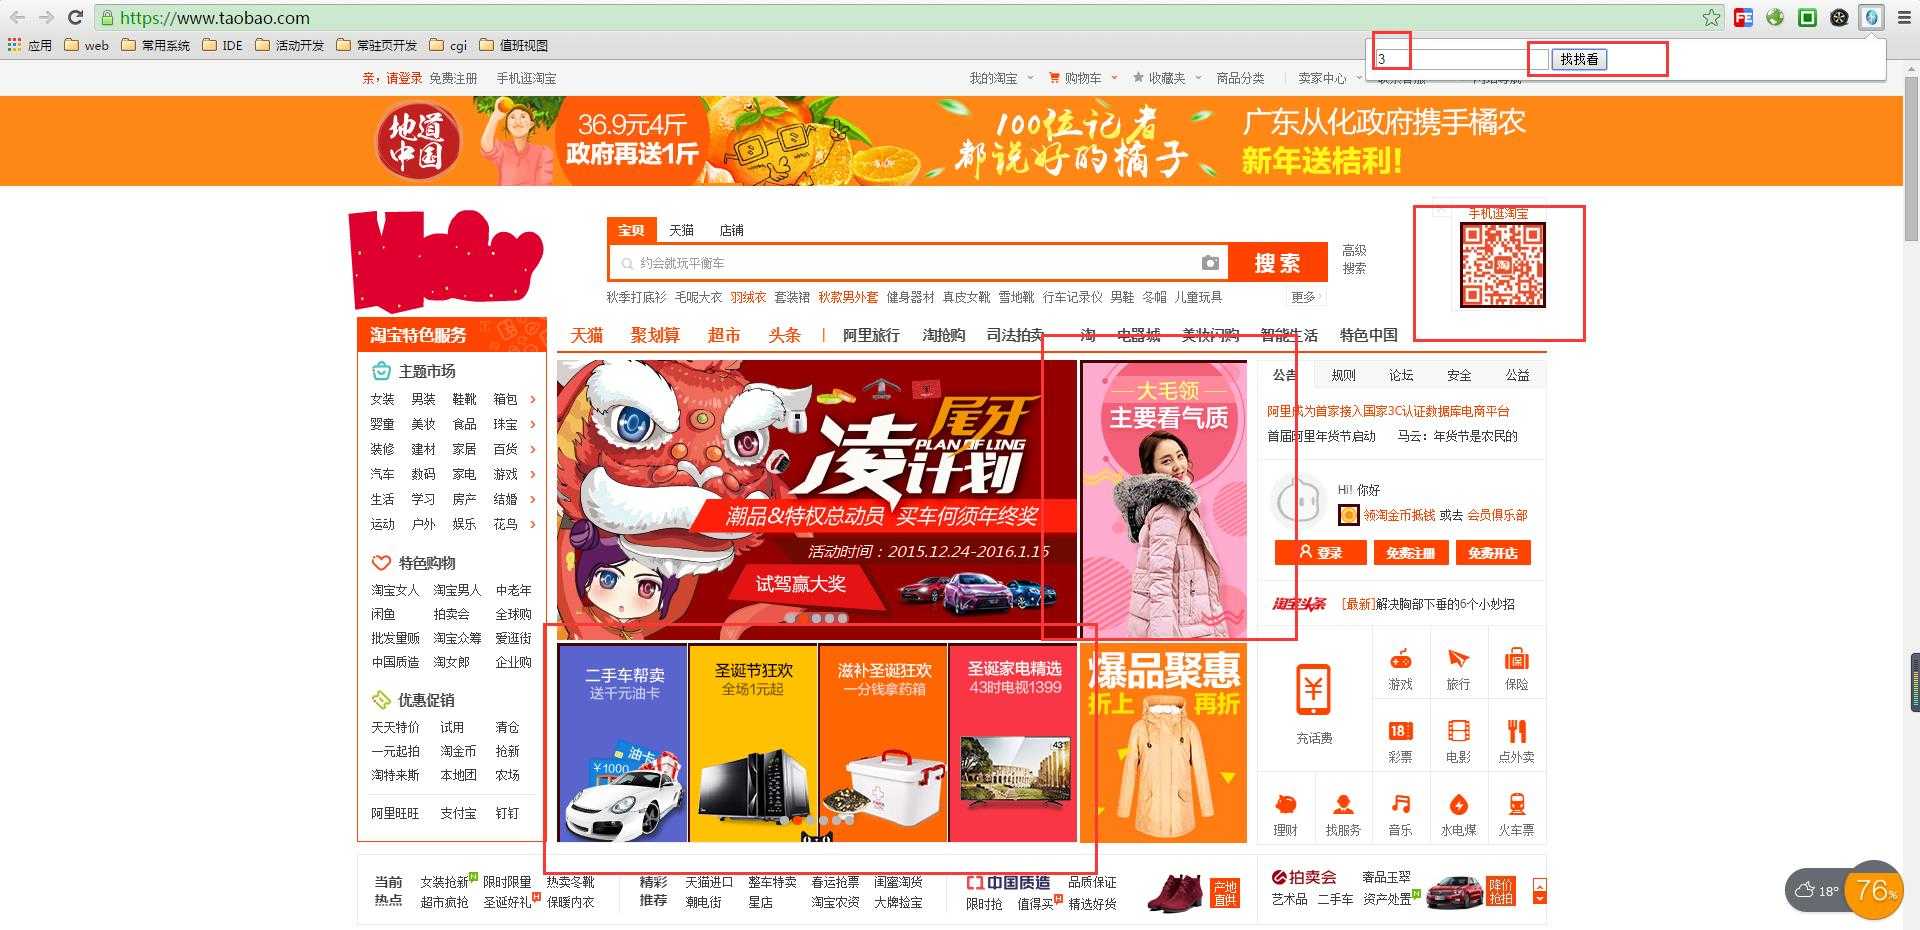
通过使用插件的搜索功能,淘宝页面上被搜到的图片被加了黑框
参考:
http://www.cnblogs.com/mfryf/p/3701801.html
标签:
原文地址:http://www.cnblogs.com/jue-star/p/5077036.html