标签:
1 创建一个文件夹用于存放挂载光盘的文件
mkdir /mnt/cdrom
2 将光驱挂载在创建的文件夹中
mount /dev/cdrom /mnt/cdrom
3 当然我们也可以设置为开机自动挂载光驱:
用vi编辑/etc/rc.local文件,因为在系统启动过程中,完成初始化脚本的执行后,会执行这个脚本文件添加命令如下:
 vi /etc/rc.local
 mount /dev/cdrom /mnt/cdrom                 #后面挂载点可以自己选择
4 配置本地yum源的文件:
 vi /etc/yum.repos.d/rhel-source.repo        #配置本地yum源的文件
[rhel-source]
name=Redhat                                  #设置本地yum源的名称
baseurl=file:///mnt/cdrom/Server             #设置本地yum源的地址
enabled=1                                    #1代表启用本地yum源   0则表示禁用
gpgcheck=1
5 查看可用的本地yum源:
yum repolist
显示如下:
[root@Chris ~]#  yum repolist
Loaded plugins: product-id, security, subscription-manager
This system is not registered to Red Hat Subscription Management. You can use subscription-manager to register.
rhel-source                                                                | 3.9 kB     00:00 ...
repo id                                         repo name                                   status
rhel-source                                     Redhat                                      3,648
repolist: 3,648
到了这里就表示本地yum源配置完成!
-------------------------------------------------------------------------------------------------------------------------------------------
6 yum安装apache服务器:
[root@Chris ~]# yum install httpd -y
安装完成显示如下:
Installed:
  httpd.x86_64 0:2.2.15-26.el6

Dependency Installed:
  apr.x86_64 0:1.3.9-5.el6_2                        apr-util.x86_64 0:1.3.9-3.el6_0.1
  apr-util-ldap.x86_64 0:1.3.9-3.el6_0.1            httpd-tools.x86_64 0:2.2.15-26.el6

Complete!
7 开启Apache服务
[root@Chris ~]# service httpd start
显示如下:
[root@Chris ~]# service httpd start
正在启动 httpd:httpd: apr_sockaddr_info_get() failed for Chris
httpd: Could not reliably determine the server‘s fully qualified domain name, using 127.0.0.1 for ServerName
[确定]
8 查看apache服务器是否开启,查看80端口是否处于监听状态
[root@Chris ~]# netstat -an | grep :80
显示如下:
[root@Chris ~]# netstat -an | grep :80
tcp        0      0 :::80                       :::*                        LISTEN
9 设置apache服务开机自动启动
[root@Chris ~]# chkconfig httpd on
10 查看apache服务是否已经加入开机启动项:
[root@Chris ~]# chkconfig | grep httpd
显示如下:
[root@Chris ~]# chkconfig | grep httpd
httpd           0:关闭  1:关闭  2:启用  3:启用  4:启用  5:启用  6:关闭
上面显示2-5都是启用状态就表示apache服务器已经可以开机自动启动啦!
11 配置防火墙允许80端口通过
[root@Chris ~]# iptables -t filter -I INPUT -p tcp --dport 80 -j ACCEPT
[root@Chris ~]#
12 将当前的防火墙配置保存到配置文件中
[root@Chris ~]#  /etc/rc.d/init.d/iptables save
iptables:将防火墙规则保存到 /etc/sysconfig/iptables:[确定]
13 重启防火墙服务生效
[root@Chris ~]# service iptables restart
iptables:清除防火墙规则:[确定]
iptables:将链设置为政策 ACCEPT:filter [确定]
iptables:正在卸载模块:[确定]
iptables:应用防火墙规则:[确定]
[root@Chris ~]#
14 最后使用浏览器访问测试一下即可 显示如下:
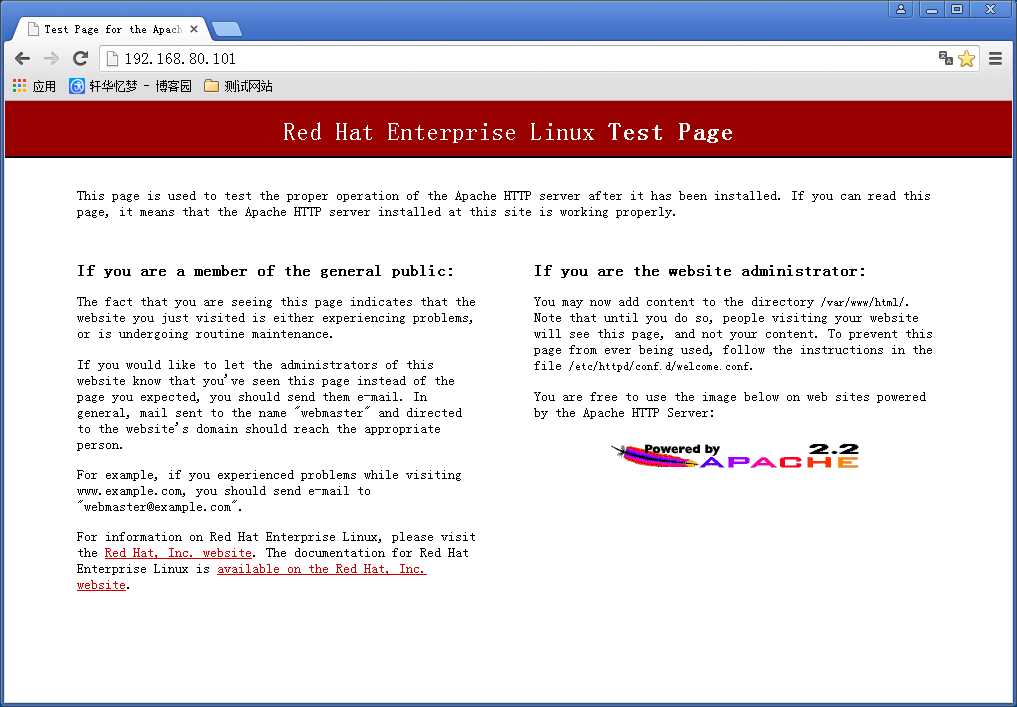
到了这里我们的apache服务器就安装配置完成啦!
---------------------------------------------------------------------------------------------------------
15 使用yum安装mysql数据库
[root@Chris ~]# yum -y install mysql-server
安装完成以后显示如下:
Installed:
  mysql-server.x86_64 0:5.1.66-2.el6_3

Dependency Installed:
  mysql.x86_64 0:5.1.66-2.el6_3                perl-DBD-MySQL.x86_64 0:4.013-3.el6
16 启动mysql服务
[root@Chris ~]# service mysqld start
初始化 MySQL 数据库: WARNING: The host ‘Chris‘ could not be looked up with resolveip.
This probably means that your libc libraries are not 100 % compatible
with this binary MySQL version. The MySQL daemon, mysqld, should work
normally with the exception that host name resolving will not work.
This means that you should use IP addresses instead of hostnames
when specifying MySQL privileges !
Installing MySQL system tables...
OK
Filling help tables...
OK

To start mysqld at boot time you have to copy
support-files/mysql.server to the right place for your system

PLEASE REMEMBER TO SET A PASSWORD FOR THE MySQL root USER !
To do so, start the server, then issue the following commands:

/usr/bin/mysqladmin -u root password ‘new-password‘
/usr/bin/mysqladmin -u root -h Chris password ‘new-password‘

Alternatively you can run:
/usr/bin/mysql_secure_installation

which will also give you the option of removing the test
databases and anonymous user created by default.  This is
strongly recommended for production servers.

See the manual for more instructions.

You can start the MySQL daemon with:
cd /usr ; /usr/bin/mysqld_safe &

You can test the MySQL daemon with mysql-test-run.pl
cd /usr/mysql-test ; perl mysql-test-run.pl

Please report any problems with the /usr/bin/mysqlbug script!

[确定]
正在启动 mysqld: [确定]
17 设置mysql开机自动启动
[root@Chris ~]# chkconfig mysqld on
[root@Chris ~]#
查看Mysql是否加入开机启动项
[root@Chris ~]# chkconfig |grep mysqld
mysqld          0:关闭  1:关闭  2:启用  3:启用  4:启用  5:启用  6:关闭
上面显示2-5都是启用状态就表示Mysql服务器已经可以开机自动启动啦!
18 开启防火墙的3306端口
[root@Chris ~]# iptables -t filter -I INPUT -p tcp --dport 3306 -j ACCEPT
[root@Chris ~]#
将当前的防火墙配置保存到配置文件中
[root@Chris ~]#  /etc/rc.d/init.d/iptables save
iptables:将防火墙规则保存到 /etc/sysconfig/iptables:[确定]
[root@Chris ~]#
19 重启防火墙服务生效
[root@Chris ~]# service iptables restart
iptables:清除防火墙规则:[确定]
iptables:将链设置为政策 ACCEPT:filter [确定]
iptables:正在卸载模块:[确定]
iptables:应用防火墙规则:[确定]
20 测试Mysql服务是否开启
[root@Chris ~]# netstat -ltnp |grep 3306
tcp        0      0 0.0.0.0:3306                0.0.0.0:*                   LISTEN      2061/mysqld
21 以root身份进入Mysql数据库
[root@Chris ~]# mysql -uroot
Welcome to the MySQL monitor.  Commands end with ; or \g.
Your MySQL connection id is 3
Server version: 5.1.66 Source distribution

Copyright (c) 2000, 2012, Oracle and/or its affiliates. All rights reserved.

Oracle is a registered trademark of Oracle Corporation and/or its
affiliates. Other names may be trademarks of their respective
owners.

Type ‘help;‘ or ‘\h‘ for help. Type ‘\c‘ to clear the current input statement.

mysql>
22 设置Mysql的root用户的密码
mysql> set password = password (‘123456‘);
Query OK, 0 rows affected (0.00 sec)
23 再次进入Mysql数据库的话就需要输入其他命令啦!
[root@Chris ~]# mysql -uroot -p
Enter password:
然后输入密码即可登录进入mysql数据库。
---------------------------------------------------------------------------------------------------------------------
24 我们在安装PHP软件时需要先安装几个php的扩展插件
[root@Chris ~]# yum -y install php-xml php-gd php-soap
安装完成以后显示如下:
Installed:
  php-gd.x86_64 0:5.3.3-22.el6   php-soap.x86_64 0:5.3.3-22.el6   php-xml.x86_64 0:5.3.3-22.el6

Dependency Installed:
  libXpm.x86_64 0:3.5.10-2.el6                  php-common.x86_64 0:5.3.3-22.el6
25 现在开始安装PHP软件
[root@Chris ~]# yum -y install php
安装完成以后显示如下:
Installed:
  php.x86_64 0:5.3.3-22.el6

Dependency Installed:
  php-cli.x86_64 0:5.3.3-22.el6
26 配置Apache支持php 需要先进入Apache配置文件
[root@Chris ~]# vi /etc/httpd/conf/httpd.conf
找到AddType application/x-gzip .gz .tgz这一行
在下面添加
AddType application/x-httpd-php .php .phtml
AddType application/x-httpd-source .phps
最终修改效果如下:
# If the AddEncoding directives above are commented-out, then you
# probably should define those extensions to indicate media types:
#
AddType application/x-compress .Z
AddType application/x-gzip .gz .tgz
AddType application/x-httpd-php .php .phtml
AddType application/x-httpd-source .phps
27 重启apche服务器生效
[root@Chris ~]# service httpd restart
停止 httpd:[确定]
正在启动 httpd:httpd: apr_sockaddr_info_get() failed for Chris
httpd: Could not reliably determine the server‘s fully qualified domain name, using 127.0.0.1 for ServerName
[确定]
代码部分:
<?php
echo phpinfo();
?>
-------------------------------------------------------------------------------------------
5 配置mysql
mysql -uroot
set password = password(‘123456‘);
exit
6 配置PHP支持MySQL
yum install -y php-mysql
service httpd restart
7 关闭SELinux
vi /etc/selinux/config 添加:SELINUX=disabled
修改网站文件的权限 html文件为可写入状态
RedHat6.4系统下LAMP环境的搭建---(yum搭建)
标签:
原文地址:http://www.cnblogs.com/liwenxuan/p/5097198.html