标签:
ViewController.m
#import "ViewController.h"

@implementation ViewController

- (void)viewDidLoad {
    [super viewDidLoad];

    /* 初始化layer */

    // 创建Layer
    CAEmitterLayer *emitterLayer = [CAEmitterLayer layer];

    // 显示边框
    emitterLayer.borderWidth = 1.f;

    // 给定尺寸
    emitterLayer.frame = CGRectMake(100, 100, 100, 100);

    // 发射点
    emitterLayer.emitterPosition = CGPointMake(0, 0);

    // 发射模式
    emitterLayer.emitterMode = kCAEmitterLayerSurface;

    // 发射形状
    emitterLayer.emitterShape = kCAEmitterLayerLine;

    // 添加layer
    [self.view.layer addSublayer:emitterLayer];


    /* 初始化粒子 */
    CAEmitterCell *emitterCell = [CAEmitterCell emitterCell];

    // 粒子产生率(就是粒子产生的多少)
    emitterCell.birthRate = 1.f;

    // 粒子生命周期(秒)
    emitterCell.lifetime = 20.f;

    // 粒子的速度
    emitterCell.velocity = 20;

    // 设置粒子速度变化的范围(如果没设定,那么粒子的速度就一直都是10)
    // 设置之后的速度值就是(7~13之间)
    emitterCell.velocityRange = 3.f;

    // 设置加速方向(y轴加速度)
    emitterCell.yAcceleration = 2.f;

    // 粒子发射角度
    emitterCell.emissionRange = 4.f * M_1_PI;

    // 设置粒子显示的图片
    emitterCell.contents = (__bridge id _Nullable)([UIImage imageNamed:@"11"].CGImage);

    // 设置粒子的颜色
    emitterCell.color = [UIColor blackColor].CGColor;

    /* 使emitterLayer和emitterCell产生关联 */
    emitterLayer.emitterCells = @[emitterCell];
}

@end
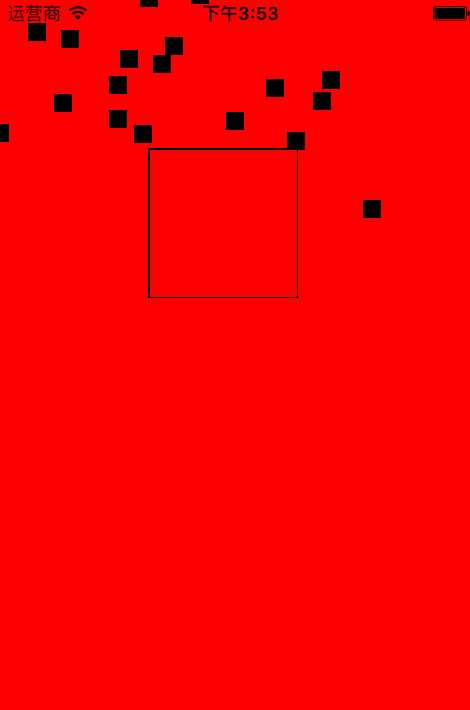
效果图:

标签:
原文地址:http://www.cnblogs.com/Rinpe/p/5142451.html