标签:
代码:https://github.com/xufeng79x/NETOperation
1.简介
主要记录基本的网络操作步骤,get/post关系和区别和文件上传实现。
2.准备
需要服务器端,如果你没有完成服务器端的操作请参考[New learn] 网络基础-apache本地服务搭建(支持php)
3.网络基本操作
3.1.基本操作步骤
//step_1:创建URL
//step_2:创建request
//step_3:建立连接接受返回数据
//step_4:反序列化数据
举例:如下我们将按照此步骤从网络上下载图片显示在UI上。
-(void)touchesBegan:(NSSet<UITouch *> *)touches withEvent:(UIEvent *)event
{
    [self downloadFile];
}


-(void)downloadFile
{
    NSOperationQueue *queue = [[NSOperationQueue alloc]init];
    [queue addOperationWithBlock:^{
        //step_1:创建URL
        NSString *urlStr = @"http://imgsrc.baidu.com/forum/pic/item/645b8701a18b87d6e716e197070828381e30fdae.jpg";
        NSURL *url = [NSURL URLWithString:urlStr];

        //step_2:创建request
        NSMutableURLRequest *request = [NSMutableURLRequest requestWithURL:url cachePolicy:0 timeoutInterval:2.0f];

        //step_3:建立连接接受返回数据
        [NSURLConnection sendAsynchronousRequest:request queue:[NSOperationQueue mainQueue] completionHandler:^(NSURLResponse *response, NSData *data, NSError *connectionError) {

            // step_4:反序列化数据
            UIImage *image = [[UIImage alloc]initWithData:data];

            // 设定UI显示
            self.imageView.image = image;
        }];

    }];
}
结果:

说明:这里只是快速演示了一个网络请求的过程,无论后续讲到的get、post该是文件上传等都不脱离这个大的过程,无非是细节的不同罢了。
3.2 网络操作过程原理
一般网络请求方式分为多种,但是我们最常用的只有GET和POST两种(默认为GET),这两者的区别和使用场景及原理本文后续会涉及。
客户端与服务端的通信原理如下图:
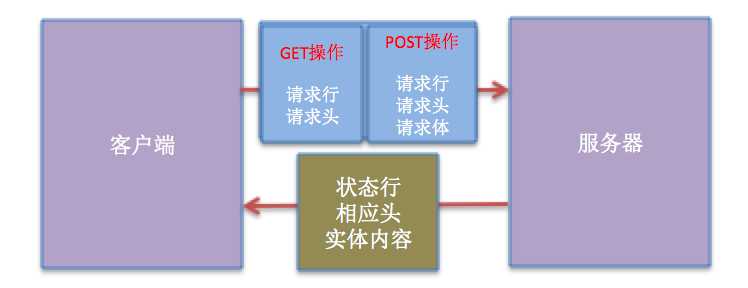
上图中,GET操作是没有请求体的,那的所有参数都放在了URL(请求行)中,而对于POST操作则没有URL参数这个说法而是将所有的参数(包括文件的二进制内容)都放在请求体中。
GET
例如我们访问:http://127.0.0.1/login 在GET 请求演示中输入正确的用户名和密码:xf/ios
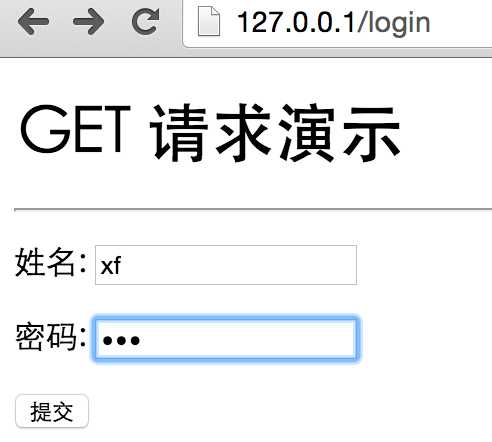
点击URL后在地址栏中出现了我们输入的内容:
![]()
请求行与请求头:

上述红框中的为请求行,它指明了协议,方式(GET)和URL。其余部分为请求头
对于相应部分可以自行测试观察。
总结:我们可以看到GET方式它的参数都是在URL中显式指定的,对于用户名和密码这个场景来说显然就不适合了。这样的场景下我们可以POST方式更为妥当。
POST
例如我们访问:http://127.0.0.1/login 在POST 请求演示中输入正确的用户名和密码:xf/ios
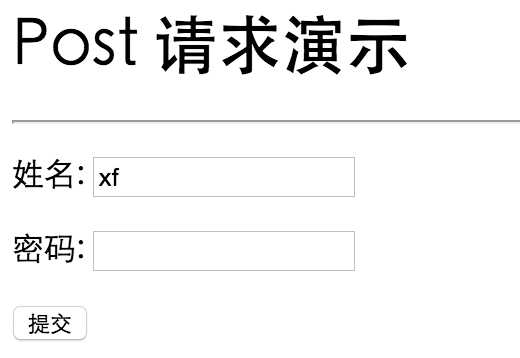
点击URL后在地址栏中并没有出现用户名和密码:
![]()
请求行与请求头:

上述红框中的为请求行,它指明了协议,方式(GET)和URL。其余部分为请求头
对于相应部分可以自行测试观察。
请求体:

总结:我们可以看到POST方式指定的,用户名和密码不会出现在URL中,然是被包装进了请求体中,同时这些用户信息也不会被服务器端的日志所记录。
3.3 网络操作过程代码实现
进过上述过程已经对网络的原理有了简单地认识,并且我们也通过浏览器进行了两种方式的操作,而使用代码来实现无非是借助于框架的API来模拟还原这个过程。
GET
代码:
- (void)getLogin
{

    // step_1:创建URL
    NSString *username = @"xf";
    NSString *pwd = @"ios";
    NSString *urlString = [NSString stringWithFormat:@"http://127.0.0.1/login.php?username=%@&password=%@",username, pwd];
    NSURL *url = [NSURL URLWithString:urlString];


    // step_2:创建request
    NSURLRequest *request = [NSURLRequest requestWithURL:url cachePolicy:1 timeoutInterval:2.0f];

    // step_3:建立连接接受返回数据
    [NSURLConnection sendAsynchronousRequest:request queue:[NSOperationQueue mainQueue] completionHandler:^(NSURLResponse *response, NSData *data, NSError *connectionError) {

        // 反序列化
        id result = [NSJSONSerialization JSONObjectWithData:data options:0 error:NULL];

        NSLog(@"%@", result);
    }];
}
结果:可以看到与浏览器返回的数据是一致的。
2016-03-15 15:52:59.779 NetOperation[1594:117149] {
    userId = 1;
    userName = xufeng;
}
总结:GET操作的时候无非就是去将参数拼接进URL,通过这个URL去获取数据
POST
代码:
- (void)postLogin
{

    // step_1:创建URL
    NSString *urlString = @"http://127.0.0.1/login.php";
    NSURL *url = [NSURL URLWithString:urlString];

    // step_2:创建request
    NSMutableURLRequest *request = [NSMutableURLRequest requestWithURL:url cachePolicy:1 timeoutInterval:2.0f];

    // 2.1 指定http的访问方法,服务器短才知道如何访问
    request.HTTPMethod = @"POST";

    // 2.2 指定数据体,数据体的内容可以从firebug里面直接拷贝
    NSString *username = @"xf";
    NSString *pwd = @"ios";
    NSString *bobyStr = [NSString stringWithFormat:@"username=%@&password=%@", username, pwd];

    // 2.2.1 跟服务器的交互,全部传递的二进制
    request.HTTPBody = [bobyStr dataUsingEncoding:NSUTF8StringEncoding];

    // step_3:建立连接接受返回数据
    [NSURLConnection sendAsynchronousRequest:request queue:[NSOperationQueue mainQueue] completionHandler:^(NSURLResponse *response, NSData *data, NSError *connectionError) {

        // 反序列化
        id result = [NSJSONSerialization JSONObjectWithData:data options:0 error:NULL];

        NSLog(@"%@", result);
    }];

}
结果:可以看到与浏览器返回的数据是一致的。
2016-03-15 15:58:28.645 NetOperation[1633:120687] {
    userId = 1;
    userName = xufeng;
}
总结:与GET不同的是
1)使用NSMutableURLRequest类来申明请求,因为后续需要设置此request。
2)需要显式的设定reguest为POST
3)参数不会拼接到URL而是使用以二进制数据的形式设定到request的请求体中。
4.网络高级操作--文件上传
前提:保证服务器端目标文件夹为可读写。
与之前过程一样,我们先进行浏览器的操作然后在使用代码来模拟实现。
打开http://127.0.0.1/post/upload.html

选择文件上传并观察网络请求:
我们可以看到文件已经被成功上传到服务器:
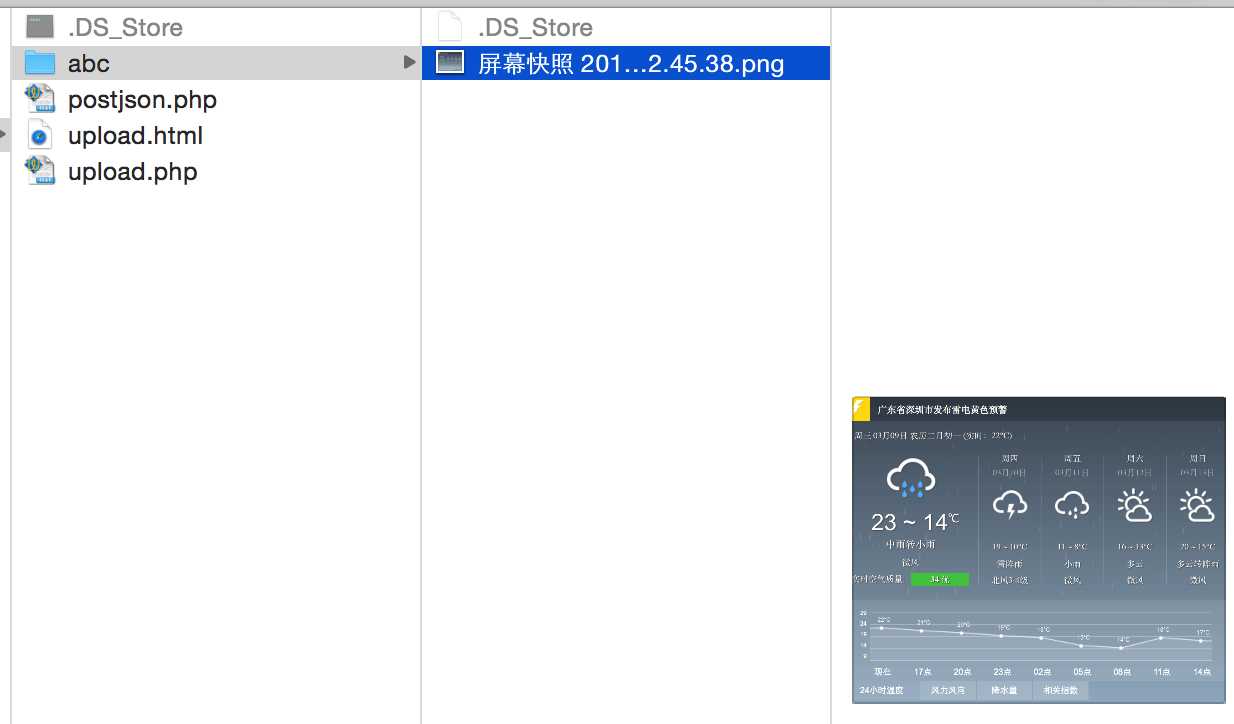
对应的请求行和请求行如下:
POST /post/upload.php HTTP/1.1
Host: 127.0.0.1
Connection: keep-alive
Content-Length: 221558
Cache-Control: max-age=0
Accept: text/html,application/xhtml+xml,application/xml;q=0.9,image/webp,*/*;q=0.8
Origin: http://127.0.0.1
Upgrade-Insecure-Requests: 1
User-Agent: Mozilla/5.0 (Macintosh; Intel Mac OS X 10_10_5) AppleWebKit/537.36 (KHTML, like Gecko) Chrome/47.0.2526.80 Safari/537.36
Content-Type: multipart/form-data; boundary=----WebKitFormBoundaryOKUHB11qxaAPiisz
Referer: http://127.0.0.1/post/upload.html
Accept-Encoding: gzip, deflate
Accept-Language: zh-CN,zh;q=0.8
请求体:

我们现在了解了上传是基于POST方式,按照之前的操作我们需要在代码中来模拟实现。
而在操作步骤中唯一不同的就是对于request的包装,所以上传文件部分给NSMutableURLRequest增加一个分类来生成请求。
代码实现:
#import "NSMutableURLRequest+Multipart.h"

/**随便的字符串作为分隔符*/
static NSString *boundary = @"xufeng-test";

@implementation NSMutableURLRequest (Multipart)


+ (instancetype)requestWithURL:(NSURL *)url andLoaclFilePath:(NSString *)loaclFilePath andFileName:(NSString *)fileName
{

    //step_2:创建request
    NSMutableURLRequest *request = [NSMutableURLRequest requestWithURL:url cachePolicy:1 timeoutInterval:2.0f];
    // 2.1 指定post方法
    request.HTTPMethod = @"POST";

    // 2.2 拼接数据体
    NSMutableData *dataM = [NSMutableData data];
    NSString *str = [NSString stringWithFormat:@"\r\n--%@\r\n", boundary];
    [dataM appendData:[str dataUsingEncoding:NSUTF8StringEncoding]];

    str = [NSString stringWithFormat:@"Content-Disposition: form-data; name=\"userfile\"; filename=\"%@\" \r\n", fileName];
    [dataM appendData:[str dataUsingEncoding:NSUTF8StringEncoding]];

    // 这里直接指定为octet-stream,这样可以针对全部的文件格式
    str = @"Content-Type: application/octet-stream\r\n\r\n";
    [dataM appendData:[str dataUsingEncoding:NSUTF8StringEncoding]];

    // 要上传图片的二进制
    [dataM appendData:[NSData dataWithContentsOfFile:loaclFilePath]];

    str = [NSString stringWithFormat:@"\r\n--%@--\r\n", boundary];
    [dataM appendData:[str dataUsingEncoding:NSUTF8StringEncoding]];

    // 2.3 设置请求体
    request.HTTPBody = dataM;

    // 2.4 设置请求头
    NSString *headerStr = [NSString stringWithFormat:@"multipart/form-data; boundary=%@", boundary];
    [request setValue:headerStr forHTTPHeaderField:@"Content-Type"];

    return request;
}
调用:
- (void)postUpLoadFile {

    // 1. 创建URL
    NSURL *url = [NSURL URLWithString:@"http://127.0.0.1/post/upload.php"];

    // 2. 创建request
    NSMutableURLRequest *request = [NSMutableURLRequest requestWithURL:url andLoaclFilePath:[[NSBundle mainBundle] pathForResource:@"test.png" ofType:nil] andFileName:@"test.png"];


    // 3. 建立连接接受返回数据
    [NSURLConnection sendAsynchronousRequest:request queue:[NSOperationQueue mainQueue] completionHandler:^(NSURLResponse *response, NSData *data, NSError *connectionError) {

        // 4. 反序列化数据
        id result = [NSJSONSerialization JSONObjectWithData:data options:0 error:NULL];

        NSLog(@"result = %@", result);
    }];
}
结果:
2016-03-15 17:15:38.472 NetOperation[1878:154238] result = {
    userfile =     {
        error = 0;
        name = "test.png";
        size = 221340;
        "tmp_name" = "/private/var/tmp/phpUWTlJ2";
        type = "application/octet-stream";
    };
}
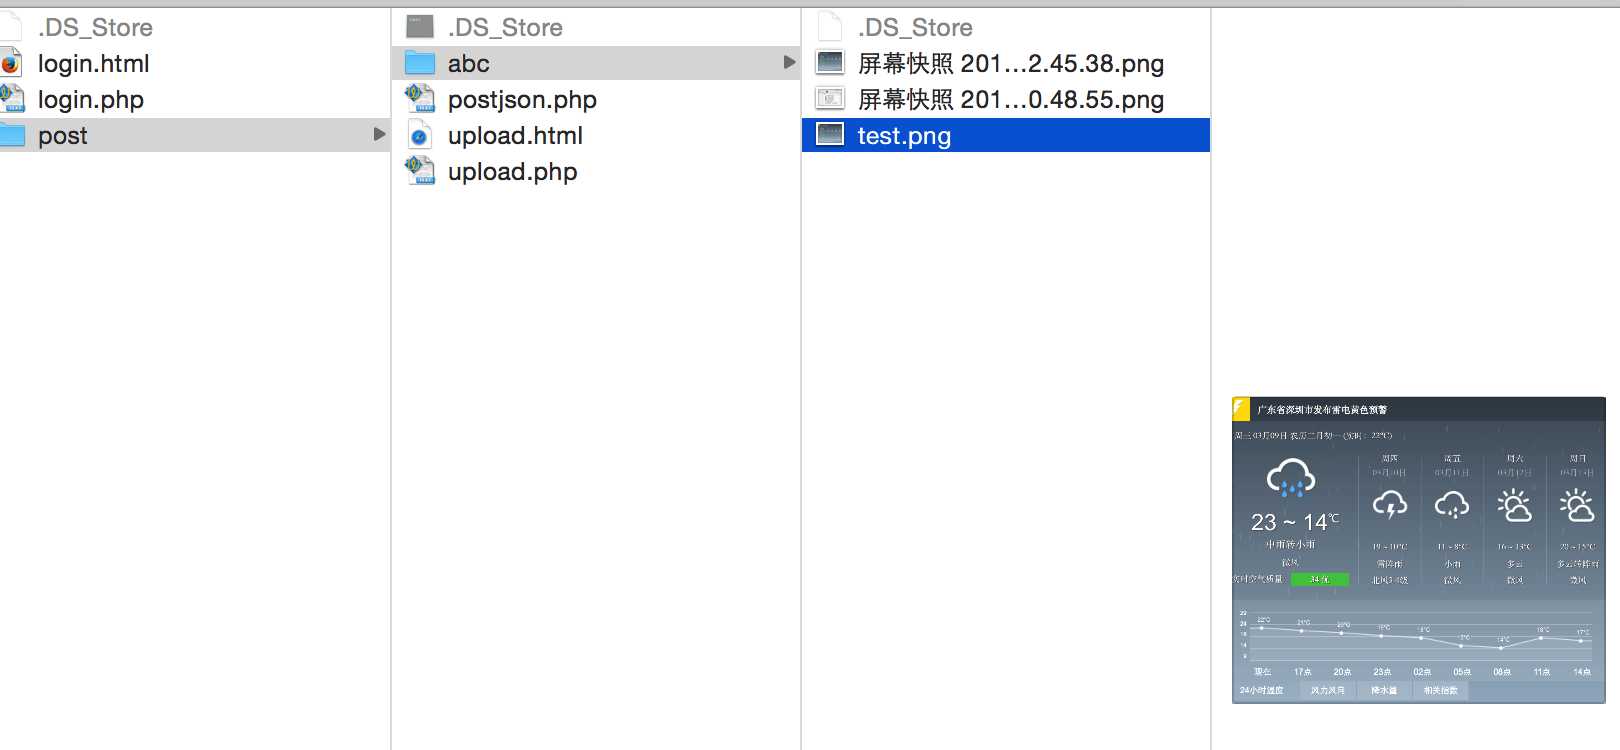
查看服务器文件夹,已经正确上传:
完毕。
标签:
原文地址:http://www.cnblogs.com/ios123/p/5280349.html