标签:
最近由于项目需求,需要用到GeoServer进行地图发布。之前草草的学习过一段时间的GeoServer,但是都没有记录下来,到现在用的时候很多东西都需要重新查阅。所以现在将步骤记录下来,以供查阅。
是 OpenGIS Web 服务器规范的 J2EE 实现,利用 GeoServer 可以方便的发布地图数据,允许用户对特征数据进行更新、删除、插入操作,通过 GeoServer 可以比较容易的在用户之间迅速共享空间地理信息。
兼容 WMS 和 WFS 特性;支持 PostgreSQL、 Shapefile 、 ArcSDE 、 Oracle 、 VPF 、 MySQL 、 MapInfo ;支持上百种投影;能够将网络地图输出为 jpeg 、 gif 、 png 、 SVG 、 KML 等格式;能够运行在任何基于 J2EE/Servlet 容器之上;嵌入 MapBuilder 支持 AJAX 的地图客户端OpenLayers;除此之外还包括许多其他的特性。
GeoServer的下载地址:http://geoserver.org/release/stable/
下载页面包括了GeoServer的安装文件,war包和文档及扩展。如下图:
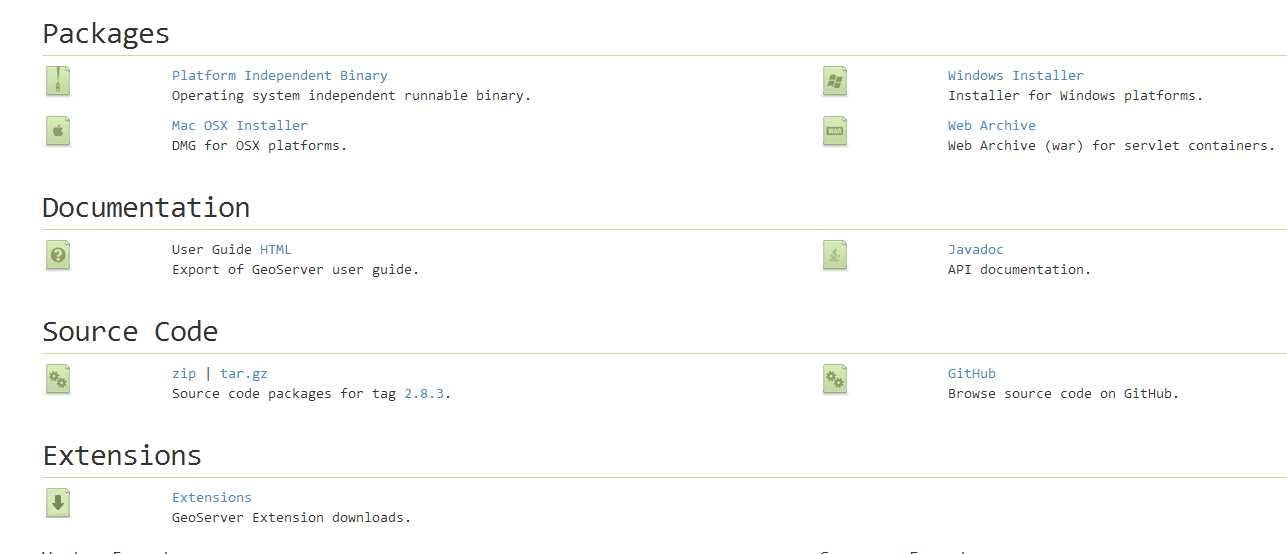
我这里下载好了这些文件,百度网盘:http://pan.baidu.com/s/1mi6bqkw 分享密码:4d9w
GeoServer的安装方式有多种,帮助文档中建议Windows和Mac OS采用独立安装方式。
这里需要注意的是:
Note
To run GeoServer as part of an existing servlet container such as Tomcat, please see the Web archive section.
Warning
GeoServer requires a Java 7 environment (JRE) to be installed on your system. This must be done prior to installation.
The Windows installer provides an easy way to set up GeoServer on your system, as it requires no configuration files to be edited or command line settings.
Make sure you have a Java Runtime Environment (JRE) installed on your system. GeoServer requires a Java 8 environment. The Oracle JRE is preferred, but OpenJDK has been known to work adequately. You can download JRE 8 from Oracle.
Note
Java 9 is not currently supported.
Navigate to the GeoServer Download page.
Select the version of GeoServer that you wish to download. If you’re not sure, selectStable.
Click the link for the Windows installer.
Downloading the Windows installer
After downloading, double-click the file to launch.
At the Welcome screen, click Next.
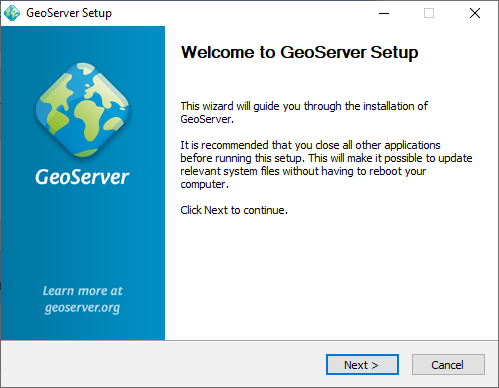
Welcome screen
Read the License and click I Agree.
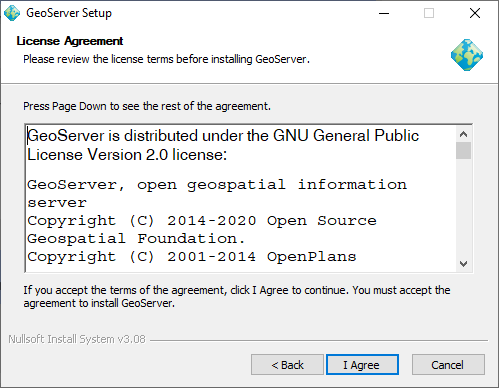
GeoServer license
Select the directory of the installation, then click Next.
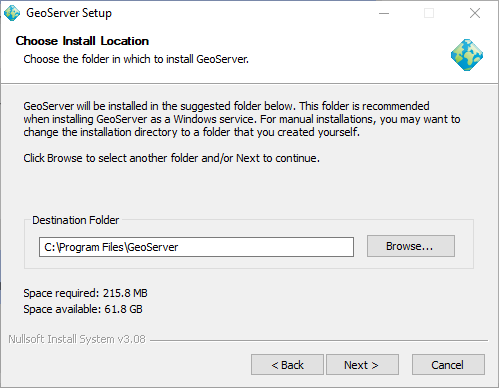
GeoServer install directory
Select the Start Menu directory name and location, then click Next.

Start menu location
Enter the path to a valid Java Runtime Environment (JRE). GeoServer requires a valid JRE in order to run, so this step is required. The installer will inspect your system and attempt to automatically populate this box with a JRE if it is found, but otherwise you will have to enter this path manually. When finished, click Next.
Note
A typical path on Windows would be C:\Program Files\Java\jre8.
Note
Don’t include the \bin in the JRE path. So if java.exe is located atC:\Program Files (x86)\Java\jre8\bin\java.exe, set the path to be C:\Program Files(x86)\Java\jre8.
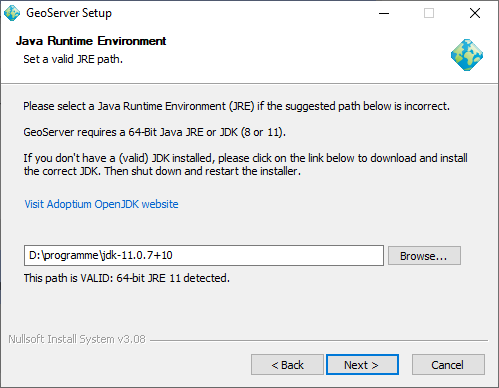
Selecting a valid JRE
Enter the path to your GeoServer data directory or select the default. If this is your first time using GeoServer, select the Default data directory. When finished, click Next.
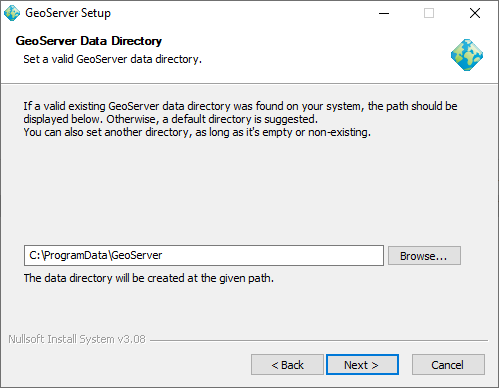
Setting a GeoServer data directory
Enter the username and password for administration of GeoServer. GeoServer’s Web administration interface requires authentication for management, and what is entered here will become those administrator credentials. The defaults are admin / geoserver. It is recommended to change these from the defaults. When finished, clickNext.
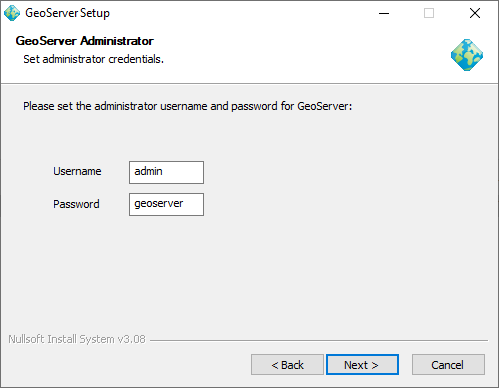
Setting the username and password for GeoServer administration
Enter the port that GeoServer will respond on. This affects the location of the GeoServer Web administration interface, as well as the endpoints of the GeoServer services such as Web Map Service (WMS) and Web Feature Service (WFS). The default port is 8080, though any valid and unused port will work. When finished, click Next.
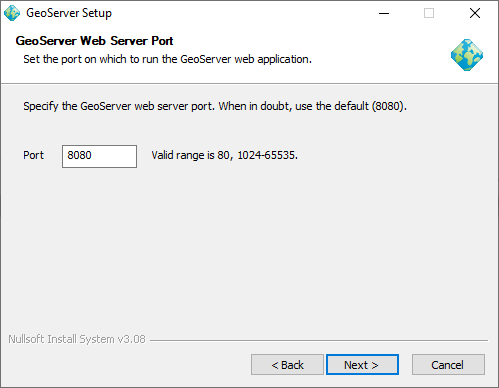
Setting the GeoServer port
Select whether GeoServer should be run manually or installed as a service. When run manually, GeoServer is run like a standard application under the current user. When installed as a service, GeoServer is integrated into Windows Services, and thus is easier to administer. If running on a server, or to manage GeoServer as a service, select Install as a service. Otherwise, select Run manually. When finished, clickNext.
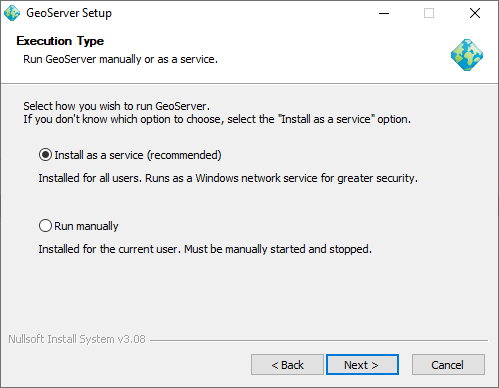
Installing GeoServer as a service
Review your selections and click the Back button if any changes need to be made. Otherwise, click Install.
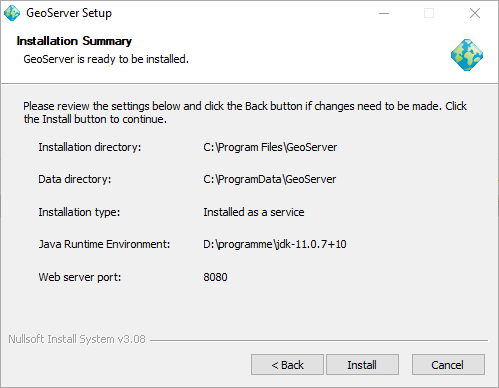
Verifying settings
GeoServer will install on your system. When finished, click Finish to close the installer.
If you installed GeoServer as a service, it is already running. Otherwise, you can start GeoServer by going to the Start Menu, and clicking Start GeoServer in the GeoServer folder.
Navigate to http://localhost:8080/geoserver (or wherever you installed GeoServer) to access the GeoServer Web administration interface.
If you see the GeoServer logo, then GeoServer is successfully installed.
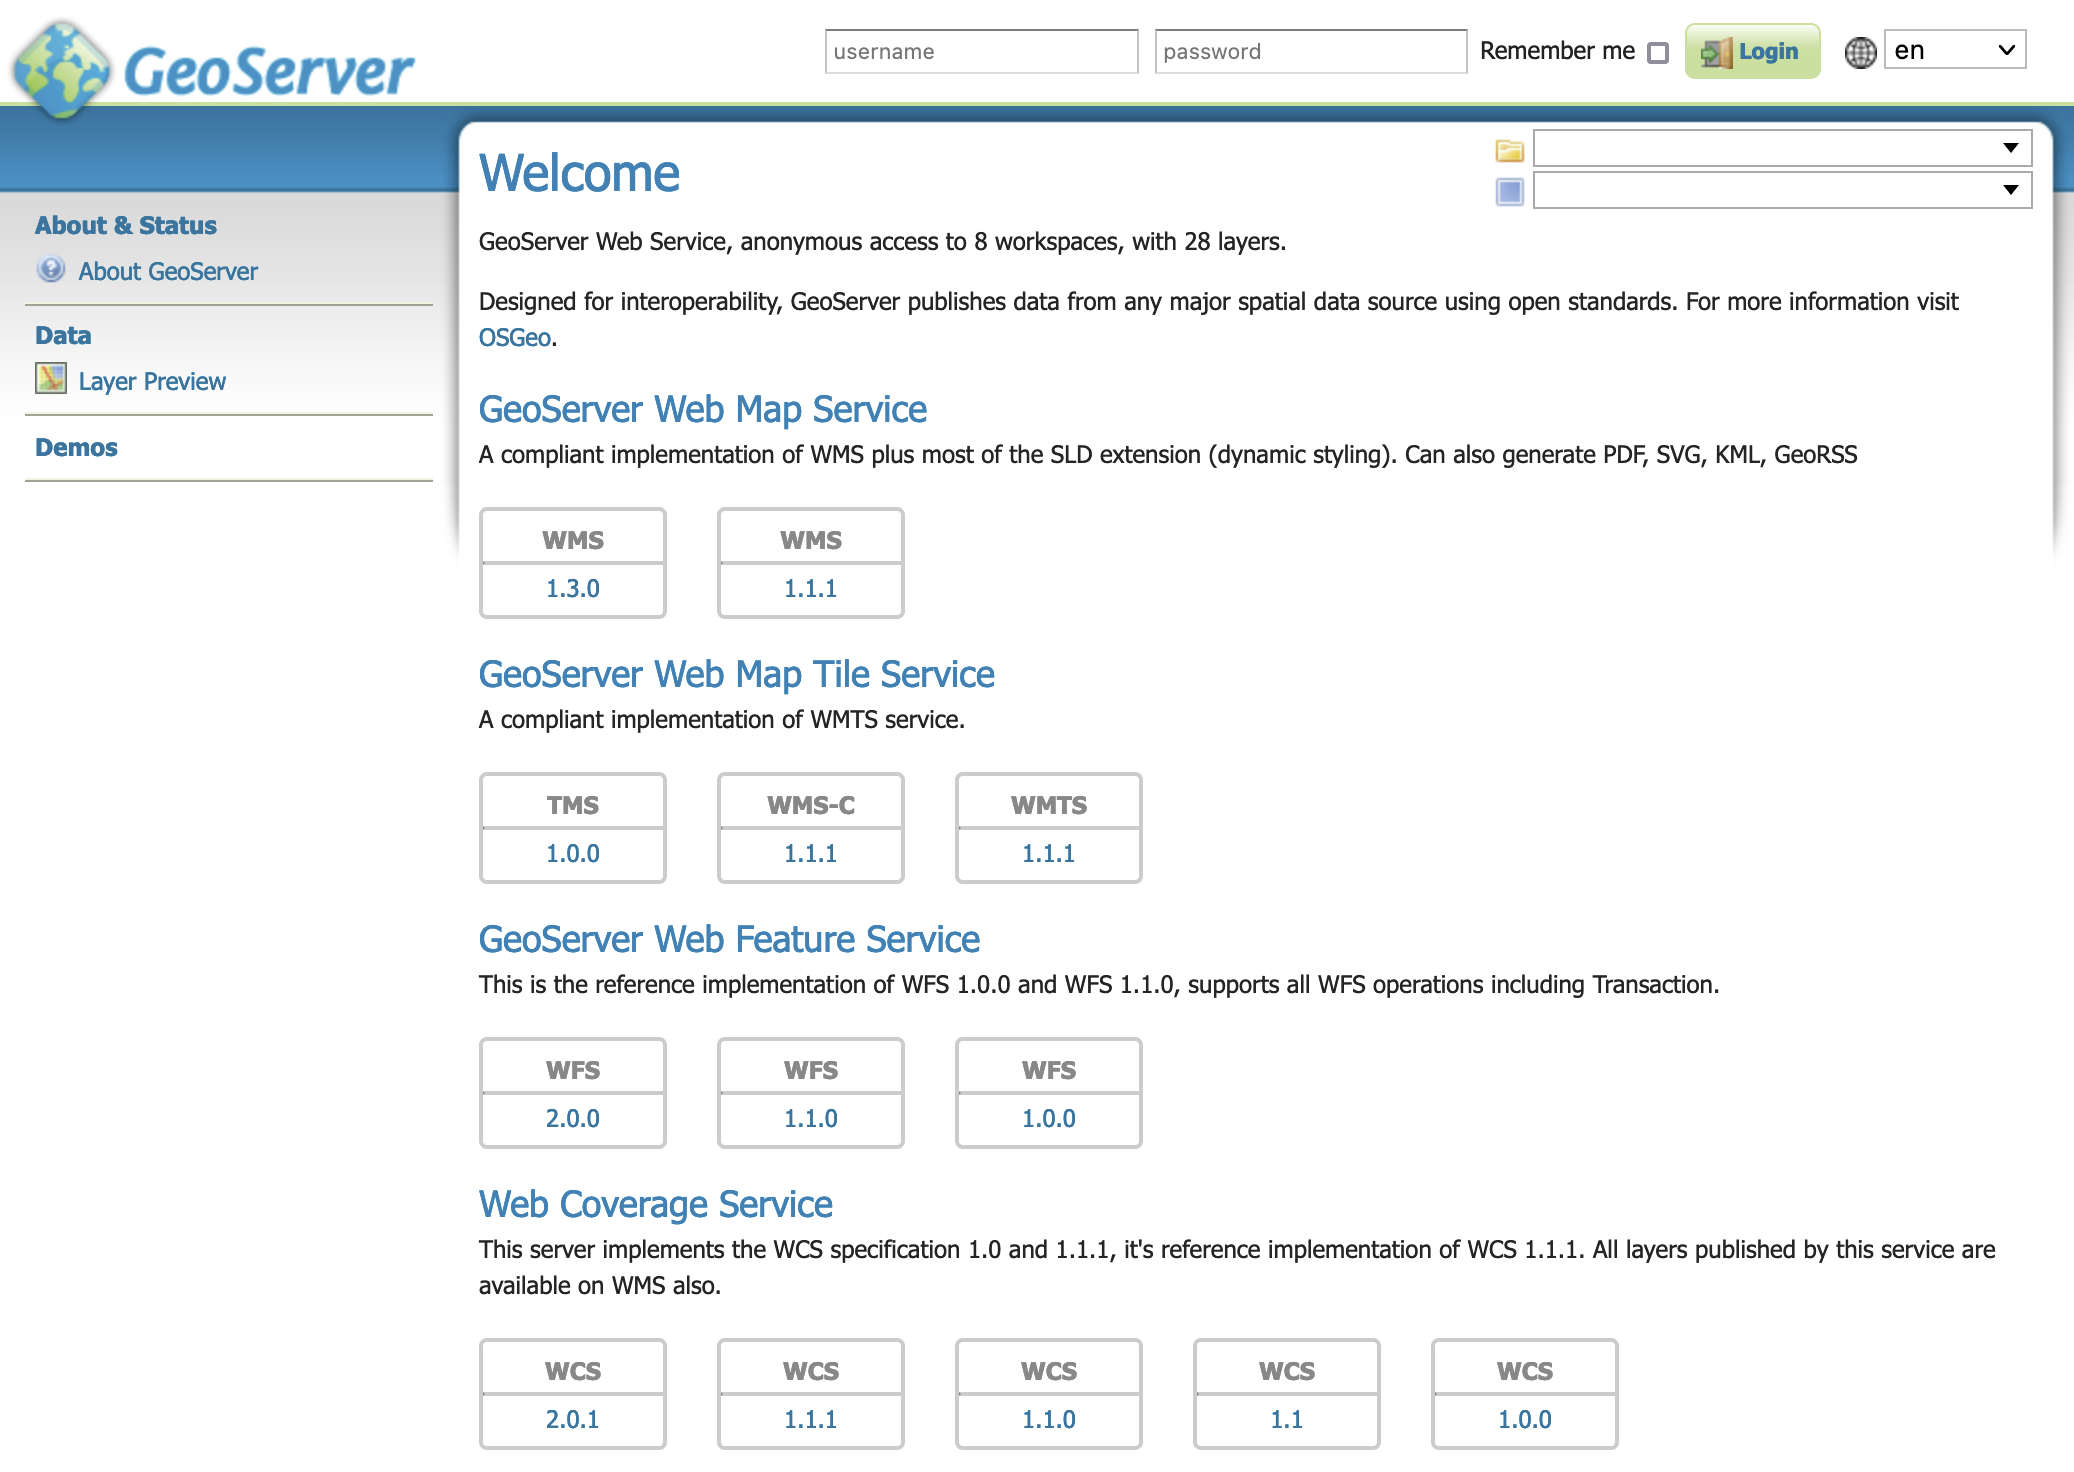
GeoServer installed and running successfully
Windows binary 安装
Note
For the wizard-based installer on Windows, please see the section on the Windows installer. For installing on Windows with an existing application server such as Tomcat, please see the Web archive section.
An alternate way of installing GeoServer on Windows is to use the platform-independent binary. This version is a GeoServer web application bundled inside Jetty, a lightweight and portable application server. It has the advantages of working very similarly across all operating systems and is very simple to set up.
Installation
Make sure you have a Java Runtime Environment (JRE) installed on your system. GeoServer requires a Java 8 environment. The Oracle JRE is preferred, but OpenJDK has been known to work adequately. You can download JRE 8 from Oracle.
Note
Java 9 is not currently supported.
Navigate to the GeoServer Download page.
Select the version of GeoServer that you wish to download. If you’re not sure, selectStable.
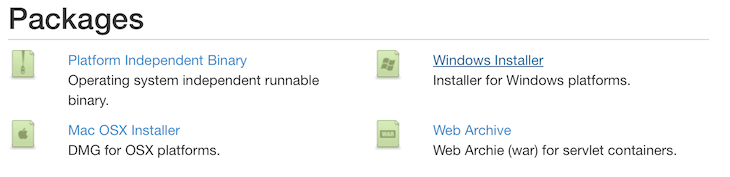
Select Platform Independent Binary on the download page.
Download the archive and unpack to the directory where you would like the program to be located.
Note
A suggested location would be C:\Program Files\GeoServer.
Setting environment variables
You will need to set the JAVA_HOME environment variable if it is not already set. This is the path to your JRE such that %JAVA_HOME%\bin\java.exe exists.
- Navigate to Control Panel ? System ? Advanced ? Environment Variables.
- Under System variables click New.
- For Variable name enter JAVA_HOME. For Variable value enter the path to your JDK/JRE.
- Click OK three times.
Note
You may also want to set the GEOSERVER_HOME variable, which is the directory where GeoServer is installed, and the GEOSERVER_DATA_DIR variable, which is the location of the GeoServer data directory (which by default is %GEOSERVER_HOME\data_dir). The latter is mandatory if you wish to use a data directory other than the default location. The procedure for setting these variables is identical to setting the JAVA_HOME variable.
Running
Note
This can be done either via Windows Explorer or the command line.
- Navigate to the bin directory inside the location where GeoServer is installed.
- Run startup.bat. A command-line window will appear and persist. This window contains diagnostic and troubleshooting information. This window must be left open, otherwise GeoServer will shut down.
- Navigate to http://localhost:8080/geoserver (or wherever you installed GeoServer) to access the GeoServer Web administration interface.
If you see the GeoServer logo, then GeoServer is successfully installed.
GeoServer installed and running successfully
标签:
原文地址:http://www.cnblogs.com/gis-windy/p/5349816.html