标签:
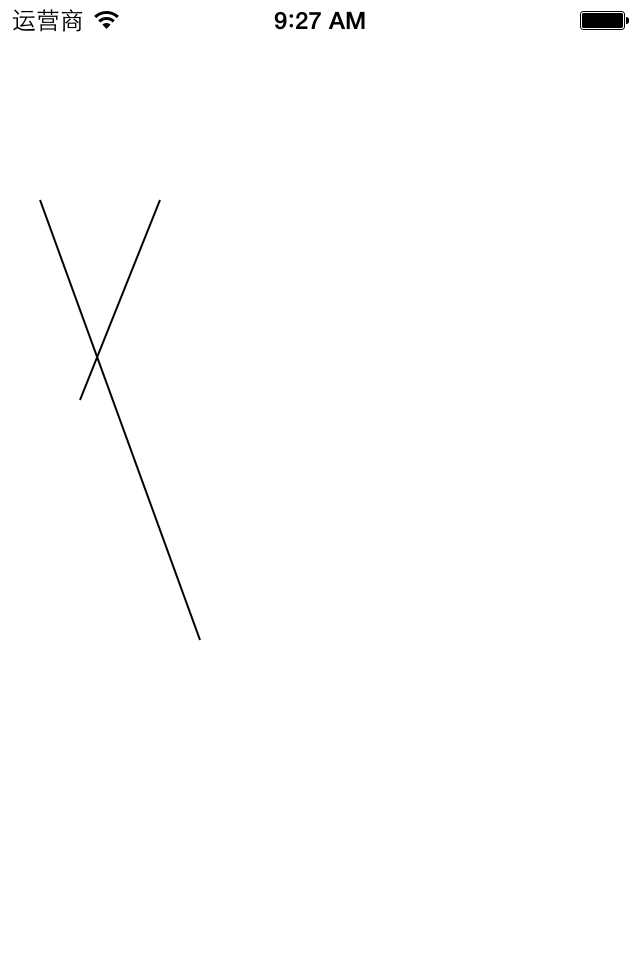
- (void)drawRect:(CGRect)rect
 2 {
 3     //获取上下文
 4     CGContextRef ctx=UIGraphicsGetCurrentContext();
 5     //绘图
 6     //第一条线
 7     CGContextMoveToPoint(ctx, 20, 100);
 8     CGContextAddLineToPoint(ctx, 100, 320);
 9
10     //第二条线
11     CGContextMoveToPoint(ctx, 40, 200);
12     CGContextAddLineToPoint(ctx, 80, 100);
13     //渲染
14     CGContextStrokePath(ctx);
15
16 }
效果图:
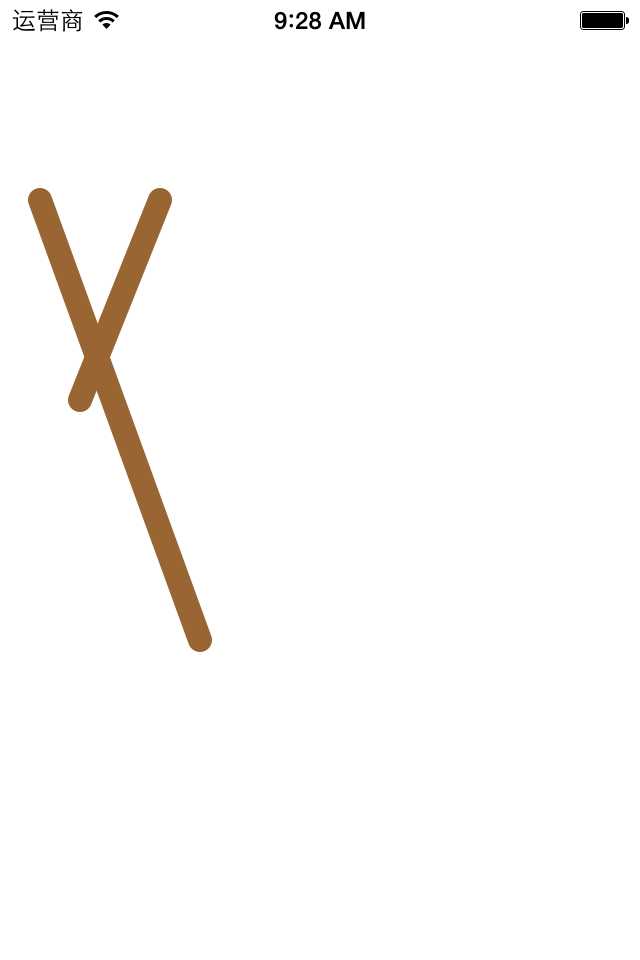
- (void)drawRect:(CGRect)rect 2 { 3 //获取上下文 4 CGContextRef ctx=UIGraphicsGetCurrentContext(); 5 //绘图 6 //第一条线 7 CGContextMoveToPoint(ctx, 20, 100); 8 CGContextAddLineToPoint(ctx, 100, 320); 9 10 //设置第一条线的状态 11 //设置线条的宽度 12 CGContextSetLineWidth(ctx, 12); 13 //设置线条的颜色 14 [[UIColor brownColor]set]; 15 //设置线条两端的样式为圆角 16 CGContextSetLineCap(ctx,kCGLineCapRound); 17 //对线条进行渲染 18 CGContextStrokePath(ctx); 19 20 //第二条线 21 CGContextMoveToPoint(ctx, 40, 200); 22 CGContextAddLineToPoint(ctx, 80, 100); 23 //渲染 24 CGContextStrokePath(ctx); 25 26 }效果图:
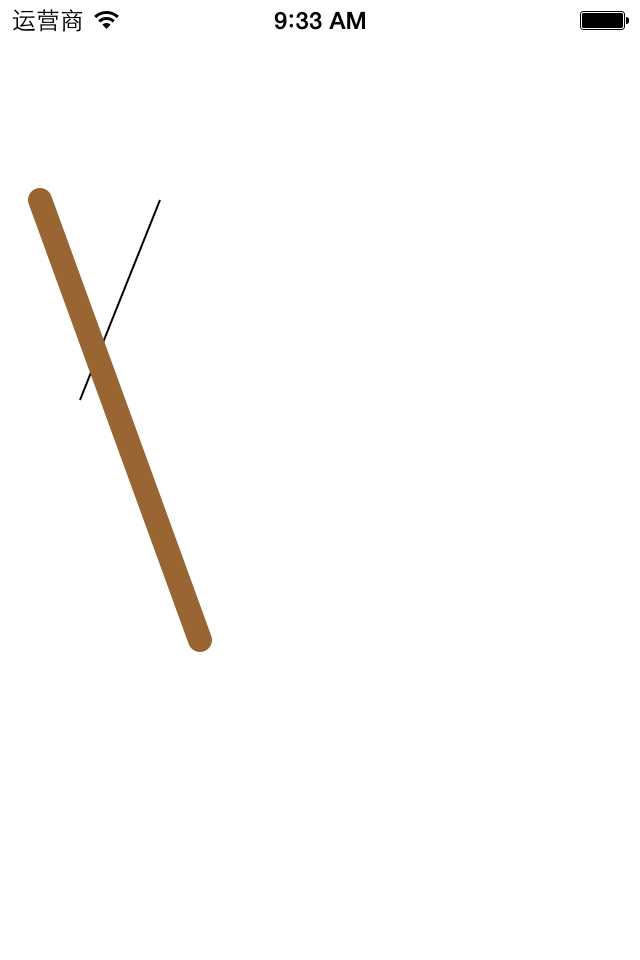
新的需求:要让两条线的颜色不一样,要求第二条线变成原版的样子。要达到上面的要求,有以下几种做法:
第一种做法:在对第二条线进行设置的时候,清空它的状态1 - (void)drawRect:(CGRect)rect 2 { 3 //获取上下文 4 CGContextRef ctx=UIGraphicsGetCurrentContext(); 5 //绘图 6 //第一条线 7 CGContextMoveToPoint(ctx, 20, 100); 8 CGContextAddLineToPoint(ctx, 100, 320); 9 10 //设置第一条线的状态 11 //设置线条的宽度 12 CGContextSetLineWidth(ctx, 12); 13 //设置线条的颜色 14 [[UIColor brownColor]set]; 15 //设置线条两端的样式为圆角 16 CGContextSetLineCap(ctx,kCGLineCapRound); 17 //对线条进行渲染 18 CGContextStrokePath(ctx); 19 20 //第二条线 21 CGContextMoveToPoint(ctx, 40, 200); 22 CGContextAddLineToPoint(ctx, 80, 100); 23 24 //清空状态 25 CGContextSetLineWidth(ctx, 1); 26 [[UIColor blackColor]set]; 27 CGContextSetLineCap(ctx,kCGLineCapButt); 28 29 //渲染 30 CGContextStrokePath(ctx); 31 32 }第二种做法:把第一条线从开始绘制到渲染的代码剪切到第二条线渲染完成之后,这样先绘制并渲染了第一条线,该线并没有对绘制信息进行过设置,显示出来的第二条线即位系统默认的效果。1 - (void)drawRect:(CGRect)rect 2 { 3 //获取上下文 4 CGContextRef ctx=UIGraphicsGetCurrentContext(); 5 //绘图 6 7 //第二条线 8 CGContextMoveToPoint(ctx, 40, 200); 9 CGContextAddLineToPoint(ctx, 80, 100); 10 11 //清空状态 12 // CGContextSetLineWidth(ctx, 1); 13 // [[UIColor blackColor]set]; 14 15 // CGContextSetLineCap(ctx,kCGLineCapButt); 16 17 //渲染 18 CGContextStrokePath(ctx); 19 20 //第一条线 21 CGContextMoveToPoint(ctx, 20, 100); 22 CGContextAddLineToPoint(ctx, 100, 320); 23 24 //设置第一条线的状态 25 //设置线条的宽度 26 CGContextSetLineWidth(ctx, 12); 27 //设置线条的颜色 28 [[UIColor brownColor]set]; 29 //设置线条两端的样式为圆角 30 CGContextSetLineCap(ctx,kCGLineCapRound); 31 //对线条进行渲染 32 CGContextStrokePath(ctx); 33 }两种方式完成的效果相同:
图形上下文栈1.简单说明在获取图形上下文之后,通过CGContextSaveGState(ctx);
方法,把当前获取的上下文拷贝一份,保存一份最纯洁的图形上下文。在画第二条线之前,使用CGContextRestoreGState(ctx);方法,还原开始的时候保存的那份最纯洁的图形上下文。代码:注意:在栈里保存了几次,那么就可以取几次(比如不能保存了1次,取两次,在取第二次的时候,栈里为空会直接挂掉)。1 - (void)drawRect:(CGRect)rect 2 { 3 //获取上下文 4 CGContextRef ctx=UIGraphicsGetCurrentContext(); 5 //保存一份最初的图形上下文 6 CGContextSaveGState(ctx); 7 8 //绘图 9 //第一条线 10 CGContextMoveToPoint(ctx, 20, 100); 11 CGContextAddLineToPoint(ctx, 100, 320); 12 13 //设置第一条线的状态 14 //设置线条的宽度 15 CGContextSetLineWidth(ctx, 12); 16 //设置线条的颜色 17 [[UIColor brownColor]set]; 18 //设置线条两端的样式为圆角 19 CGContextSetLineCap(ctx,kCGLineCapRound); 20 //对线条进行渲染 21 CGContextStrokePath(ctx); 22 23 //还原开始的时候保存的那份最纯洁的图形上下文 24 CGContextRestoreGState(ctx); 25 //第二条线 26 CGContextMoveToPoint(ctx, 40, 200); 27 CGContextAddLineToPoint(ctx, 80, 100); 28 29 //清空状态 30 // CGContextSetLineWidth(ctx, 1); 31 // [[UIColor blackColor]set]; 32 // CGContextSetLineCap(ctx,kCGLineCapButt); 33 34 //渲染 35 CGContextStrokePath(ctx); 36 }
标签:
原文地址:http://blog.csdn.net/sinat_34245894/article/details/51353333