标签:
一,效果图。

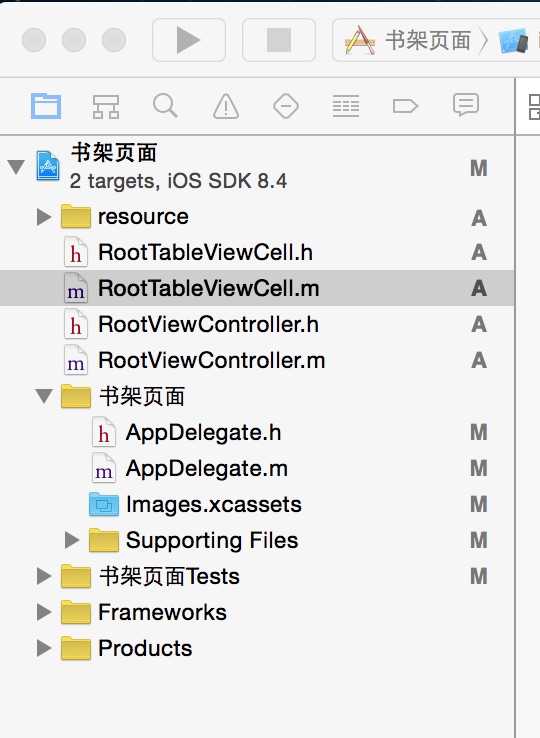
二,工程图。
三,代码。
RootViewController.h

#import <UIKit/UIKit.h>

@interface RootViewController : UIViewController
<UITableViewDataSource,UITableViewDelegate>
{
    NSMutableArray * dataArray;
    UITableView * myTableView;
}

@end
RootViewController.m
#import "RootViewController.h"
//cell
#import "RootTableViewCell.h"

@interface RootViewController ()

@end

@implementation RootViewController

- (id)initWithNibName:(NSString *)nibNameOrNil bundle:(NSBundle *)nibBundleOrNil
{
    self = [super initWithNibName:nibNameOrNil bundle:nibBundleOrNil];
    if (self) {
        // Custom initialization
    }
    return self;
}

- (void)viewDidLoad
{
    [super viewDidLoad];
    // Do any additional setup after loading the view.

    //初始化背景图
    [self initBackGroundView];

}
#pragma -mark -functions
-(void)initBackGroundView
{
    self.title=@"书架页面";

    dataArray=[[NSMutableArray alloc]initWithObjects:@"1",@"2",@"3",@"4",@"5",@"6",@"7",@"8",@"9", nil];

    myTableView = [[UITableView alloc]initWithFrame:CGRectMake(0, 0, 320, 416) style:UITableViewStylePlain];
    myTableView.delegate = self;
    myTableView.dataSource = self;
    [self.view addSubview:myTableView];
}
#pragma -mark -UITableViewDelegate
-(NSInteger)tableView:(UITableView *)tableView numberOfRowsInSection:(NSInteger)section
{
    return 3;
}
-(CGFloat)tableView:(UITableView *)tableView heightForRowAtIndexPath:(NSIndexPath *)indexPath
{
    return 376/3;

}
-(UITableViewCell*)tableView:(UITableView *)tableView cellForRowAtIndexPath:(NSIndexPath *)indexPath
{
    RootTableViewCell * cell = [tableView dequeueReusableCellWithIdentifier:@"ID"];
    if(cell == nil)
    {
        cell =[[RootTableViewCell alloc]initWithStyle:UITableViewCellStyleValue1 reuseIdentifier:@"ID"];
    }

    cell.tag = indexPath.row;

    [cell.bookLeft addTarget:self action:@selector(buttonClick:) forControlEvents:UIControlEventTouchUpInside];
    [cell.bookMiddle addTarget:self action:@selector(buttonClick:) forControlEvents:UIControlEventTouchUpInside];
    [cell.bookRight addTarget:self action:@selector(buttonClick:) forControlEvents:UIControlEventTouchUpInside];

    [cell.bookLeft setBackgroundImage:[UIImage imageNamed:[NSString stringWithFormat:@"%@.jpg",[dataArray objectAtIndex:indexPath.row*3]]] forState:UIControlStateNormal];
    [cell.bookMiddle setBackgroundImage:[UIImage imageNamed:[NSString stringWithFormat:@"%@.jpg",[dataArray objectAtIndex:indexPath.row*3+1]]] forState:UIControlStateNormal];
    [cell.bookRight setBackgroundImage:[UIImage imageNamed:[NSString stringWithFormat:@"%@.jpg",[dataArray objectAtIndex:indexPath.row*3+2]]] forState:UIControlStateNormal];
    NSLog(@"--celll.tag--%ld",cell.tag);
    return cell;

}
#pragma -mark -doClickActions
-(void)buttonClick:(UIButton*)btn
{
    RootTableViewCell * cell = (RootTableViewCell *)[[btn superview] superview];
    NSIndexPath * path = [myTableView indexPathForCell:cell];
    NSLog(@"--点击图片的时候,所在的坐标-(%ld,%ld)--",path.row,btn.tag);
}
- (void)didReceiveMemoryWarning
{
    [super didReceiveMemoryWarning];
    // Dispose of any resources that can be recreated.
}

@end
RootTableViewCell.h
#import <UIKit/UIKit.h>

@interface RootTableViewCell : UITableViewCell
@property(nonatomic,strong) UIButton * bookLeft;
@property(nonatomic,strong) UIButton * bookMiddle;
@property(nonatomic,strong) UIButton * bookRight;
@end
RootTableViewCell.m
#import "RootTableViewCell.h"

@implementation RootTableViewCell
@synthesize bookLeft;
@synthesize bookMiddle;
@synthesize bookRight;

- (id)initWithStyle:(UITableViewCellStyle)style reuseIdentifier:(NSString *)reuseIdentifier
{
    self = [super initWithStyle:style reuseIdentifier:reuseIdentifier];
    if (self) {
        // Initialization code

        UIImageView  * imageview= [[UIImageView alloc]initWithFrame:CGRectMake(0, 0, 320, 416/3)];
        imageview.image = [UIImage imageNamed:@"BookShelfCell.png"];
        [self addSubview:imageview];

        bookLeft = [UIButton buttonWithType:UIButtonTypeCustom];
        bookLeft.frame = CGRectMake(10, 10, 280/3, 376/3-20);
        bookLeft.tag = 1;

        bookMiddle = [UIButton buttonWithType:UIButtonTypeCustom];
        bookMiddle.frame = CGRectMake(20+280/3, 10, 280/3, 376/3-20);
        bookMiddle.tag = 2;

        bookRight = [UIButton buttonWithType:UIButtonTypeCustom];
        bookRight.frame = CGRectMake(30+280/3*2, 10, 280/3, 376/3-20);
        bookRight.tag = 3;

        [self addSubview:bookLeft];
        [self addSubview:bookMiddle];
        [self addSubview:bookRight];
    }
    return self;
}
标签:
原文地址:http://www.cnblogs.com/yang-guang-girl/p/5544735.html