标签:android style blog http color os strong io


我个人将Fragment与Activity间的通信比喻为JSP与Servlet间的通信,fragment中用接口的方式来进行与Activity的通信。通信的结果可以作为数据传入另一个Fragment中。当然两个Fragment之间也是可以进行通信的~
注意加载或者切换Fragment时,必须new一个FragmentTransaction对象,不能用同一个FragmentTransaction对象进行对容器进行替换、增加fragment。将fragment填充进容器的方式是(这里分别给两个容器填充了两个fragment对象):
     FragmentManager fragmentManager = getSupportFragmentManager();
        FragmentTransaction ft = fragmentManager.beginTransaction();

        ft.setTransition(FragmentTransaction.TRANSIT_FRAGMENT_FADE);
        ft.add(R.id.container_fragment, new MyFragment())
        .commit();

        //不能用同个FragmentTransaction来加载两个fragment
        fragmentManager.beginTransaction()
        .add(R.id.container_fragment02, new MyFragment02())
        .commit();
更换fragment的方式是:
        getSupportFragmentManager().beginTransaction().
        replace(R.id.container_fragment02, fragment)
        .addToBackStack(null)
        .commit();
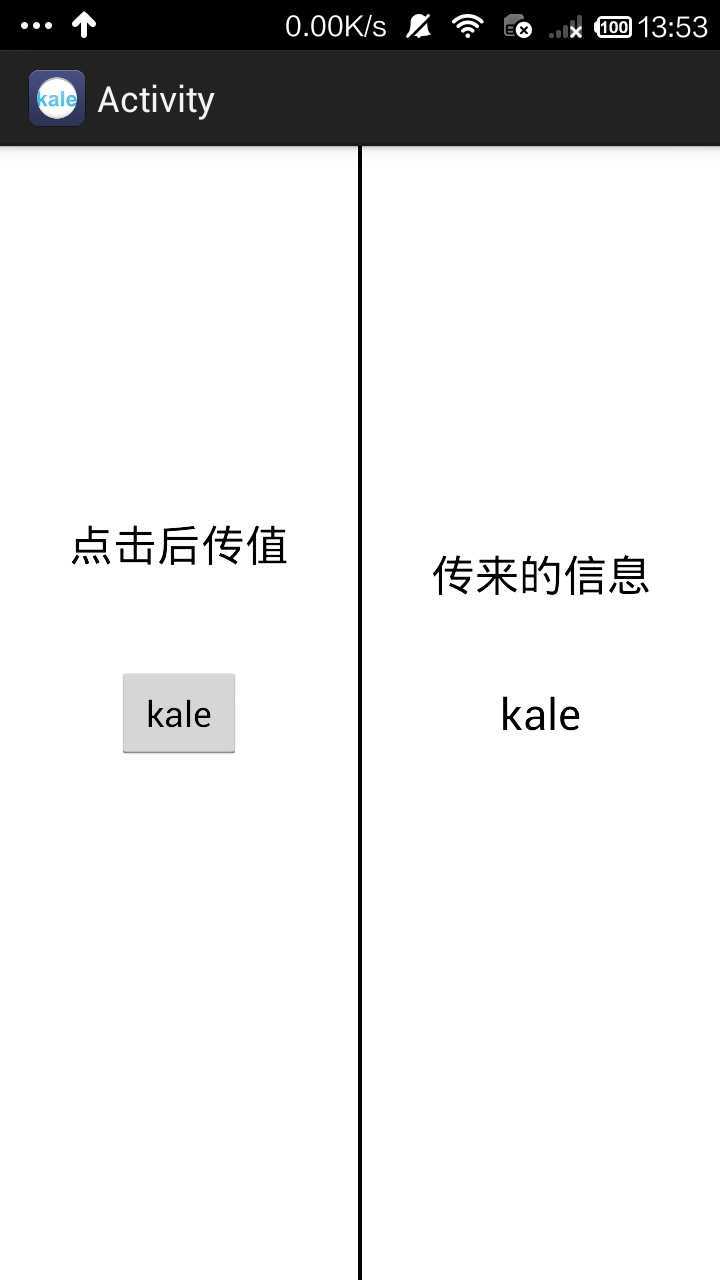
本实例完成的是点击一个Fragment中的按钮后,fragment给activity传值,activity接受到值后给另一个fragment(右边的)传值,以此改变textview中的内容。
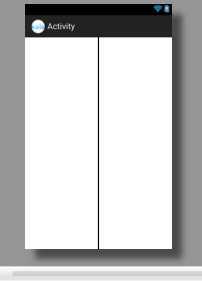
activity_main.xml (定义了2个布局来作为fragment的容器)

<LinearLayout xmlns:android="http://schemas.android.com/apk/res/android"
    xmlns:tools="http://schemas.android.com/tools"
    android:layout_width="match_parent"
    android:layout_height="match_parent"
    android:background="#000000"
    android:orientation="horizontal" >

    <FrameLayout
        android:id="@+id/container_fragment"
        android:layout_width="match_parent"
        android:layout_height="match_parent"
        android:layout_weight="1"
        android:background="#ffffff"
        android:layout_marginRight="1dp" />

    <FrameLayout
        android:id="@+id/container_fragment02"
        android:layout_width="match_parent"
        android:layout_height="match_parent"
        android:layout_weight="1"
        android:background="#ffffff"
        android:layout_marginLeft="1dp" >
    </FrameLayout>

</LinearLayout>
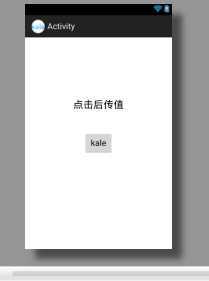
fragment.xml

<RelativeLayout xmlns:android="http://schemas.android.com/apk/res/android"
    xmlns:tools="http://schemas.android.com/tools"
    android:layout_width="match_parent"
    android:layout_height="match_parent"
    tools:context="${relativePackage}.${activityClass}" >

    <Button
        android:id="@+id/fragment_button"
        android:layout_width="wrap_content"
        android:layout_height="wrap_content"
        android:layout_centerHorizontal="true"
        android:layout_centerVertical="true"
        android:layout_marginBottom="41dp"
        android:text="kale" />

    <TextView
        android:layout_width="wrap_content"
        android:layout_height="wrap_content"
        android:layout_above="@+id/fragment_button"
        android:layout_centerHorizontal="true"
        android:layout_marginBottom="46dp"
        android:text="点击后传值"
        android:textAppearance="?android:attr/textAppearanceLarge" />

</RelativeLayout>
MyFragment
package com.kale.activity;

import android.app.Activity;
import android.os.Bundle;
import android.support.annotation.Nullable;
import android.support.v4.app.Fragment;
import android.util.Log;
import android.view.LayoutInflater;
import android.view.View;
import android.view.ViewGroup;
import android.view.View.OnClickListener;
import android.widget.Button;

public class MyFragment extends Fragment{

    private MyCallback mCallback;
    //定义一个调用接口}
    public interface MyCallback {
        public void onBtnClick(View v);
    }
    String TAG = getClass().getName();

    @Override
    public void onAttach(Activity activity) {
        super.onAttach(activity);
        Log.e(TAG, "F------------onAttach->");
        if(!(activity instanceof MyCallback)) {
            throw new IllegalStateException("fragment所在的Activity必须实现Callbacks接口");
        }
        //把绑定的activity当成callback对象
        mCallback = (MyCallback)activity;
    }
    @Override
    public void onActivityCreated(@Nullable Bundle savedInstanceState) {
        super.onActivityCreated(savedInstanceState);
        Log.e(TAG, "F------------onActivityCreated->");
        //一定要在定义好视图后才来初始化控件,不能放在onCreat()里面
        Button btn = (Button)getActivity().findViewById(R.id.fragment_button);
        btn.setOnClickListener(new OnClickListener() {

            @Override
            public void onClick(View v) {
                mCallback.onBtnClick(v);
            }
        });
    }

    @Override
    public void onDetach() {
        super.onDetach();
        Log.e(TAG, "F------------onDetach->");
        mCallback = null;//移除前幅值为空
    }


}
fragment02.xml

<?xml version="1.0" encoding="utf-8"?>
<RelativeLayout xmlns:android="http://schemas.android.com/apk/res/android"
    android:layout_width="match_parent"
    android:layout_height="match_parent">

    <TextView
        android:id="@+id/fragment_textView"
        android:layout_width="wrap_content"
        android:layout_height="wrap_content"
        android:layout_centerHorizontal="true"
        android:layout_centerVertical="true"
        android:text="null"
        android:textAppearance="?android:attr/textAppearanceLarge" />

    <TextView
        android:layout_width="wrap_content"
        android:layout_height="wrap_content"
        android:layout_above="@+id/fragment_textView"
        android:layout_centerHorizontal="true"
        android:layout_marginBottom="40dp"
        android:textAppearance="?android:attr/textAppearanceLarge"
        android:text="传来的信息" />

</RelativeLayout>
MyFragment02
package com.kale.activity;

import android.app.Activity;
import android.os.Bundle;
import android.support.annotation.Nullable;
import android.support.v4.app.Fragment;
import android.util.Log;
import android.view.LayoutInflater;
import android.view.View;
import android.view.ViewGroup;
import android.widget.TextView;

public class MyFragment02 extends Fragment{
    public static final String KEY = "key";

    String TAG = getClass().getName();


    @Override
    public View onCreateView(LayoutInflater inflater,
            @Nullable ViewGroup container, @Nullable Bundle savedInstanceState) {
        Log.e(TAG, "F------------onCreateView->");
        return inflater.inflate(R.layout.fragment02, container, false);
    }

    @Override
    public void onActivityCreated(@Nullable Bundle savedInstanceState) {
        super.onActivityCreated(savedInstanceState);
        Log.e(TAG, "F------------onActivityCreated->");
        //一定要在定义好视图后才来初始化控件,不能放在onCreat()里面
        TextView tv = (TextView)getActivity().findViewById(R.id.fragment_textView);

        tv.setText("haha");
          Bundle bundle = getArguments();
          if (bundle == null) {
            tv.setText("默认值01");
        }
          else {
              tv.setText(bundle.getString(KEY, "默认值02"));
        }
    }

}
源码下载:http://download.csdn.net/detail/shark0017/7709315
Fragment与Activity之间的通信,布布扣,bubuko.com
标签:android style blog http color os strong io
原文地址:http://www.cnblogs.com/tianzhijiexian/p/3888330.html