标签:
1、定义textView标签的4个属性:
android:singleLine="true"//使其只能单行
android:ellipsize="marquee"//去掉省略号
android:focusable = "true"//使其循环
android : focusableInTouchMode = "true"
为了永久的滚动,应该再加一个android:marqueeRepeatLimit="marquee_forever",这样就能一直在进行
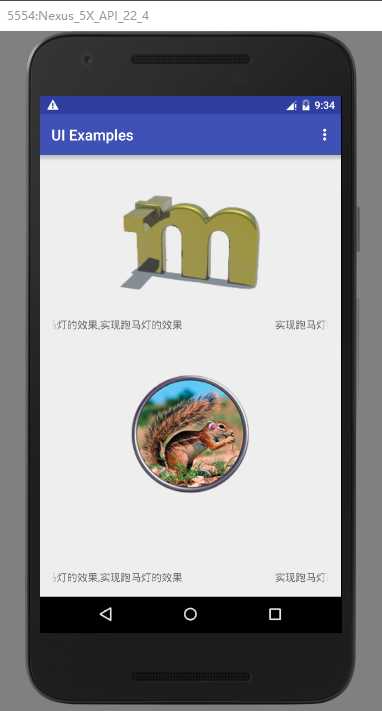
<?xml version="1.0" encoding="utf-8"?>
<RelativeLayout xmlns:android="http://schemas.android.com/apk/res/android"
    xmlns:tools="http://schemas.android.com/tools"
    android:id="@+id/mainLayout"
    android:layout_width="match_parent"
    android:layout_height="match_parent"
    android:paddingBottom="@dimen/activity_vertical_margin"
    android:paddingLeft="@dimen/activity_horizontal_margin"
    android:paddingRight="@dimen/activity_horizontal_margin"
    android:paddingTop="@dimen/activity_vertical_margin"
    tools:context="com.example.lj.chapter7.MainActivity">

    <ImageButton
        android:id="@+id/button_one"
        android:layout_width="wrap_content"
        android:layout_height="wrap_content"
        android:layout_alignParentTop="true"
        android:layout_centerHorizontal="true"
        android:layout_marginTop="38dp"
        android:background="#00000000"
        android:longClickable="false"
        android:src="@drawable/button1" />

    <com.example.lj.chapter7.MarqueeTextView
        android:id="@+id/textView"
        android:layout_width="match_parent"
        android:layout_height="wrap_content"
        android:layout_below="@+id/button_one"
        android:layout_centerHorizontal="true"
        android:layout_marginTop="38dp"
        android:ellipsize="marquee"
        android:focusable="true"
        android:focusableInTouchMode="true"
        android:marqueeRepeatLimit="marquee_forever"
        android:singleLine="true"
        android:text="@string/simpleText" />

    <ImageView
        android:id="@+id/imageView"
        android:layout_width="wrap_content"
        android:layout_height="wrap_content"
        android:layout_below="@+id/textView"
        android:layout_centerHorizontal="true"
        android:layout_marginTop="59dp"
        android:src="@drawable/image1" />

    <com.example.lj.chapter7.MarqueeTextView
        android:id="@+id/textView1"
        android:layout_width="match_parent"
        android:layout_height="wrap_content"
        android:layout_alignParentBottom="true"
        android:layout_alignParentLeft="true"
        android:layout_alignParentStart="true"
        android:ellipsize="marquee"
        android:focusable="true"
        android:focusableInTouchMode="true"
        android:marqueeRepeatLimit="marquee_forever"
        android:singleLine="true"
        android:text="@string/simpleText" />
</RelativeLayout>
2、自定义一个继承TextView的类:
实现三个构造函数;
复写isfocued方法,返回true(默认都有有焦点,平常只有一个有焦点在第一行上)
package com.example.lj.chapter7;

import android.content.Context;
import android.util.AttributeSet;
import android.widget.TextView;

/**
 * Created by LJ on 2016/8/13.
 */
public class MarqueeTextView extends TextView {

    public MarqueeTextView(Context context) {
        super(context);
    }

    public MarqueeTextView(Context context, AttributeSet attrs) {
        super(context, attrs);
    }

    public MarqueeTextView(Context context, AttributeSet attrs, int defStyleAttr) {
        super(context, attrs, defStyleAttr);
    }

    @Override
    public boolean isFocused() {
        return true;
    }
}
3、使用自定义的类,方法是用包名和自定义类名代替TextView(src下的包名+类名)
参考:http://www.imooc.com/video/4308
标签:
原文地址:http://www.cnblogs.com/liaojie970/p/5768458.html