标签:
添加zabbix更新源
rpm -ivh http://repo.zabbix.com/zabbix/2.4/rhel/6/x86_64/zabbix-release-2.4-1.el6.noarch.rpm
安装
yum -y install iksemel libssh2 zabbix-server-mysql zabbix-web-mysql mysql-server zabbix-agent install net-snmp-devel net-snmp-libs net-snmp-perl net-snmp-utils net-snmp
在mysql中创建zabbix数据库,并添加用户,数据
#登录:
mysql -u root -p
# 创建zabbix的数据库:
create database zabbix character set utf8 collate utf8_bin;
# 把在zabbix.* 数据库的所有表的所有权限赋值给位于所有IP地址localhost的zabbix用户 ‘password‘
grant all privileges on zabbix.* to zabbix@localhost identified by ‘zabbix‘;
exit;
#插入数据
mysql -uroot -p123456 zabbix < /usr/share/doc/zabbix-server-mysql-2.4.8/create/schema.sql
mysql -uroot -p123456 zabbix < /usr/share/doc/zabbix-server-mysql-2.4.8/create/images.sql
mysql -uroot -p123456 zabbix < /usr/share/doc/zabbix-server-mysql-2.4.8/create/data.sql
#编辑zabbix的配置文件 /etc/zabbix/zabbix_server.conf
#指的是访问本机数据库
DBHost=localhost
#创建的zabbix的数据库名字
DBName=zabbix
#授权访问数据库的用户名
DBUser=zabbix
#授权访问数据库的密码
DBPassword=zabbix
#编辑zabbix agent的配置文件 /etc/zabbix/zabbix_agentd.conf
#是否运行zabbix server在此服务器上执行远程命令0 - 禁止 1 - 允许
EnableRemoteCommands=1
#zabbix server的ip地址,多个ip使用逗号分隔, 与master同机的时候改为ip
Server=
#zabbix 主动监控server的ip地址,使用逗号分隔多IP,如果注释这个选项,那么当前服务器的主动监控就被禁用了
ServerActive=
#主机名,必须唯一,区分大小写, hostname得到 与master同机的时候也要改
Hostname=
#zabbix log地址
/var/log/zabbix/zabbix_server.log
/var/log/zabbix/zabbix_agentd.log
配置zabbix web:
#软连接
ln -snf /usr/share/zabbix /workspaces/zabbix/zabbix_web
#编辑PHP环境配置文件: /etc/httpd/conf.d/zabbix.conf
php_value max_execution_time 300
php_value memory_limit 128M
php_value post_max_size 16M
php_value upload_max_filesize 2M
php_value max_input_time 300
php_value date.timezone Asia/Shanghai
php_value always_populate_raw_post_data -1
# 或者nginx 新建 /etc/nginx/conf.d/zabbix.conf
server {
        server_name zabbix.jobstreet.com;

        root        /workspaces/zabbix/zabbix_web;
        index       index.html index.php;
        access_log  /var/log/nginx/access_zabbix.log main;
        error_log   /var/log/nginx/error_zabbix.log error;

        location ~ \.php {
                fastcgi_pass    127.0.0.1:9000;
                fastcgi_index   index.php;
                fastcgi_param   SCRIPT_FILENAME $document_root$fastcgi_script_name;
                fastcgi_param     PHP_VALUE "max_execution_time = 300 \n
                                            memory_limit = 128M \n
                                            post_max_size = 16M \n
                                            upload_max_filesize = 2M \n
                                            max_input_time = 300 \n
                                            date.timezone = Asia/Shanghai\n
                                            always_populate_raw_post_data = -1";
                include fastcgi_params;
        }
}
#打开http://zabbix.jobstreet.com/ 进行初始化安装 默认登录Admin/zabbix
zabbix web Configuration file
cat /etc/zabbix/web/zabbix.conf.php
简单demo:
#1. vi /etc/zabbix/zabbix_agentd.conf add
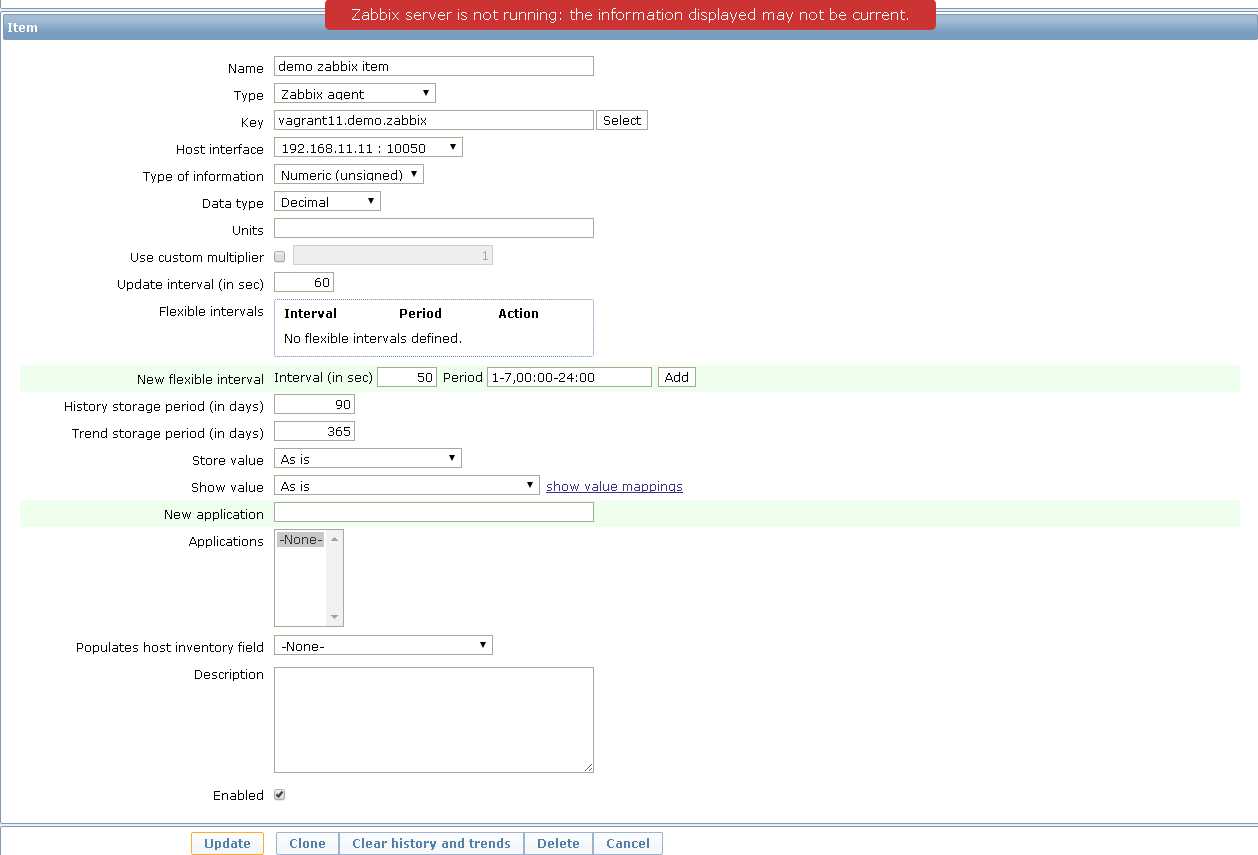
UserParameter=vagrant11.demo.zabbix,python /workspaces/zabbix/scripts/demo.py
demo.py
import random

if __name__ == ‘__main__‘:
    print(random.randint(0, 9))
#2. service zabbix-agent restart
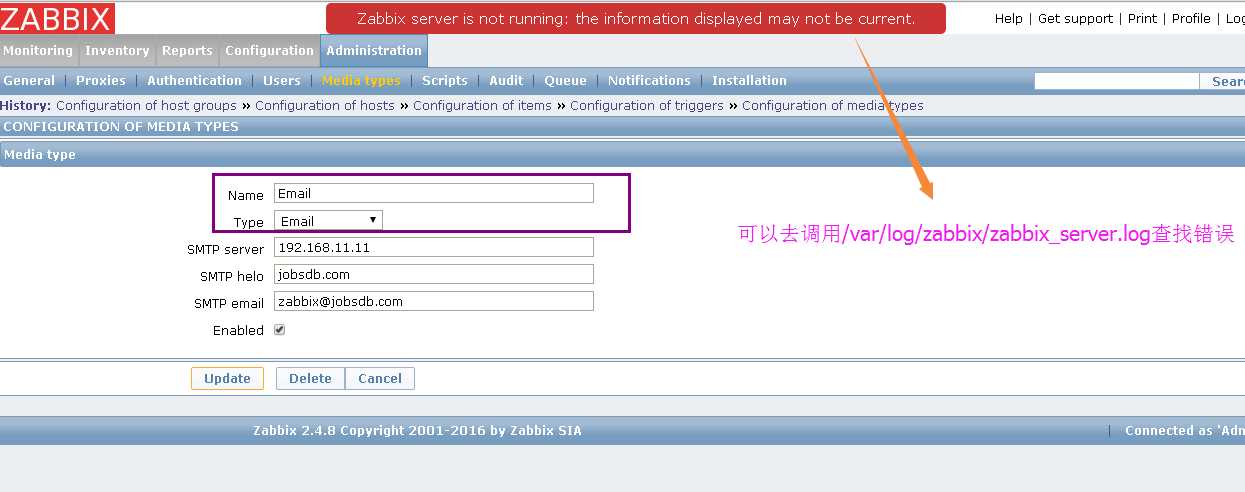
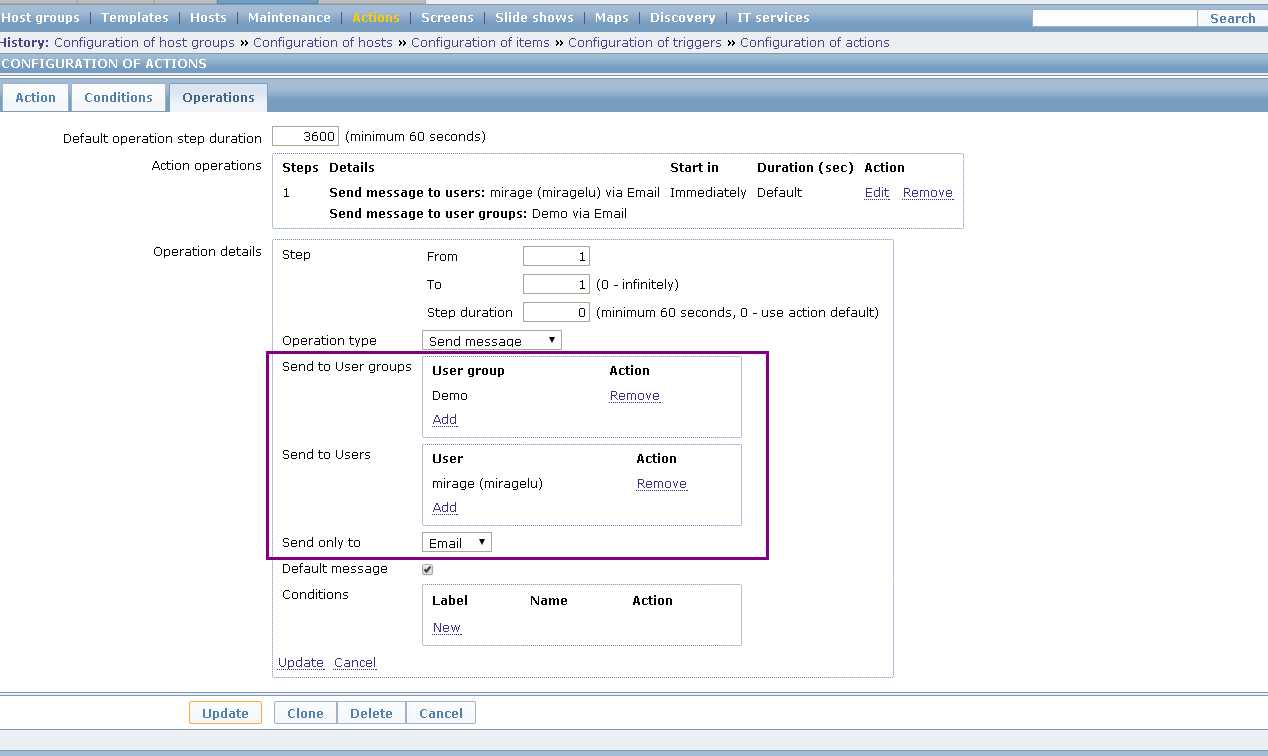
#1. Administrator -- Media types -- setting email
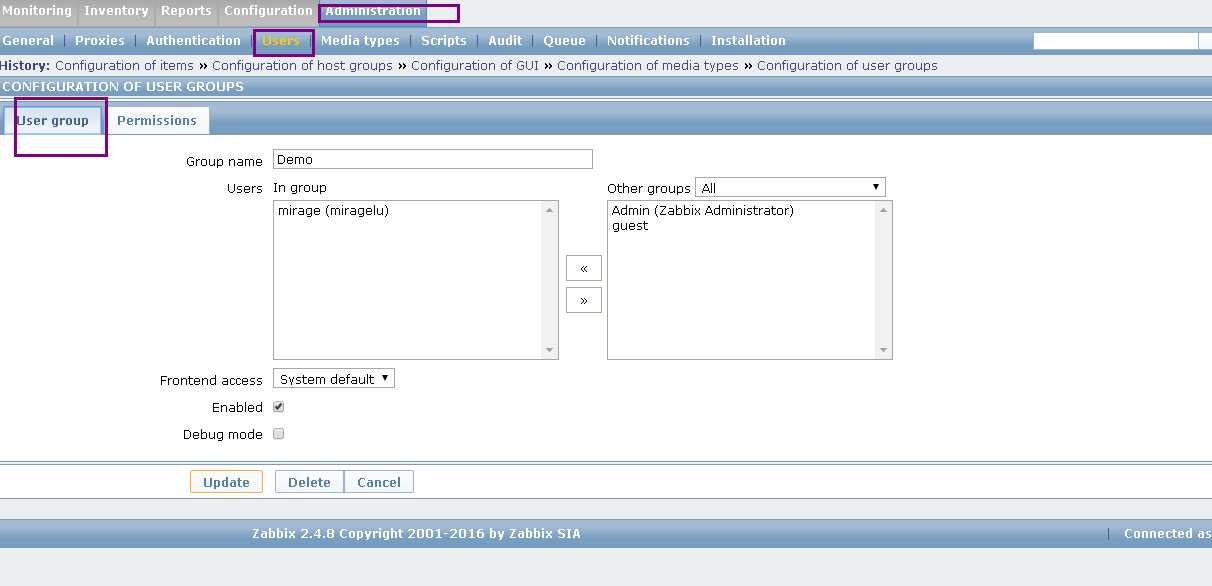
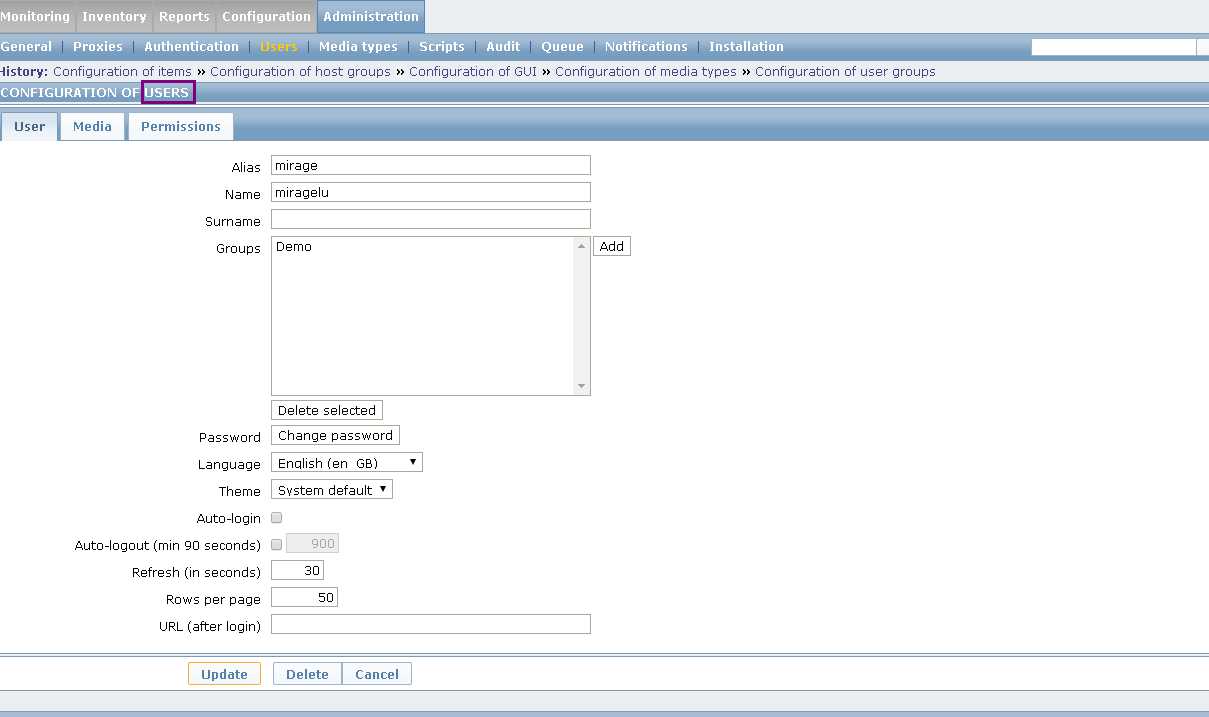
#2. Administrator -- User -- add user group & user
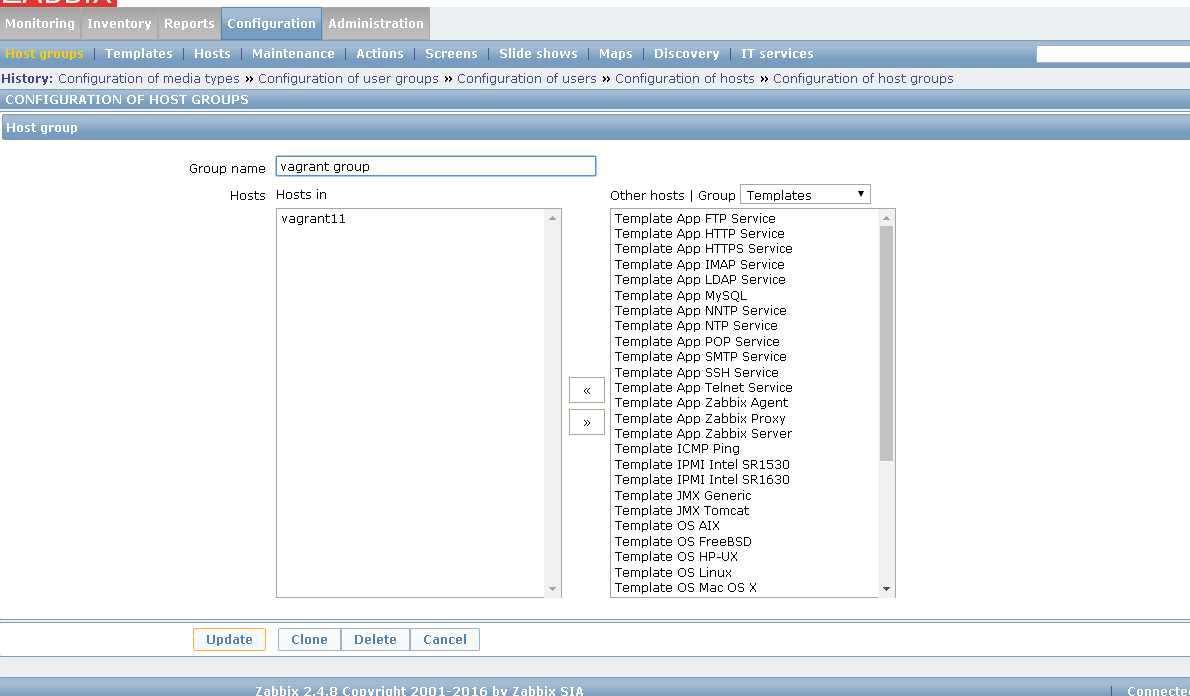
#3. Configuration -- Host group -- add agent host group
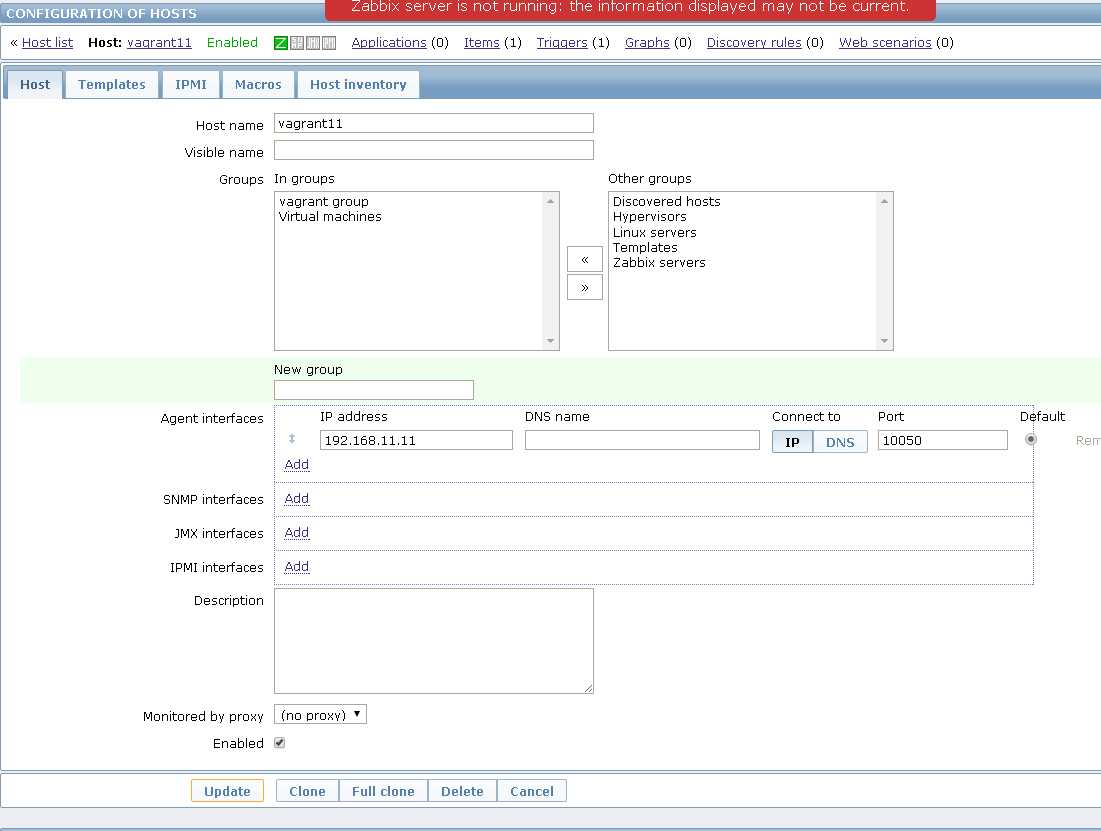
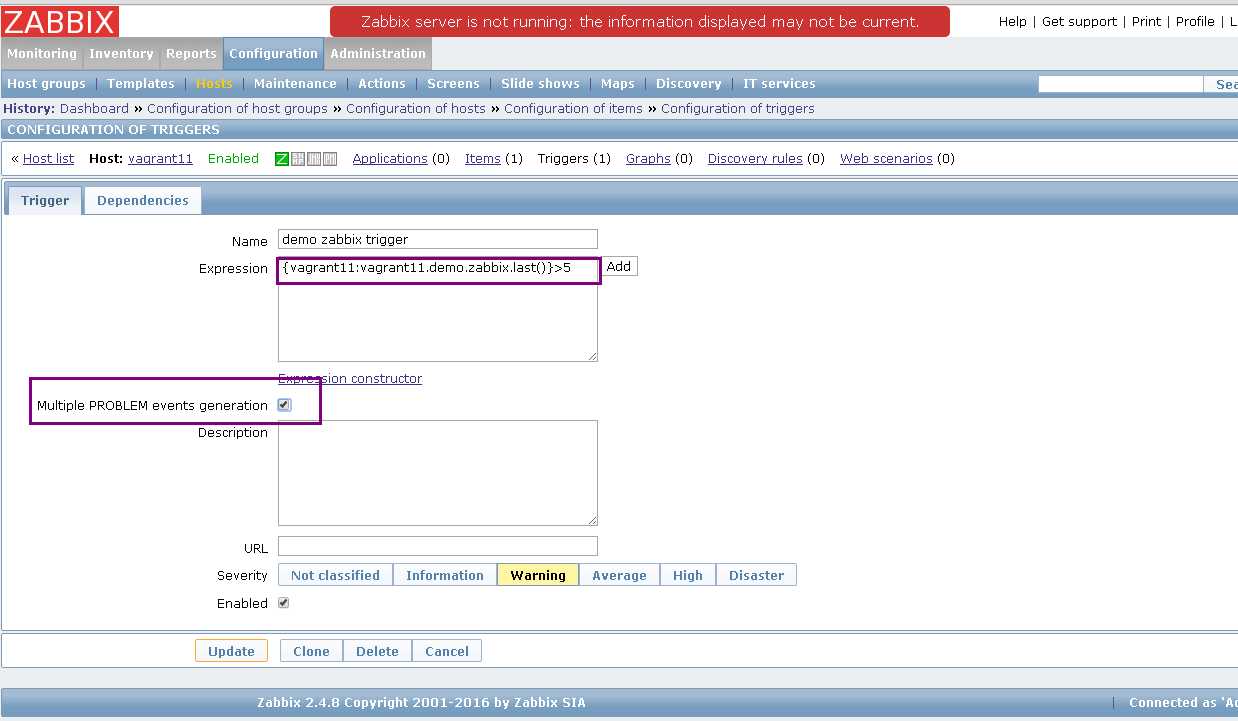
#4. Configuration -- Hosts -- add agent host
-- ad Item & Trigger to host key对应在zabbix_agentd.conf中的
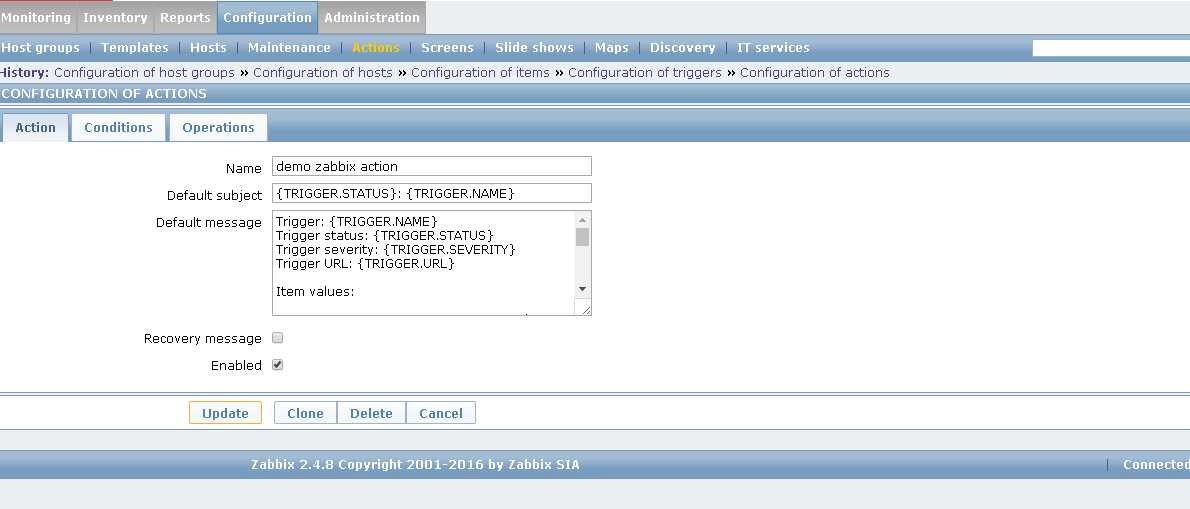
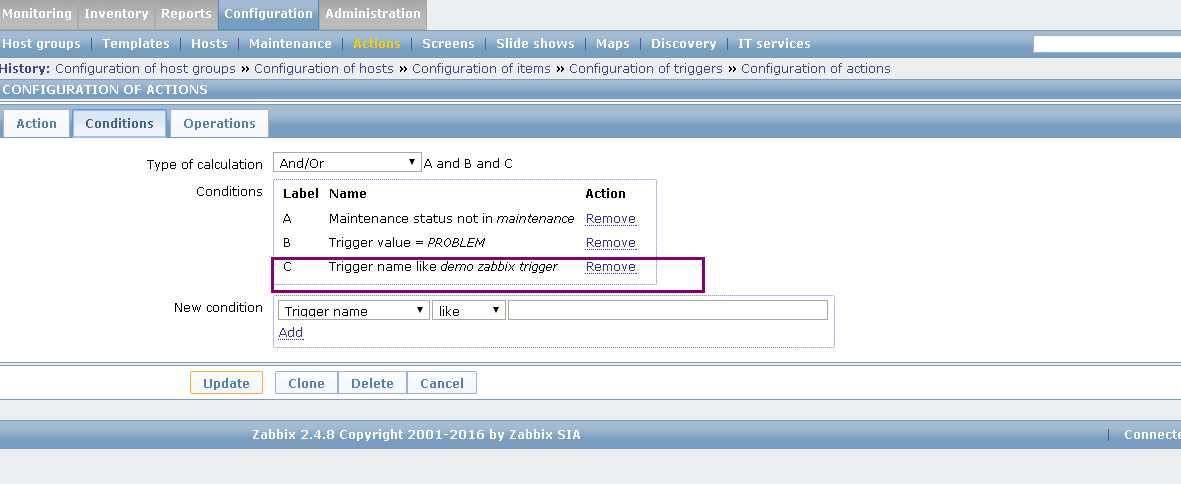
#5. Configuration -- Actions -- add action for trigger
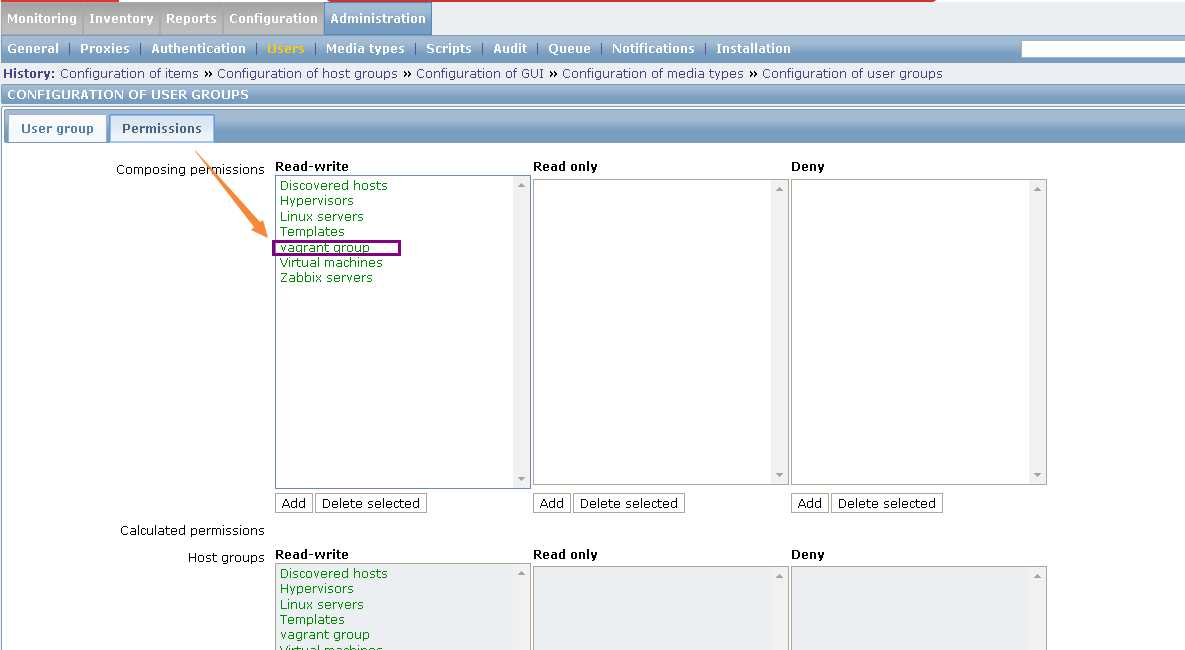
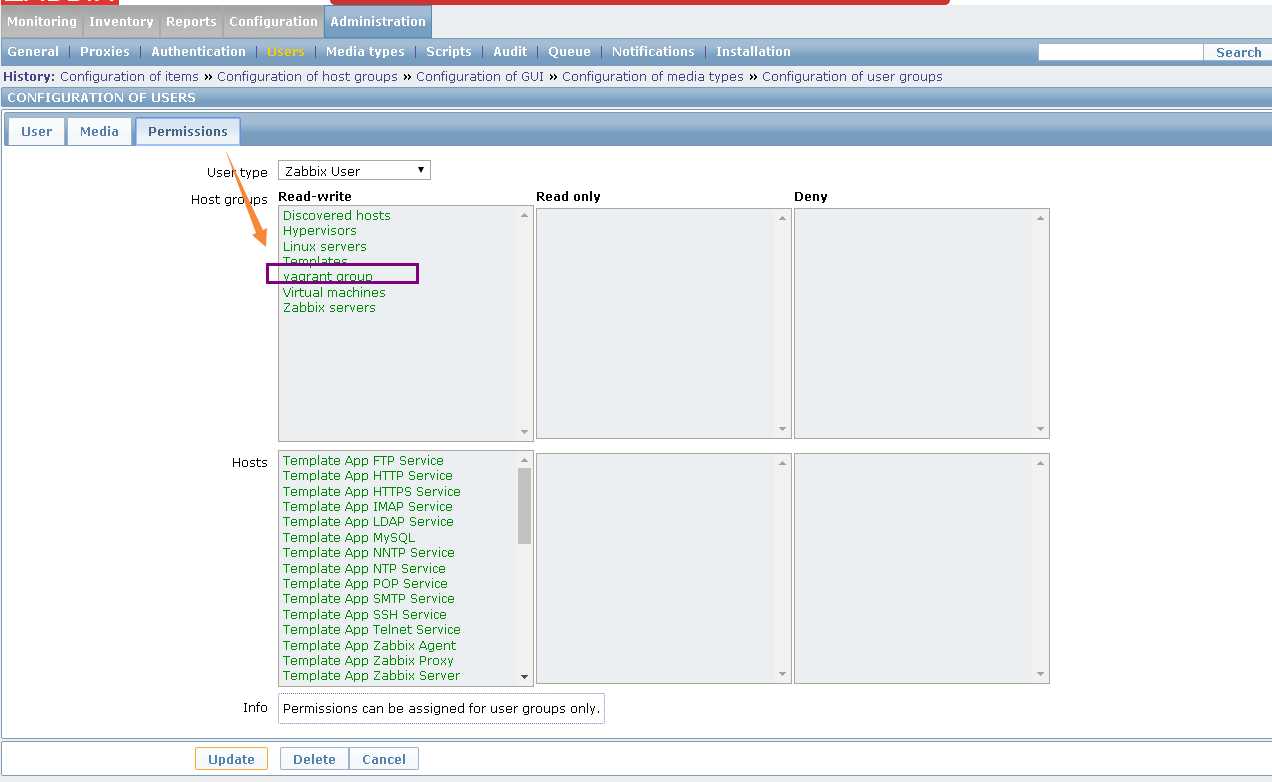
#6. Administrator -- User -- add agent host group permissions to user group/user

在cengos中安装zabbix server/agent, 并创建一个简单demo
标签:
原文地址:http://www.cnblogs.com/dfg727/p/5828391.html