标签:
importQtQuick2.0
importQtQuick.Controls2.0;
importQtQuick.Window2.0;
Window{
visible:true;
width:480;
height:320;
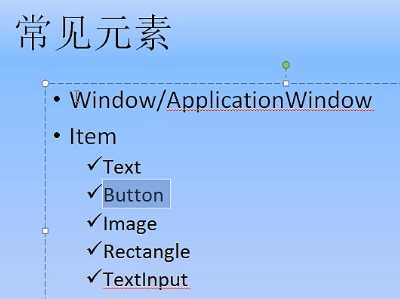
Text{
y:20;
text:"气有浩然,学无止境";
color:"red";
font.pointSize:16;
rotation:45;
}
Button{
y:50;
text:"点我呀,可劲的点";
onClicked:{
console.log("哎呦...");
}
}
//画一个矩形,可以作为输入框的背景
Rectangle{
x:220;
y:80;
width:220;
height:40;
color:"lightgray";
border.color:"blue";
border.width:2;
radius:5;
//文本输入框默认是全透明的,可与Rectangle组合使用达成一般输入框的显示效果
TextInput{
id:phoneNumber;
width:200;
height:30;
x:10;
y:4;
focus:true;
}
}
Image{
x:100;
y:100;
width:400;
height:300;
//source:"file:///D:/OneDrive/图片/其他/图片/gun.jpg";//本地图片按照此规则来写
source:"http://img1.3lian.com/2015/w7/85/d/106.jpg";//网络图片直接写地址即可
//fillMode:Image.Stretch;
fillMode:Image.PreserveAspectFit;
}
}
标签:
原文地址:http://www.cnblogs.com/sdsunjing/p/5899223.html