标签:
最近angular2正式版发布了,现在就趁热接着记录一下2.0版的Hello World。据说由RC6升级到2.0代码改动不是很大,在写的时候也感觉改动不是很大,这次记录还是以asp.net core 空项目模板为基础,本着在此基础上添加最少的代码来实现Hello World,没用的代码全部清掉(用的时候再引入)。
一、准备工作。
首先,创建一个asp.net core空项目,并在Startup.cs类中添加“静态文件支持”;然后,在项目根目录下添加NPM配置文件、Gulp配置文件和typescript文件夹,并在该文件夹下TypeScript JSON配置文件。代码如下:

 1 {
 2   "version": "1.0.0",
 3   "name": "asp.net",
 4   "private": true,
 5   "dependencies": {
 6     "@angular/common": "2.0.0",
 7     "@angular/compiler": "2.0.0",
 8     "@angular/core": "2.0.0",
 9     "@angular/platform-browser": "2.0.0",
10     "@angular/platform-browser-dynamic": "2.0.0",
11
12     "core-js": "2.4.1",
13     "systemjs": "0.19.38",
14     "rxjs": "5.0.0-beta.12",
15     "zone.js": "0.6.25"
16   },
17   "devDependencies": {
18     "gulp": "3.9.1"
19   }
20 }
 1 {
 2   "compilerOptions": {
 3     "emitDecoratorMetadata": true,
 4     "experimentalDecorators": true,
 5     "module": "system",
 6     "moduleResolution": "node",
 7     "noImplicitAny": false,
 8     "noEmitOnError": false,
 9     "removeComments": false,
10     "target": "es5",
11     "outDir": "../wwwroot/app"
12   },
13   "exclude": [
14     "node_modules",
15     "wwwroot"
16   ]
17 }
 1 /*
 2 This file in the main entry point for defining Gulp tasks and using Gulp plugins.
 3 Click here to learn more. http://go.microsoft.com/fwlink/?LinkId=518007
 4 */
 5
 6 var gulp = require(‘gulp‘);
 7
 8 /// Define paths
 9 var srcPaths = {
10     js: [
11         ‘node_modules/core-js/client/shim.min.js‘,
12         ‘node_modules/zone.js/dist/zone.js‘,
13         ‘node_modules/systemjs/dist/system.src.js‘,
14     ],
15     js_angular: [
16         ‘node_modules/@angular/**‘
17     ],
18     js_rxjs: [
19         ‘node_modules/rxjs/**‘
20     ]
21 };
22
23 var destPaths = {
24     js: ‘wwwroot/js/‘,
25     js_angular: ‘wwwroot/js/@angular/‘,
26     js_rxjs: ‘wwwroot/js/rxjs/‘
27 };
28
29 // Copy all JS files from external libraries to wwwroot/js
30 gulp.task(‘js‘, function () {
31     gulp.src(srcPaths.js_angular)
32         .pipe(gulp.dest(destPaths.js_angular));
33     gulp.src(srcPaths.js_rxjs)
34         .pipe(gulp.dest(destPaths.js_rxjs));
35     return gulp.src(srcPaths.js)
36         .pipe(gulp.dest(destPaths.js));
37 });
二、在typescript文件夹下创建以下三个文件app.component.ts、app.module.ts、boot.ts,代码如下:
1 import {Component} from "@angular/core";
2 @Component({
3     selector: ‘myApp‘,
4     template: `Hello World!`
5 })
6 export class AppComponent { }
1 import { NgModule }      from ‘@angular/core‘;
2 import { BrowserModule } from ‘@angular/platform-browser‘;
3 import { AppComponent }   from ‘./app.component‘;
4 @NgModule({
5     imports: [BrowserModule],
6     declarations: [AppComponent],
7     bootstrap: [AppComponent]
8 })
9 export class AppModule { }
1 import { platformBrowserDynamic } from ‘@angular/platform-browser-dynamic‘;
2 import { AppModule } from ‘./app.module‘;
3 const platform = platformBrowserDynamic();
4 platform.bootstrapModule(AppModule);
三、在静态文件目录wwwroot中,添加以下两个文件index.html和systemjs.config.js,代码如下:
 1 <!DOCTYPE html>
 2 <html>
 3 <head>
 4     <title></title>
 5     <meta charset="UTF-8">
 6     <meta name="viewport" content="width=device-width, initial-scale=1">
 7
 8     <!-- 1. Load libraries -->
 9     <script src="js/shim.min.js"></script>
10     <script src="js/zone.js"></script>
11     <script src="js/system.src.js"></script>
12     <!-- 2. Configure SystemJS -->
13     <script src="systemjs.config.js"></script>
14     <script>
15       System.import(‘app‘).catch(function(err){ console.error(err); });
16     </script>
17 </head>
18 <body>
19     <myApp>Loading...</myApp>
20 </body>
21 </html>
 1 /**
 2  * System configuration for Angular samples
 3  * Adjust as necessary for your application needs.
 4  */
 5 (function (global) {
 6     System.config({
 7         paths: {
 8             // paths serve as alias
 9             ‘npm:‘: ‘js/‘
10         },
11         // map tells the System loader where to look for things
12         map: {
13             // our app is within the app folder
14             app: ‘app‘,
15             // angular bundles
16             ‘@angular/core‘: ‘npm:@angular/core/bundles/core.umd.js‘,
17             ‘@angular/common‘: ‘npm:@angular/common/bundles/common.umd.js‘,
18             ‘@angular/compiler‘: ‘npm:@angular/compiler/bundles/compiler.umd.js‘,
19             ‘@angular/platform-browser‘: ‘npm:@angular/platform-browser/bundles/platform-browser.umd.js‘,
20             ‘@angular/platform-browser-dynamic‘: ‘npm:@angular/platform-browser-dynamic/bundles/platform-browser-dynamic.umd.js‘,
21             // other libraries
22             ‘rxjs‘: ‘npm:rxjs‘,
23         },
24         // packages tells the System loader how to load when no filename and/or no extension
25         packages: {
26             app: {
27                 main: ‘./boot.js‘,
28                 defaultExtension: ‘js‘
29             },
30             rxjs: {
31                 defaultExtension: ‘js‘
32             }
33         }
34     });
35 })(this);
四、将JS文件拷贝到wwwroot目录中,即执行Gulp任务;生成解决方案——将ts文件转换为js文件到目录/wwwroot/app下。
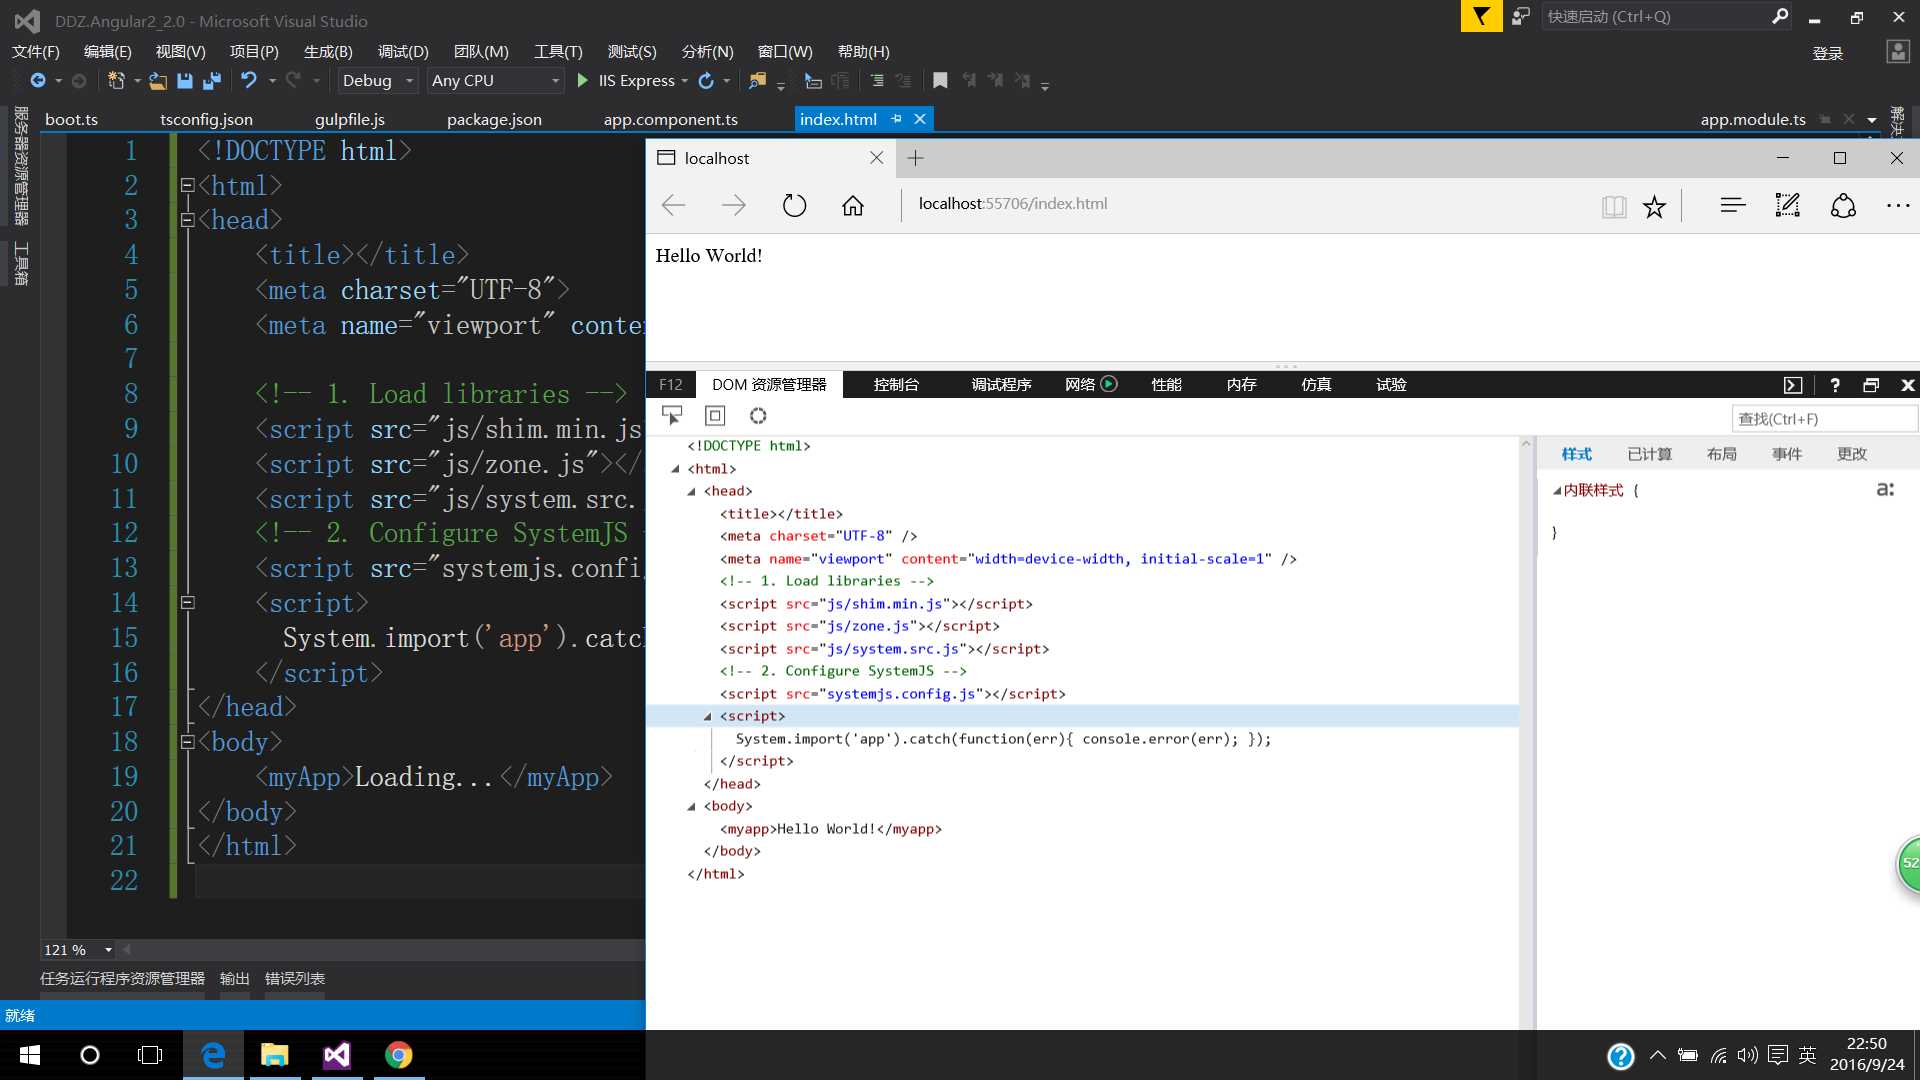
至此,已修改完毕,看一下运行结果,如下图:
标签:
原文地址:http://www.cnblogs.com/du-blog/p/5904312.html
